Inventory Categories and Groups
This help topic is applicable to the following TireMaster applications:
|
TireMaster Point of Sale |
TireMaster Plus |
TireMaster Corporate |
|---|---|---|

|

|

|
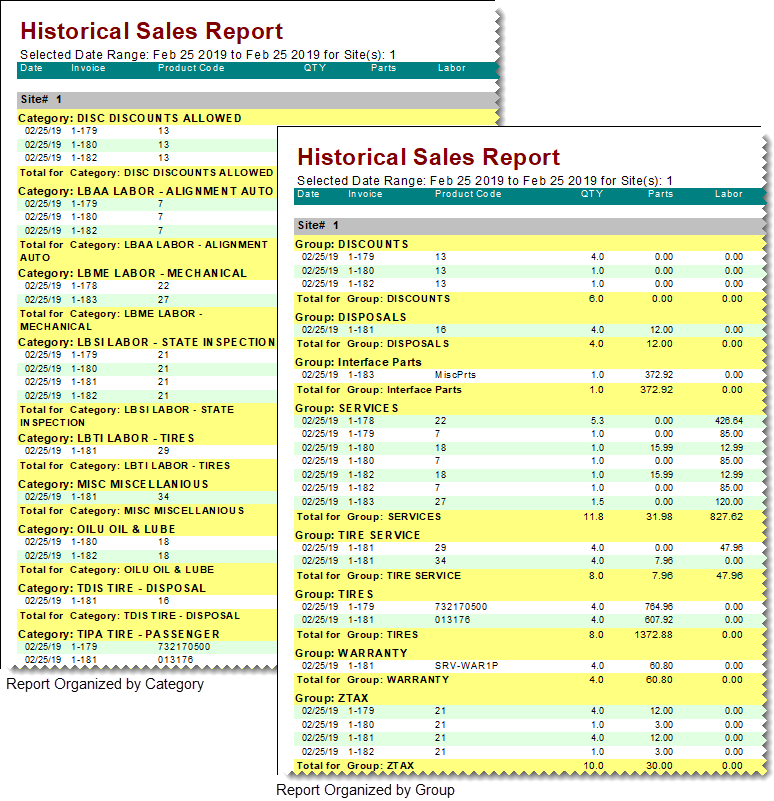
Inventory categories and groups are used for organizing information on sales and inventory reports. Categories are the primary report organization method, and groups are the secondary method. The following image shows the difference between a report that’s been organized by category and then by group. Categories and groups can also be used for looking up items.
If you want to change the primary method for organizing information on your reports, you can add new categories.
To add an inventory category
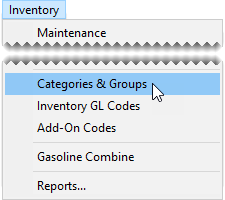
| 1. | Select Inventory > Categories & Groups. The Inventory Category/Group List opens. |
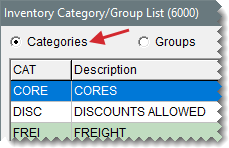
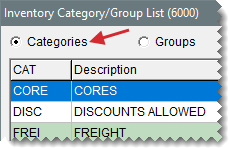
| 2. | Make sure Categories is selected. |
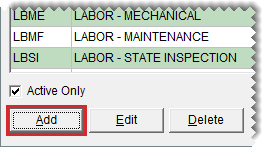
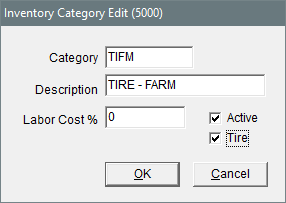
| 3. | Click Add. The Inventory Category Edit screen opens. |
| 4. | Type a code for it in the Category field. |
| 5. | Type a description for the category. |
| 6. | Make sure the Active check box is selected. |
| 7. | If the category is for classifying tires, select the Tire check box. |
| 8. | To save the category, click OK. |
| 9. | Close the Inventory Category/Group List. |
The default inventory category is automatically assigned to new items that are added to TireMaster. Depending on the item, you can use the default category or assign a different one.
To set the default inventory category
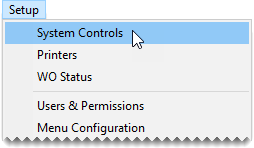
| 1. | Select Setup > System Controls. The System Controls screen opens. |
| 2. | Click the Inventory tab. |
| 3. | Select Inventory Default Category and press Enter. The Inventory Category/Group List appears. |
| 4. | Select the category you want to use as the default and click OK. |
| 5. | Close the System Controls screen. |
Managing categories includes changing settings as needed and eliminating unused categories.
If you want to change a category's description or make a category inactive, you can update it.
To update an inventory category
| 1. | Select Inventory > Categories & Groups. The Inventory Category/Group List opens. |
| 2. | Make sure Categories is selected. |
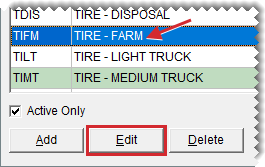
| 3. | Select the category you want to change, and click Edit. The Inventory Category Edit screen opens. |
| 4. | Do the following as needed: |
Change the category's description.
Select or clear the Active check box.
Select or clear the Tire check box.
| 5. | To save your changes, click OK. |
| 6. | Close the Inventory Category/Group List. |
If there is no transaction history associated with an inventory category, it can be deleted.
To delete a category
| 1. | Select Inventory > Categories & Groups. The Inventory Category/Group List opens. |
| 2. | Make sure Categories is selected. |
| 3. | Select the category you want to delete and click Delete. A confirmation message appears. |
| 4. | Click Yes. The category is removed. |
Inventory groups provide an alternative means of organizing information on your reports. Tires, services, warranties, disposals, and batteries are all examples of inventory groups.
To add an inventory group
| 1. | Select Inventory > Categories & Groups. The Inventory Category/Group List opens. |
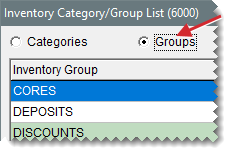
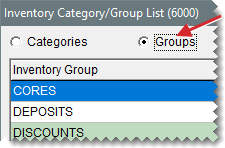
| 2. | Select Groups. |
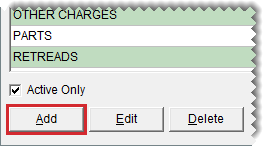
| 3. | Click Add. The Inventory Group Edit screen opens. |
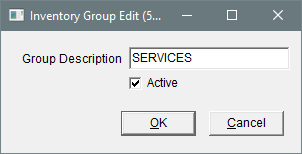
| 4. | Type a name for the group and make sure the Active check box is selected. |
| 5. | To save the new group, click OK. |
| 6. | Close the Inventory Category/Group List. |
If you no longer use an inventory group, you can make it inactive.
To update an inventory group
| 1. | Select Inventory > Categories & Groups. The Inventory Category/Group List opens. |
| 2. | Select Groups. |
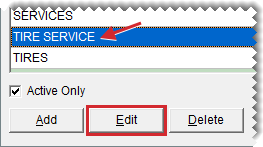
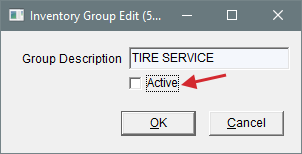
| 3. | Select the group you want to make inactive, and click Edit. The Inventory Group Edit screen appears. |
| 4. | Clear the Active check box. |
| 5. | To save your changes, click OK. |
| 6. | Close the Inventory Category/Group List. |
If you have an unused inventory group.
To delete an inventory group
| 1. | Select Inventory > Categories & Groups. The Inventory Category/Group List opens. |
| 2. | Select Groups. |
| 3. | Select the group you want to delete, and click Delete. A confirmation message appears. |
| 4. | Click Yes. The group is removed. |
