Vendor Charges
This help topic is applicable to the following TireMaster applications:
Vendor charges are used to record purchases that aren't received through the PO system. Rent, utilities, and janitorial services are examples of purchases entered with vendor charges. The document type code VC identifies vendor charges. Vendor charges increase (credit) the balance of a vendor’s subledger and the general ledger’s accounts payable account.
Vendor charges can also be used to record credits or reimbursements from vendors. In this scenario, you enter the invoice total as a negative amount and refer to the entry as a vendor credit.
Enter a Vendor Charge
When a vendor sends you an invoice or a credit memo, enter it in TireMaster by creating a vendor charge.
To enter a vendor charge
|
1.
|
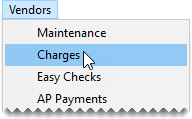
Select Vendors > Charges. The Vendor Charges screen opens. |
Note: If you want to limit the charges displayed to those for a specific vendor, click
Lookup and search for the vendor. Then click the
Limit check box. For more information, see
Vendor Searches.
|
2.
|
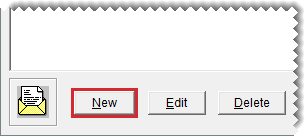
Click New. TireMaster prompts you to search for the vendor. |
|
4.
|
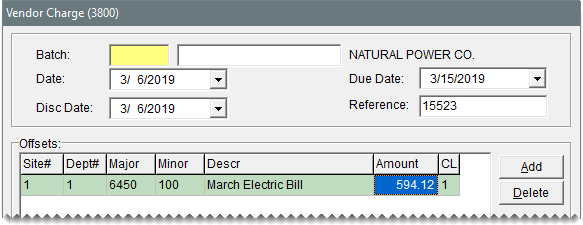
Add the following information to the charge. |
|
a.
|
Select the charge date, discount date, and payment due date from the pop‑up calendars. If you're working in TireMaster Corporate, you'll also need to select the site to which you want to post the charge. |
|
b.
|
Type a reference number for the charge. |
|
5.
|
Create the offsetting entry. |
|
a.
|
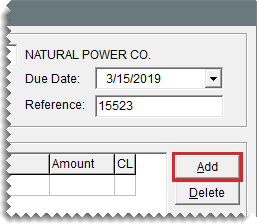
Click Add. A journal-entry line appears under Offsets. |
Note: If the vendor is assigned a default GL account, the journal entry line and account number are added automatically.
|
b.
|
Click the Major field, press  , and select the account that the offsetting entry will post to. , and select the account that the offsetting entry will post to. |
|
c.
|
Type a description for the entry. |
Note: If you’re receiving a credit or reimbursement from the vendor, type a negative number (such as -55.55).
|
e.
|
If the charge is for a transfer, a national account sale, a government support sale, or a defect adjustment, click the CL column, press  and select the appropriate GL class. and select the appropriate GL class. |
|
6.
|
If you do not want to take a discount for the charge, type 0.00 in the Disc $ field. |
|
7.
|
To save the charge, click OK . |
|
8.
|
When the confirmation message appears, click Yes. The charge is added to the Vendor Charges screen. |
|
9.
|
If you want to create another charge, click New and use the same vendor or look up a different vendor. Then repeat steps 4 through 7. |
|
10.
|
To complete the charge (or charges), click OK. prompts you to print the Charge Edit Report. |
Note: To complete the charges for a single vendor, click Lookup and look up the vendor’s name. Then click the Limit check box.
|
11.
|
For a copy of the report, click Yes and print it. Otherwise, click No. |
|
12.
|
When the confirmation message appears, click Yes. |


 , and select the account that the offsetting entry will post to.
 and select the appropriate GL class.