Prepare to Email Documents
This help topic is applicable to the following TireMaster applications:
Before you can email documents from TireMaster, you need to do the following:
Connect TireMaster with your email provider, which includes defining the host and port for your outgoing mail server and your account credentials.
Note: For this information, contact your internet service provider or the company that provides your email service. For free email services, information about outgoing mail server settings is available on the internet. However, your ability to email documents from TireMaster via a free email service may be limited. Other factors, such as network configurations, firewalls, and virus protection programs, can affect whether documents can be emailed from TireMaster. If you use Gmail™, you might need to change your Google® account settings to allow TireMaster to access your Gmail account.
Define the email address for each employee who will be emailing documents from TireMaster.
Create a predefined subject line and email address for the documents that you’ll send from TireMaster.
Before you can send emails from TireMaster, you also need to include valid email addresses in the customer and vendor records for your clients. For more information, see .
To set up email
|
1.
|
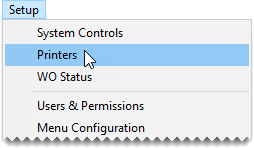
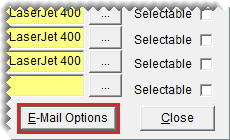
Select Setup > Printers. The Printer Selection screen opens. |
|
4.
|
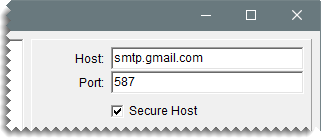
Define the outgoing server settings: |
Type the address of the SMTP mail server in the Host field.
Type the port for the SMTP mail server.
If you’re using an email server that is not inside your domain, select the Secure Host check box.
|
5.
|
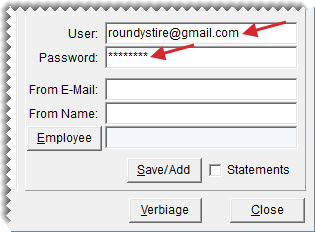
Enter the login information that you use to access your email account. |
Type the user name for your email account.
Type the password that you use to log in to your email account.
Example: If your email account is roundystire@gmail.com, and the password to log in is cooltires1, you would type roundystire@gmail.com in the User field and cooltires1 in the Password field.
Note: The
Statements check box visible in the image above is used in the configuration for statement email. For more information, see
Configure Statement Email.
|
6.
|
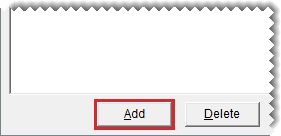
To save the outgoing server and email account settings, click Save/Add. |
|
7.
|
Add each employee who will be sending emails from TireMaster |
|
a.
|
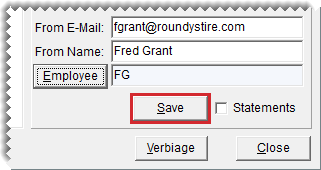
Type the employee’s email address in the From E-Mail field. |
|
b.
|
Type the employee’s name in the From Name field. |
|
c.
|
To assign the email addresses to a specific user, click Employee and select a name from the User List (optional). |
Note: When an email address is assigned to a specific user, TireMaster will know which account to send the message from when that employee is logged in to the program.
|
d.
|
Click Save. The employee’s name and email address are added to the list on the left side of the screen. |
|
8.
|
Define the subject line and body text for each of the documents emailed from TireMaster. |
|
a.
|
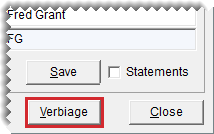
Click Verbiage. The Email Verbiage Setup screen appears. |
|
b.
|
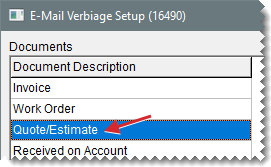
Select a document name. |
|
c.
|
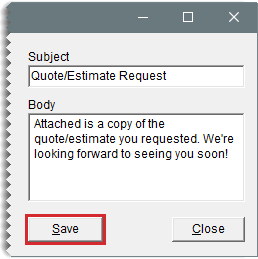
If you want to use a different subject line when the document is emailed, type your changes in the Subject field. |
|
d.
|
If you want to modify the email body text that’s listed, type your changes in the Body field. |
|
f.
|
To define the subject line and body text for additional documents, repeat steps 8b through 8e. |
|
9.
|
Close the open screens. |


