Add a Menu
This help topic is applicable to the following TireMaster applications:
Adding a menu includes defining which buttons it will have and which locations, employees, or both are allowed to use it.
To add a menu
|
1.
|
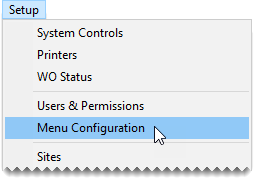
Select Setup > Menu Configuration. The Menu Setup screen opens. |
|
2.
|
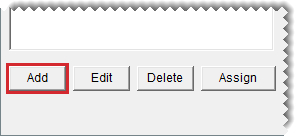
Click Add. TireMaster prompts you for the name of the new menu. |
|
3.
|
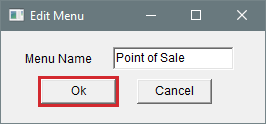
Type the menu’s name and click OK. |
|
4.
|
Select the name of the new menu (left side of screen) and assign buttons to it. |
|
a.
|
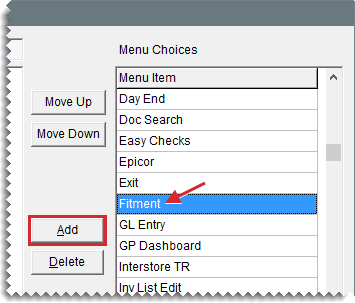
For each screen that should be opened with a button, select its name from the Menu Choices list and click Add. The screen name is added to the Menu Item list. |
|
b.
|
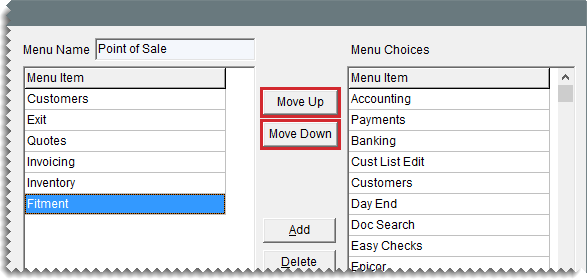
Rearrange the screen names as needed. To move a screen, select the screen name and click Move Up or Move Down repeatedly until the name is where you want it. |
Note: To ensure all buttons are displayed when the screen is resized, a maximum of eight menu buttons is recommended for the resolution of 1024 x 768.
|
5.
|
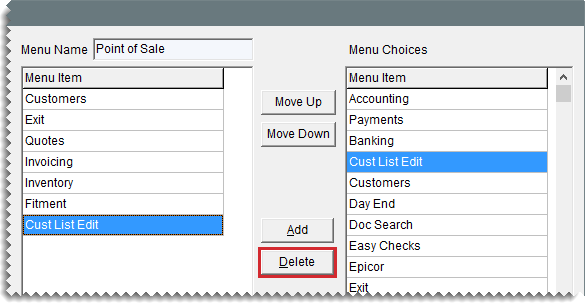
If you accidentally added a screen to the menu, select the screen name and click Delete. |
|
6.
|
To display the menu at the top of the screen, make sure Top is selected. To display it along the left side, select Left instead. |
|
7.
|
To include a clock with the menu, select the Clock check box. Then define the clock position by selecting Top Right, Bottom Left, or Bottom Right. |
|
8.
|
Assign the menu to locations, security groups, and groups as needed. For more information, see Assign Menus. |
|
9.
|
To see the new menu, exit TireMaster. Then restart the program, and log in with the credentials for a user who is assigned to the menu. |


