Configure Documents
This help topic is applicable to the following TireMaster applications:
|
TireMaster Point of Sale |
TireMaster Plus |
TireMaster Corporate |
|---|---|---|

|

|

|
You can control the appearance of several documents by completing various settings. For example, you can define how much text should fill a page, which information is printed, how information is organized, and whether to include global messages.
You have the option to print text on the entire page for work orders, invoices, and ROAs, or you can leave space for preprinted disclaimers or logos in the middle of a page instead.
To set the form text length
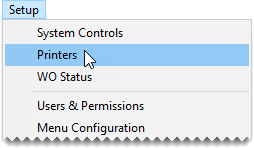
| 1. | Select Setup > Printers. The Printer Selection screen opens. |
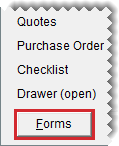
| 2. | Click Forms. The Form Selections opens. |
| 3. | Select one of the following: |
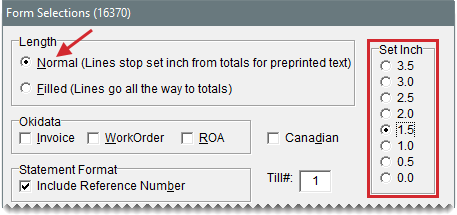
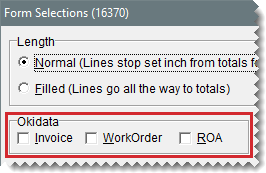
To print text on only part of the page, select Normal. Then select one of the Set Inch options to define the amount of white space that will separate the text from the totals. With this setting, preprinted areas are untouched and any remaining information is printed on subsequent pages.
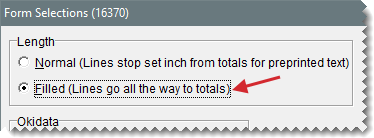
To print text on the entire page, select Filled .
| 4. | If you want to print documents on dot matrix printers, select the Invoice, Work Order, and ROA check boxes as needed. Otherwise, leave them clear. |
| 5. | If you operate a business in Canada, select the Canadian check box. |
| 6. | When you’re finished, click Save Setup. |
| 7. | Close the Form Selection screen. |
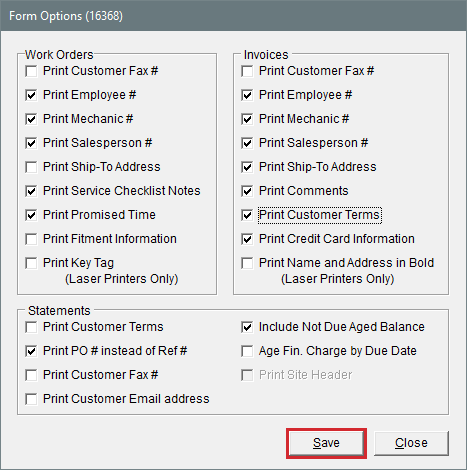
You can choose which information, such as salesperson number, comments, and customer terms, prints on work orders and invoices.
To design work orders and invoices
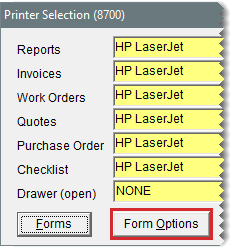
| 1. | Select Setup > Printers. The Printer Selection screen opens. |
| 2. | Click Form Options. The Form Options screen opens. |
| 3. | Select the check boxes for the information types you want to include on work order and invoices. |
| 4. | Click Save. A confirmation message appears. |
| 5. | Click OK. |
| 6. | Close the Form Options and Printer Selection screens. |
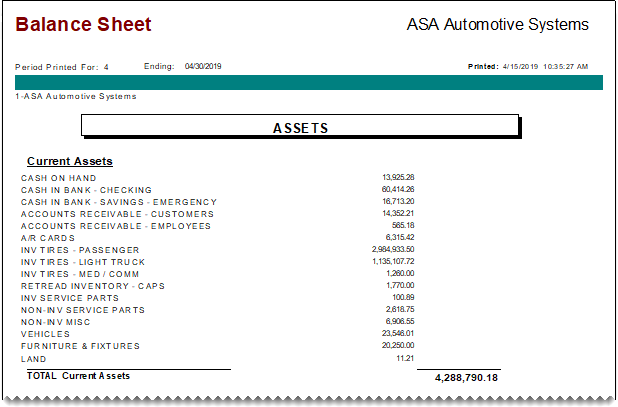
With general groups, all of your asset, liability, equity, income, and expense accounts are displayed under a single heading for each account type.
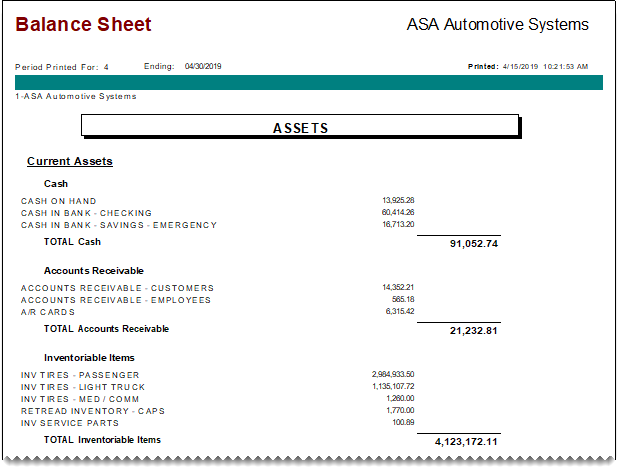
For detailed financials, set up a general group for each account type and one or more secondary groups. These secondary groups enable you to see totals for specific general ledger accounts.
Before you add any account groups, decide whether you want general or detailed information on your financial statements.
To create financial statement account groups
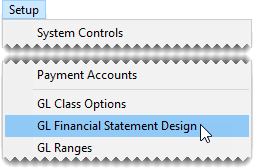
| 1. | Select Setup > GL Financial Statement Design. The GL Financial Statement Design screen opens. |
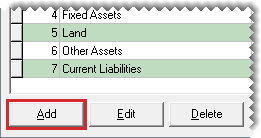
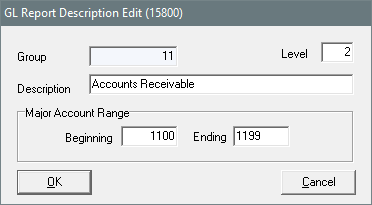
| 2. | Click Add. The GL Report Description Edit screen opens. |
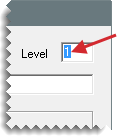
| 3. | If the new account group is a secondary group, type a 2 in the Level field. Otherwise, leave the level set to 1. |
| 4. | Type a description for the account group. |
| 5. | In the Major Account Range area, define which accounts you want to include in the group by typing the major account numbers in the beginning and ending fields. |
| 6. | Click OK. |
To see how the new account group affects your financial statements, print the income statement and balance sheet. If these documents don’t look the way you want, change the existing groups or add more groups.
When you need to reorganize information on your financial statements, you can change the account groups. There is no limit to how often you can update the settings for financial statements.
To update a financial statement account groups
| 1. | Select Setup > GL Financial Statement Design. The GL Financial Statement Design screen opens. |
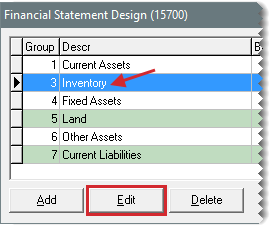
| 2. | Select the account group you want to change, and click Edit. The GL Report Description Edit screen opens. |
| 3. | Change the description, level, and account ranges as needed. |
| 4. | To save your changes, click OK. |
Print the income statement, balance sheet, or both to see whether the changes had the intended effect.
If you no longer want to include an account group on the financial statements, you can delete it. To delete an account group, open the Financial Statement Design screen, select the group you want to remove, and click Delete.
You can create custom messages that print on all work orders, invoices, quotes, and statements (both monthly and real-time). You can use these messages to thank customers for their business, wish them a happy holiday, and encourage them to make payments on time. To create global messages, you need to belong to a security group assigned
To create global messages
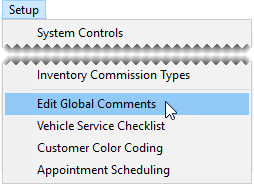
| 1. | Select Setup > Edit Global Comments. The Global Comments and Messages screen opens. |
| 2. | Click the tab for the type of global message you want to create. |
| 3. | Type the message. There is one text field for work orders, invoices, and quotes. For statements, you can use the same or different messages for each aging breakdown. The due date for a customer’s oldest aged balance determines which message to use. If the text field for a document type is empty, there is no global message for that document type. |
| 4. | To save your changes, click OK. |
