Security Groups
This help topic is applicable to the following TireMaster applications:
|
TireMaster Point of Sale |
TireMaster Plus |
TireMaster Corporate |
|---|---|---|

|

|

|
Security groups define which program areas employees are allowed to access and which reports they’re allowed to print. Security groups are set up based on the different roles of employees. Each security group is assigned the following:
Permissions, which define the program areas users in that group are allowed to access. For a list of permissions, see Permissions.
Reports, which define the documents users in that group are allowed to print.
New TireMaster systems ship with the following security groups.
Administrator is for the person responsible for maintaining and supporting TireMaster. The user account for the system administrator is automatically assigned to this security group. Typically, all permissions are assigned to the administrator.
Owner is for the person who owns the store. Typically, all permissions and reports are assigned to the owner security group.
Accountants is for your accountants or bookkeepers. Typically, the users in this security group are assigned permissions for all accounting functions, along with reports for generating accounts payable, accounts receivable, and financial information.
Sales is for users who work at point of sale. Typically, invoicing and some customer permissions are assigned to the sales security group.
Once the permissions and reports for a security group are set, you can assign users to that group.
If the settings for an existing security group don’t meet your needs, you can rename it or create a new one.
To add or rename a security group
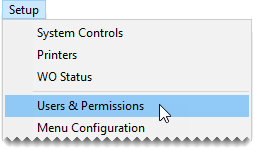
| 1. | Select Setup > Users & Permissions. The User List opens. |
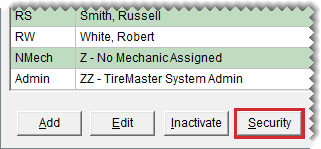
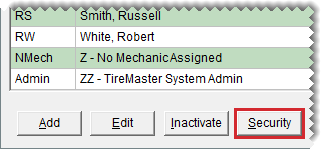
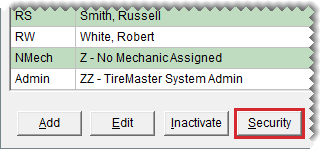
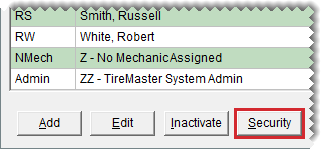
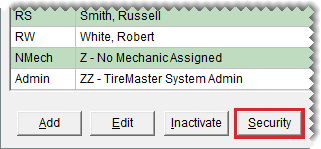
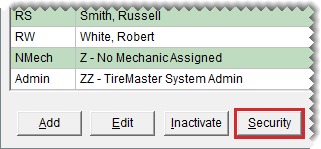
| 2. | Click Security. The Security Assignments screen opens. |
| 3. | Click Group Maintenance. The Security Group Maintenance screen opens. |
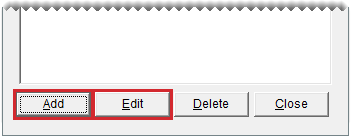
| 4. | Do one of the following: |
For a new group, click Add.
To rename an existing group, select the group’s name and click Edit.
The Security Group Add/Edit screen opens.
| 5. | Type a name for the group and click OK. The name of the new group is added to the list of security groups. |
| 6. | Close the Security Group Maintenance screen and the User List. |
You can control which program areas users can access by assigning permissions to the security groups.
To assign permissions to a security group
| 1. | Select Setup > Users & Permissions. The User List opens. |
| 2. | Click Security. The Security Assignments screen opens. |
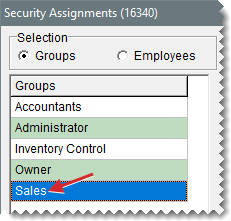
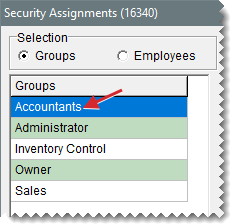
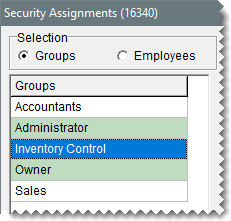
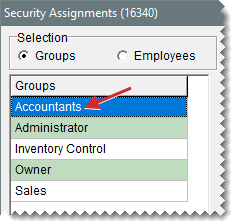
| 3. | On the Groups list, select the security group you want to assign permissions to. |
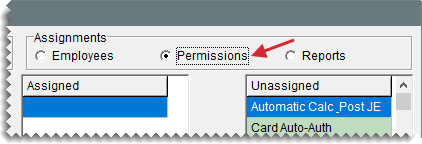
| 4. | Under Assignments, select Permissions. The assigned permissions for the group, if any, appear on the Assigned list. |
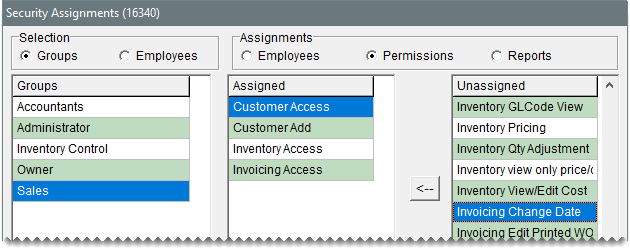
| 5. | To assign permissions to the group, do one of the following on the Unassigned list: |
For an individual permission, double-click the permission’s name.
For an individual permission, select the permission’s name and click  .
.
For multiple permissions, press Ctrl while you select each permission that you want to assign. Then click  .
.
| 6. | Close the Security Assignments screen and the User List. |
You can control which documents users are allowed to print by assigning reports to security groups.
To assign reports to a security group
| 1. | Select Setup > Users & Permissions. The User List opens. |
| 2. | Click Security. The Security Assignments screen opens. |
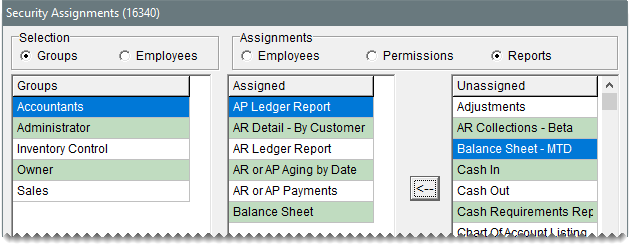
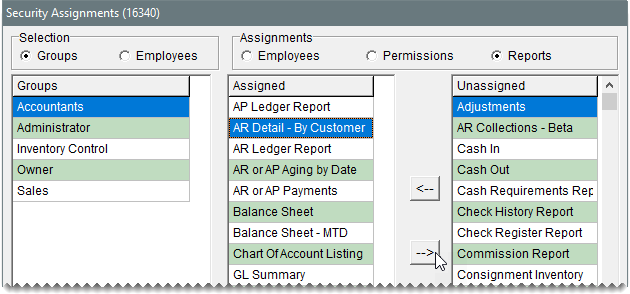
| 3. | On the Groups list, select the security group you want to assign reports to. |
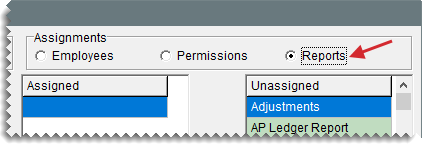
| 4. | Under Assignments, select Reports. The assigned reports for the group, if any, appear on the Assigned list. |
| 5. | To assign reports to the group, do one of the following in the Unassigned list: |
For an individual report, double-click the report’s name.
For an individual report, select the report’s name, and click  .
.
For multiple reports, press Ctrl while you select each report that you want to assign. Then click  .
.
| 6. | Close the Security Assignments screen and the User List. |
Before you can give users access to program areas and reports, you need to assign them to one or more security groups.
To assign users to a security group
| 1. | Select Setup > Users & Permissions. The User List opens. |
| 2. | Click Security. The Security Assignments screen opens. |
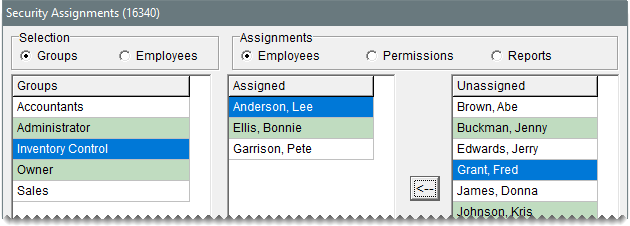
| 3. | On the Groups list, select the security group you want to assign users to. |
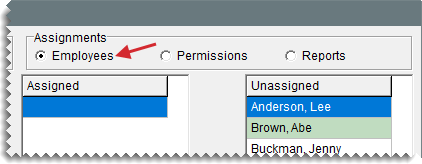
| 4. | Under Assignments, make sure Employees is selected. The names of the assigned users for the group, if any, appear on the Assigned list. |
| 5. | To assign users to the security group, do one of the following in the Unassigned pane: |
For an individual user, double-click the user’s name.
For an individual user, select the user’s name, and click  .
.
For multiple users, press Ctrl while you select each user that you want to assign. Then click  .
.
| 6. | Close the Security Assignments screen and the User List. |
Occasionally, you might need to review the assignments for a security group or an employee, or you might want to check the assignments for a report or a permission. TireMaster makes it easy to view and generate a printout of this information.
To review an employee’s permissions & reports
| 1. | Select Setup > Users & Permissions. The User List opens. |
| 2. | Click Security. The Security Assignments screen appears. |
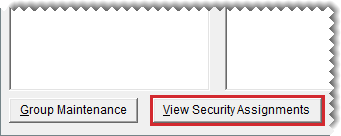
| 3. | Click View Security Assignments. The View Security Assignments screen appears. |
| 4. | Select one of the following from the View Assignments by drop-down: |
To see which permissions, users, and reports are assigned to a security group, select Security Group.
To see which groups, permissions, and reports, are assigned to a user, select Employee.
To see the users and groups a permission is assigned to, select Permission.
To see the users and groups a report is assigned to, select Report.
| 5. | Depending on your selection in step 4, select a group, employee, permission, or report. |
| 6. | To print the information displayed on the screen, click one of the following: |
Print assignments for the selected group
Print assignments for the selected employee
Print assignments for the selected permission
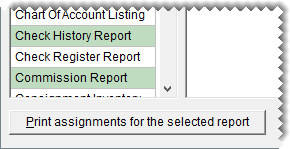
Print assignments for the selected report
The Report Window opens and displays the Security Assignments Report.
| 7. | Print the report and then close the Report Window. |
| 8. | Close the open screens. |
If you decide that a permission, report, or user should no longer be assigned to a particular security group, you can remove it from the group.
To remove security group assignments
| 1. | Select Setup > Users & Permissions. The User List opens. |
| 2. | Click Security. The Security Assignments screen appears. |
| 3. | Select the name of the group whose assignments you want to change. |
| 4. | Do one or more of the following as needed: |
To remove a user from the group, select Employees in the Assignments area. Then select the user’s name, and click .
To remove a permission from the group, select Permissions in the Assignments area. Then select the permission name, and click .
To remove a report from the group, select Reports in the Assignments area. Then select the report name, and click .
| 5. | Close the Security Assignments screen. |
| 6. | Close the User List. |
