Request Support
This help topic is applicable to the following TireMaster applications:
|
TireMaster Point of Sale |
TireMaster Plus |
TireMaster Corporate |
|---|---|---|

|

|

|
When you need assistance from ASA Support, submit a support request by email or via the Autotask client portal. The Autotask portal is available 24/7. With Autotask, you can do the following:
Submit electronic support requests
Track the status of your requests
Add information to your support requests
To log a support request, you must be a registered Autotask user. Employees who will use Autotask can register for their own accounts as long as they each register with different email addresses.
To register for an Autotask account
| 1. | To access the Autotask registration form, click here. |
| 2. | Type your name and contact information. |
| 3. | Click Submit. |
With Autotask, you can submit support requests, also called tickets, via a web portal or by email. When you submit a support request, include information about your TireMaster system and provide a description of the problem you’re reporting, along with troubleshooting information, error messages, and supporting documentation such as attachments of screenshots. For more information, see Information to Include in Support Requests.
When you log a support request via the Autotask client portal, you fill out a form that prompts you for information about the issue you’re reporting.
To log a support request via the client portal
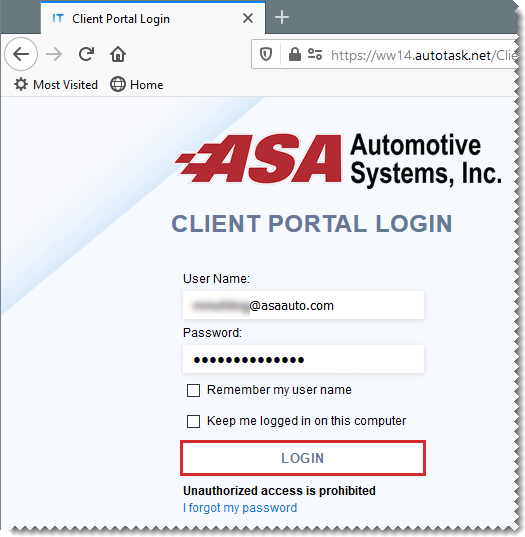
| 1. | To access the Autotask client portal, click here. |
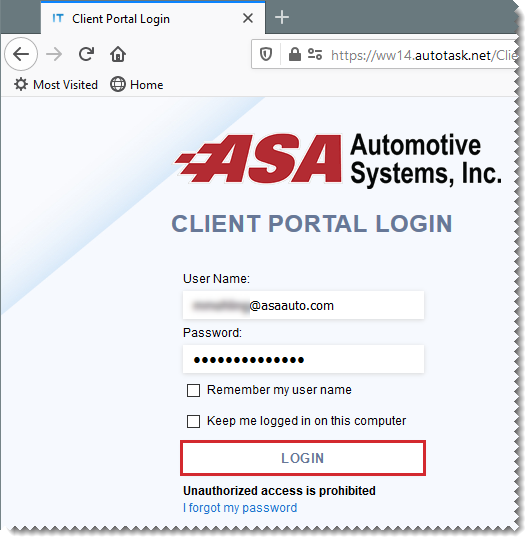
| 2. | Type your user name and password. Then click Login. |
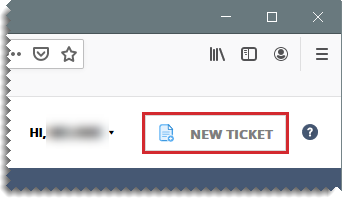
| 3. | Click New Ticket. |
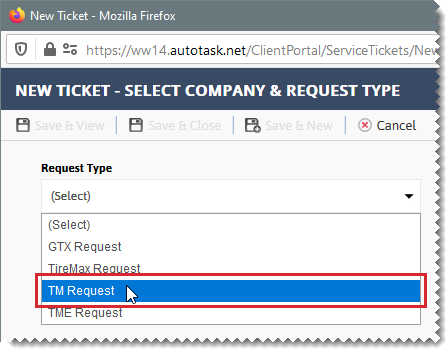
| 4. | When prompted for the Request Type, select TM Request from the drop-down. Then click Continue. |
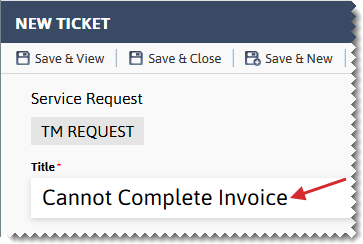
| 5. | Type a title for your request. |
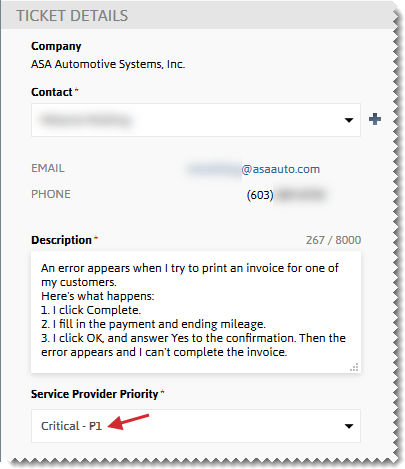
| 6. | Under Ticket Details, do the following. |
| a. | Type a description of your issue. |
| b. | Select the priority level for your request from the Service Provider Priority drop-down. If the drop-down isn’t visible, scroll down. For more information, see Support Priority Levels. |
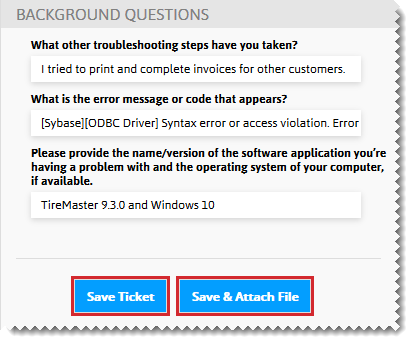
| 7. | Answer the background questions. For more information, see Information to Include in Support Requests. |
| 8. | Do one of the following: |
If you have no attachments, click Save Ticket, and go to step 10.
If you need to attach one or more documents, click Save & Attach. The New Ticket Attachments screen opens.
| 9. | For each attachment, do the following: |
| a. | Type a name. |
| b. | Click Browse and select the file you want to attach. |
| c. | Click Attach File. The file name is added to a list of files to attach to the support request. |
 .
.| d. | Click Save & Close. |
| 10. | When Autotask displays your request on the screen, review the information. Then click Close. |
| 11. | Log out of the Autotask portal. |
To submit a support request by email, send it to portal_tm@asaauto.com. When you request support by email, the subject line becomes the ticket title and the email body is used as the ticket description. When you submit a request in this manner, your original email is also attached to the ticket.
Tickets submitted by email are logged as P3 (normal) requests. Therefore, if you have a higher priority issue, include words such as High or Critical in email subject line. This notation will help to ensure that ASA Support can escalate the ticket, according to our priority guidelines. For more information, see Support Priority Levels.
After a support request has been created, you can check the status, read comments, add comments, and add attachments.
To review or edit an existing support request
| 1. | To access the Autotask client portal, click here. |
| 2. | Type your user name and password. Then click Login. Your Autotask dashboard opens. |
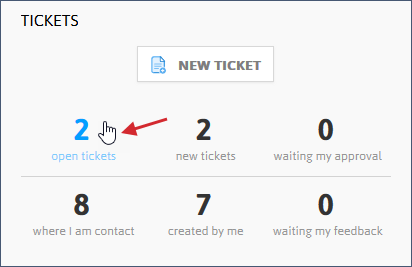
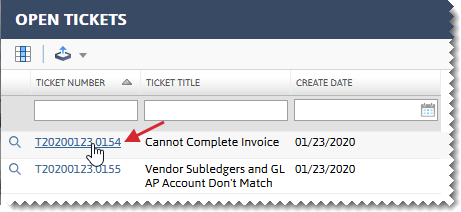
| 3. | Under Tickets, click the number for a ticket category. Typically, you’ll be looking for a new or open ticket. A list of tickets in the selected category opens. |
| 4. | Click the ticket number for the request you want to review or edit. |
| 5. | Do the following as needed: |
Type a quick note and click Submit.
Click Note and add a detailed note. Then click Save.
Click Attachment and look up a file to add to the ticket. Then click Save & Close.
| 6. | To return to the open ticket list, click Close. |
| 7. | To return to your dashboard, click Home. |
| 8. | Log out of the Autotask portal. |
