Vendor Types
This help topic is applicable to the following TireMaster applications:
|
TireMaster Point of Sale |
TireMaster Plus |
TireMaster Corporate |
|---|---|---|

|

|
Vendor types are used to classify vendors. Vendor types are set up and managed on the same screen as customer types. For more information, see Customer Type Edit Screen.
TireMaster comes with several vendor types ready for you to use as is. However, you might want to create your own vendor types for reporting purposes or for tracking sales differently.
To add a vendor type
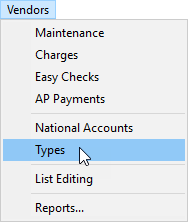
| 1. | Select Vendors > Types. The Customer/Vendor Type List opens. |
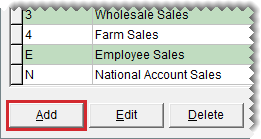
| 2. | Click Add. The Customer/Vendor Type Edit screen opens. |
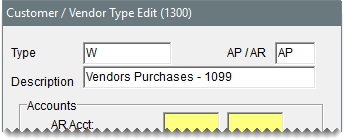
| 3. | Define a unique code for the vendor type in the Type field. |
| 4. | In the AP or AR field, type AP. |
| 5. | Type a description for the vendor type. |
| 6. | Assign GL accounts to the vendor type. To assign an account, click the account field, press  , and select an account from the list that appears. , and select an account from the list that appears. |
| 7. | To save the vendor type, click OK. |
The default vendor type is automatically assigned each time you add a new vendor to TireMaster. When you set the default vendor type, select one that best represents the vendors from whom you buy products and services.
To set the default vendor type
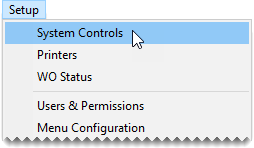
| 1. | Select Setup > System Controls. The System Controls screen opens. |
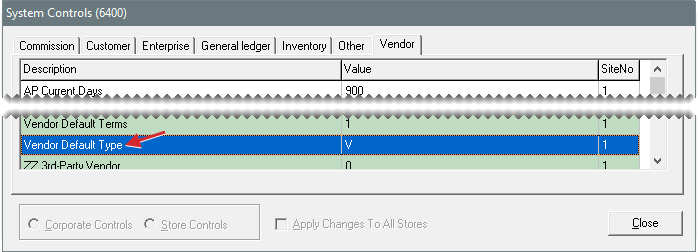
| 2. | Click the Vendor tab. |
| 3. | Select Vendor Default Type and press Enter. |
| 4. | Select the type that you want to use as the default vendor type, and click OK. |
| 5. | Close the System Controls screen. |
At some point, you might need to change one or more of the GL accounts assigned to a vendor type or you might want to change its description.
To update a vendor type
| 1. | Select Vendors > Types. The Customer/Vendor Type List opens. |
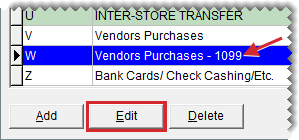
| 2. | Click Edit. The Customer/Vendor Type Edit screen opens. |
| 3. | Select different GL accounts or change the description. |
| 4. | To save your changes, click OK. |
If a vendor type is not assigned to any suppliers, it can be deleted.
To delete a vendor type
| 1. | Select Vendors > Types. The Customer/Vendor Type List opens. |
| 2. | Select the type you want to remove, and click Delete. A confirmation message appears. |
| 3. | Click Yes. |
