Design and Manage Postcards
This help topic is applicable to the following TireMaster applications:
|
TireMaster Point of Sale |
TireMaster Plus |
TireMaster Corporate |
|---|---|---|

|

|

|
With TireMaster, you can create a variety of postcards that you can use for promoting products, services, and events to your customers.
The Marketing Module is compatible with postcards that meet the following criteria:
Size: 5.5 x 4.25 inches
Number per sheet: 4 (on a sheet measuring 8.5 x 11 inches)
For information about postcards that are compatible with the Marketing Module, contact your account manager.
Laying out a postcard includes designating a code for the card and positioning elements such as customer address and vehicle information. You might also want to assign a filter to some postcards. Assigning a filter helps you work more quickly when it’s time to print postcards, because you’ve already established criteria for who will receive a mailing.
To lay out a postcard
| 1. | Click Marketing. The Marketing screen opens. |
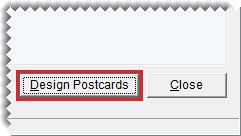
| 2. | Click Design Postcards. The Postcard List opens. |
| 3. | Define basic information for the postcard. |
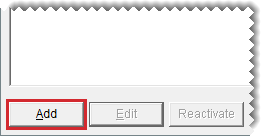
| a. | Click Add. The Postcard Design screen opens. |
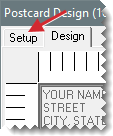
| b. | Make sure the Setup tab is selected, and type a code (up to four characters long) and a description for the postcard. |
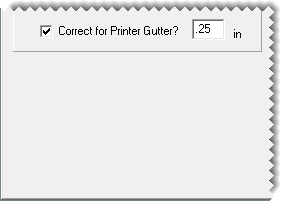
| c. | Select the Correct for Gutter check box, and type the correction amount in the in (inches) field. |
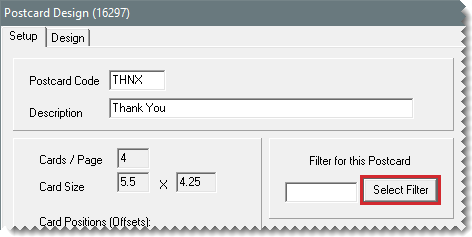
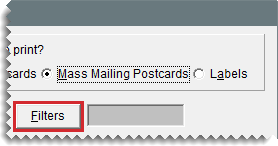
| d. | To assign a filter to the postcard, click Select Filter. Then choose a filter from the list and click OK. |
| e. | Click Save. |
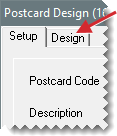
| 4. | Click the Design tab to display the layout area. |
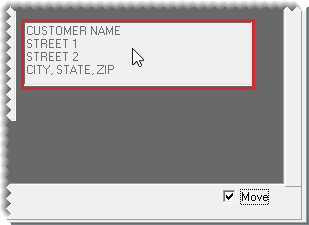
| 5. | Move the address, vehicle information, and message boxes if needed. |
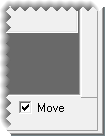
| a. | Select the Move check box. |
| b. | Click the box you want to move, and drag it to a different location. |
| 6. | Resize the message box if needed. |
| a. | Make sure the Move check box is selected (if it isn’t already). |
| b. | Move the pointer to the lower-right corner of the message box. A double-ended arrow appears. |
| c. | Drag the box until it reaches the size you want. |
| 7. | Add content to the message box. |
| a. | If the Move check box is selected, clear the check mark. |
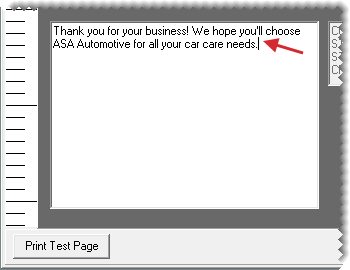
| b. | Type your message. |
| 8. | Generate a test page. |
| a. | Click Print Test Page. TireMaster prompts you to save the postcard before printing the test page. |
| b. | Click Yes. The Print screen opens. |
| c. | Print the test page. |
| d. | Review the test page. Then make any needed changes to the layout. |
| 9. | Save the postcard. |
| a. | Click the Setup tab. |
| b. | Click Save. |
| 10. | Close the open screens. |
You can make changes to existing postcards and include or exclude them from the postcard list.
Occasionally, you might want to change the code, filter, description, or message for a postcard. If so, you can edit one or more of the card’s settings.
To update a postcard
| 1. | Click Marketing. The Marketing screen opens. |
| 2. | Click Design Postcards. The Postcard List opens. |
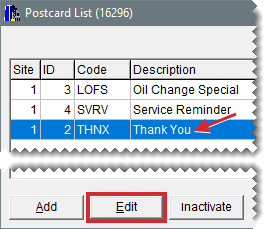
| 3. | Select the card whose settings you want to change, and click Edit. |
| 4. | Do the following as needed: |
To change the postcard code, type a new code.
To change the description, type a new description.
To assign a different filter, click Select Filter. Then select a new filter from the list, and click OK.
To remove the filter, click Select Filter. Then click Cancel.
To change the postcard text, see Lay Out a Postcard.
| 5. | To review your changes, click Print Test Page. |
| 6. | Save your changes. |
| a. | Make sure the Setup tab is selected. |
| b. | Click Save. |
| 7. | Close the opens screens. |
If you no longer use a postcard, you can make it inactive.
To make a postcard inactive
| 1. | Click Marketing. The Marketing screen opens. |
| 2. | Click Design Postcards. The Postcard List opens. |
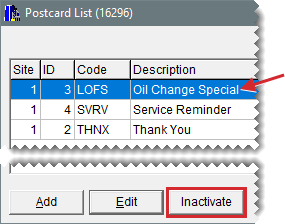
| 3. | Select the card that you want to make inactive, and click Inactivate. A confirmation message appears. |
| 4. | Click Yes. The postcard is removed from the list. |
| 5. | Close the open screens. |
If you want to start using an inactive postcard again, you can make it active.
To make a postcard active
| 1. | Click Marketing. The Marketing screen opens. |
| 2. | Click Design Postcards. The Postcard List opens. |
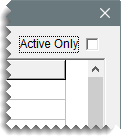
| 3. | To display both active and inactive postcards, clear the Active Only check box. |
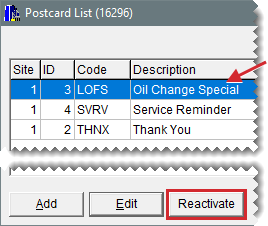
| 4. | Select the card you want to make active, and click Reactivate. A confirmation message appears. |
| 5. | Click Yes. |
| 6. | Close the open screens. |
With filters, you can select which customers will receive postcards in a mass mailing based on parameters such as products purchased, purchase date, mileage intervals, and the amount of money spent.
You can filter customer and purchase data on-the-fly when printing postcards. However, setting up reusable filters can help you save time. Filters can be retrieved when you print postcards, or you can assign a filter to a postcard.
To create a postcard filter
| 1. | Click Marketing. The Marketing screen opens. |
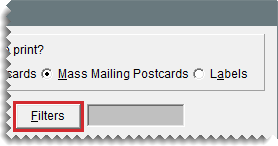
| 2. | Click Filters. The Filter Selection screen opens. |
| 3. | To limit the mailing to specific customers, make sure the Customer Filter tab is selected. Then do one or more of the following: |
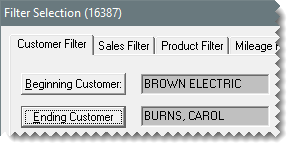
For a range of customers, click Beginning Customer and look up the name of the first customer in the range. Then click Ending Customer and look up the name of the last customer in the range. For more information, see Customer Searches.
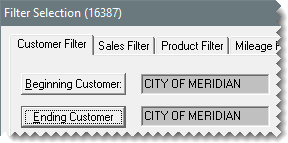
For one customer, click Beginning Customer and look up the customer’s name. Then click Ending Customer and look up the same name again. For more information, see Customer Searches.
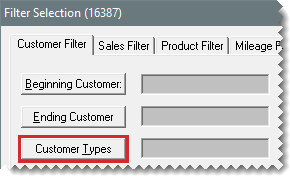
For specific customer types, click Customer Types. Then select one or more types from the list.
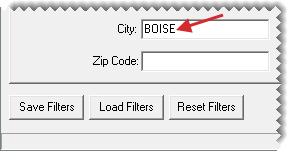
For customers who live in a particular city, type the city’s name.
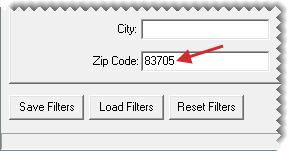
For customers who live in a particular zip code, type the zip code.
| 4. | To limit the mailing by the amount of money spent, purchase date, or both, click the Sales Filter tab. Then do one or more of the following: |
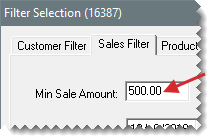
For customers who’ve spent a minimum amount of money, type the amount in the Min Sale Amount field.
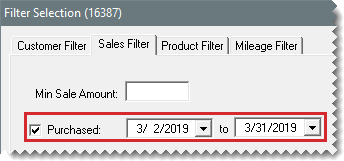
For customers who bought items or services during a particular date range, select the Purchased check box. Then select the beginning and ending dates from the drop-down calendars.
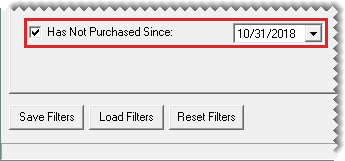
For customers who haven’t bought anything since a particular date, select the Has Not Purchased Since check box. Then select the last date of purchase from the drop-down calendar.
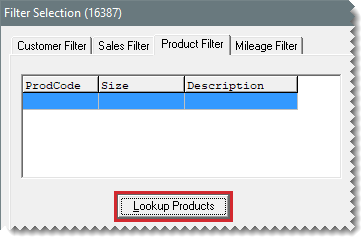
| 5. | To limit the mailing to customers who’ve bought specific items, select the Product Filter tab. Then click Lookup Products, and look up the item or items sold. For more information, see Inventory Searches. |
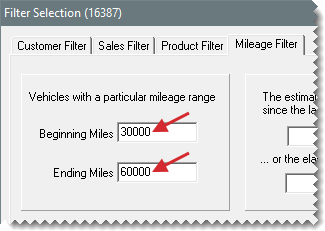
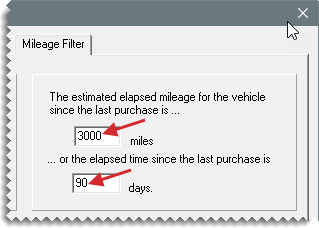
| 6. | To limit the mailing by vehicle mileage, click Mileage Filter. Then do one of the following: |
For vehicle mileage that falls within a particular range, type the range in the fields for Beginning Miles and Ending Miles.
For elapsed vehicle mileage and elapsed days since the last purchase, type the mileage and number of days.
| 7. | Save the filter for reuse: |
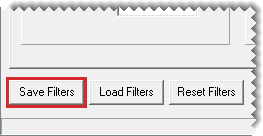
| a. | Click Save Filters. The Save Setting screen opens. |
| b. | Type a name for the filter. |
| c. | Click OK. |
| 8. | Close the Filter Selection screen. |
When you want to change the settings for a filter, you can update it.
To update a postcard filter
| 1. | Click Marketing. The Marketing screen opens. |
| 2. | Click Filters. The Filter Selection screen opens. |
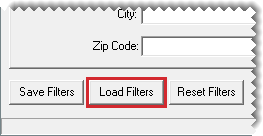
| 3. | Click Load Filters. The Filter List appears. |
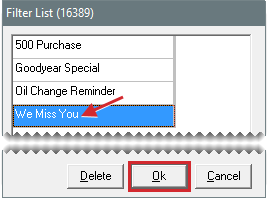
| 4. | Select the name of the filter you want to update, and click OK. The settings for the filter are displayed on the applicable filter tabs. |
| 5. | Select each tab whose settings you want to update. Then make the needed changes. For more information about the settings for each tab, see Create a Postcard Filter . |
| 6. | Click Save Filters. The Save Setting screen opens. |
| 7. | If a filter name is listed, make sure it is correct. Otherwise, type the correct filter name. Then click OK. A confirmation message appears. |
| 8. | Click Yes. |
| 9. | Close the open screens. |
If you no longer use a filter, you can delete it from the Marketing Module.
To delete a filter
| 1. | Click Marketing. The Marketing screen opens. |
| 2. | Click Filters. The Filter Selection screen opens. |
| 3. | Click Load Filters. |
| 4. | When the Filter List appears, select the name of the filter you want to remove and click Delete. The filter name is removed from the list. |
| 5. | Close the open screens. |


