If the number of items from the physical count don’t match the system generated count in TireMaster, adjust the quantities with the Inventory Quantity Adjustment Wizard. When an adjustment is performed, the updated on-hand quantity is difference between the physical count and the quantity on work order.
Note: ASA recommends printing an Inventory Checkup Report before making quantity adjustments. If the report identifies discrepancies between the system-generated inventory quantities and the sales, receiving, and adjustment activity for items, contact TireMaster Support.
Warning: The Inventory Quantity Adjustment Wizard is only to be used during the process of taking inventory or on other occasions when an item’s quantities need to be changed. Do not use it to enter start-up quantities, return items to vendors, correct purchase orders, or set up consignment items. Doing so permanently invalidates the system-calculated cost for each item.
To adjust inventory quantities
|
1.
|
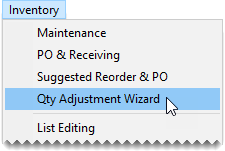
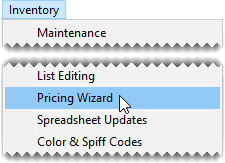
Select Inventory > Qty Adjustment Wizard. The Qty Adjustment Wizard opens. |
Note: Inventory quantities must be adjusted after taking the physical count, but before you receive items and sell items. Otherwise the adjustment will not correct the item’s on-hand quantity.
|
2.
|
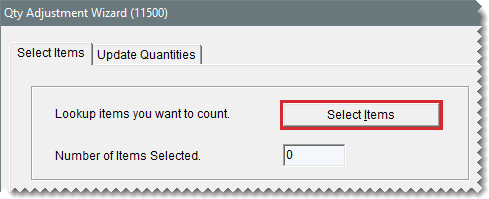
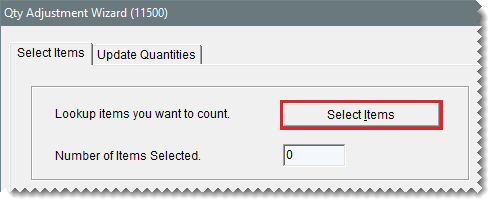
Make sure the Select Items tab is selected. |
|
3.
|
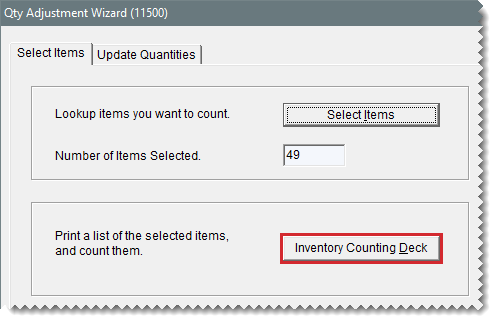
Click Select Items and look up the items or a group of items that were counted. For more information, see Inventory Searches. |
Tip: Look up the items with the range and sort order that were used for printing the counting deck. Using the same search parameters helps to ensure that product codes and descriptions will be listed on the screen in the same order as the counting deck.
|
4.
|
Click Next to move to the Update Quantities tab. |
|
5.
|
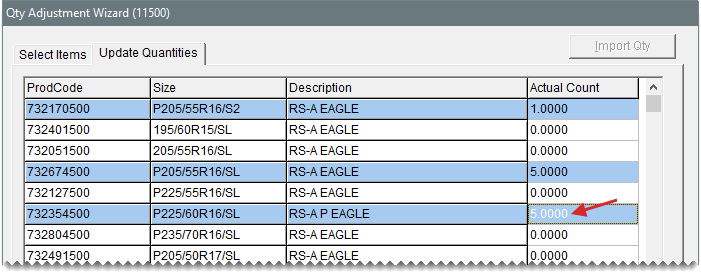
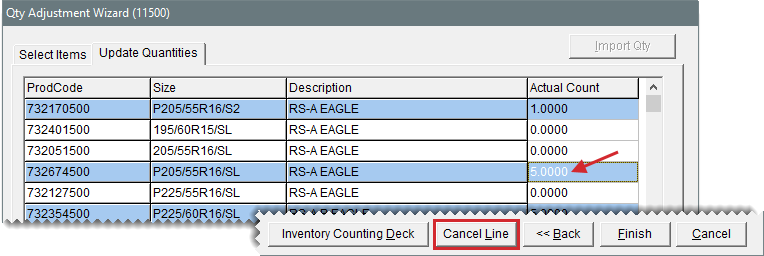
If an item’s system-generated count differs from the actual count, type its actual count and press Enter. The item’s row turns blue. |
Note: Do not type the difference between the system-generated count and the actual count. If an item’s actual count needs to be adjusted to zero, type a 0.
|
6.
|
If you need to undo an adjustment, select the item and click Cancel Line. The blue highlighting disappears. |
|
7.
|
Compare the numbers entered on the screen to the counting deck to ensure you’ve entered the correct quantities for the items that needed to be adjusted. |
|
8.
|
Adjust quantities for another group of items if needed. |
|
a.
|
Click Back to return to the Select Items tab. |
|
b.
|
Repeat steps 3 through 7. |
|
9.
|
Once you’ve entered all of the necessary adjustments, click Finish. The Report Window opens. |
|
10.
|
Print and review the Physical Count Edit report. |
|
11.
|
Close the Report Window. A confirmation message appears. |
|
12.
|
Do one of the following: |
To complete the adjustment, click Yes. Clicking Yes will update the system-generated on-hand quantities and adjust the item’s value in the general ledger.
Note: Once an adjustment is completed, you can view adjustment details in the subledger for the Inventory Quantity Adjustment vendor.
To complete the adjustment, click Yes. Clicking Yes will update the system’s on-hand quantities.
If you don’t want to adjust the quantities, click No.


