Price Matrices
This help topic is applicable to the following TireMaster applications:
|
TireMaster Point of Sale |
TireMaster Plus |
TireMaster Corporate |
|---|---|---|

|
|
|
With a price matrix, an item’s selling price is updated based on where the item’s cost (the amount the vendor charges you) falls within a set of ranges.
Supported matrix calculations depend on your TireMaster version:
In 9.4.7 and newer, you can calculate a markup, margin, or flat amount on items' next cost, base price, or standard cost.

In 9.4.5 and older, you can calculate a markup or flat amount on items' next cost.
Setting up a price matrix includes creating cost ranges and defining how prices will be calculated for those ranges. Each matrix can have up to seven cost ranges.
To set up a price matrix
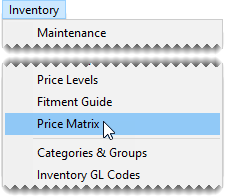
| 1. | Select Inventory > Price Matrix. The Price Matrix screen opens with the first matrix on the list selected (unless none have been set up). |
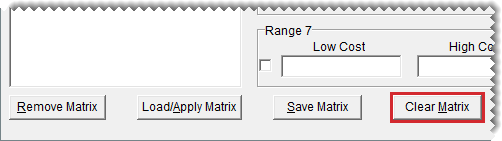
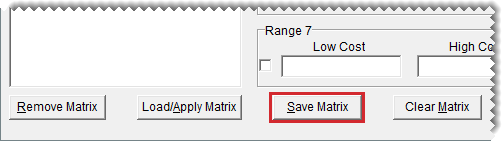
| 2. | Click Clear Matrix to reset the screen. |
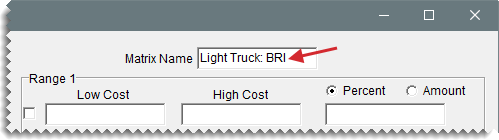
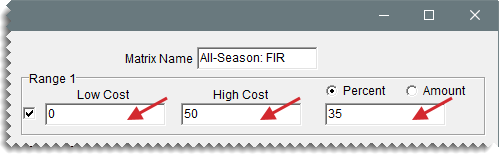
| 3. | Type a name for the matrix. |
| 4. | Define whether to use next cost, base price, or standard cost for the calculation. |
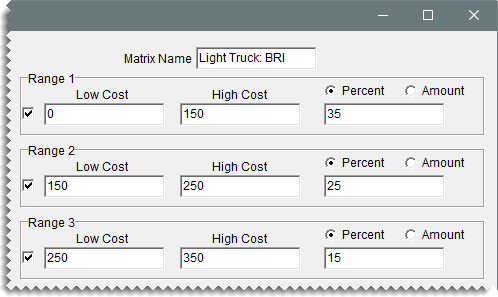
| 5. | For each range in the matrix, do the following. |
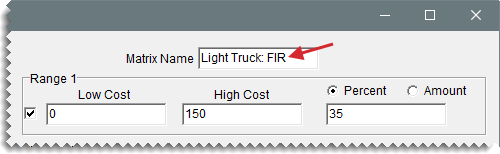
| a. | Define the low and high cost amounts. |
| b. | Select the markup, margin, or amount calculation method. |
| c. | Type the percentage (for markup and margin) or amount for the range. |
| 6. | When you’re finished setting up the matrix ranges, click Save Matrix. |

Setting up a price matrix includes creating cost ranges and defining how prices will be calculated for those ranges. Each matrix can have up to seven cost ranges.
To set up a price matrix
| 1. | Select Inventory > Price Matrix. The Price Matrix screen opens with the first matrix on the list selected (unless none have been set up). |
| 2. | Click Clear Matrix to reset the screen. |
| 3. | Type a name for the matrix. |

| 4. | For each range in the matrix, do the following. |
| a. | Define the low and high cost amounts. |
| b. | For price changes based on a percentage, make sure Percent is selected. To change prices by a fixed dollar amount, select Amount. |
| c. | Type the percentage or amount for the range. |

| 5. | When you’re finished setting up the matrix ranges, click Save Matrix. |
When you decide to change price calculations or that a matrix is no longer needed, you can make changes to existing price matrices or delete them.
If you need to adjust the way in which a matrix calculates prices, update the matrix.
To update a price matrix
| 1. | Select Inventory > Price Matrix. The Price Matrix screen opens. |
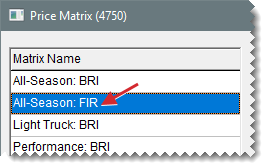
| 2. | Select the name of the matrix you want to update. TireMaster loads the settings for the selected matrix. |
| 3. | Change the of cost type used for the calculation if needed. |

| 4. | For each existing range that needs to be updated, do the following as needed: |
Change one or more cost amounts.
Change the pricing method to Markup, Margin, or Amount.
Change the percentage or fixed dollar amount.
| 5. | Add a new range if needed. Select the cost type for the calculation, define the cost amounts, the pricing method, and the percentage or dollar amounts. |
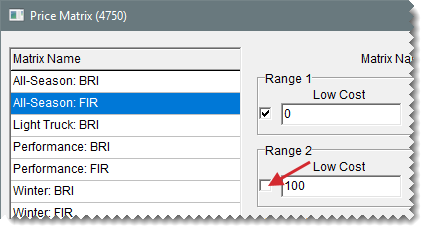
| 6. | To remove a range from the matrix, clear its check box. |

| 7. | Click Save Matrix. |

If many of the settings for an existing price matrix are similar to those you want to assign to a new matrix, make a copy of the existing matrix and then make the needed changes.
To copy a price matrix
| 1. | Select Inventory > Price Matrix. The Price Matrix screen opens. |
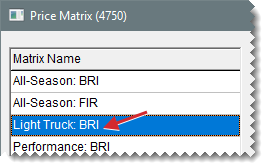
| 2. | Select the name of the matrix you want to copy. |
| 3. | Change the matrix name to the name of the new matrix you’re creating. |
| 4. | Do the following as needed. For more information, see |
Change the cost type used for the calculation.
Change the settings for one or more matrix ranges, add ranges, or remove ranges. Update a Price Matrix .
| 5. | Click Save Matrix. The name of the new matrix is added to the list. |
When you no longer use a price matrix, you can delete it. When a matrix is deleted, it is also removed from the items it was assigned to.
To delete a price matrix
| 1. | Select Inventory > Price Matrix. The Price Matrix screen opens. |
| 2. | Select the name of the matrix you want to delete. |
| 3. | Click Remove Matrix. A confirmation message appears. |
| 4. | Click Yes. The matrix is removed from the database. |
When you decide to change price calculations or that a matrix is no longer needed, you can make changes to existing price matrices or delete them.
If you need to adjust the way in which a matrix calculates prices, update the matrix.
To update a price matrix
| 1. | Select Inventory > Price Matrix. The Price Matrix screen opens. |
| 2. | Select the name of the matrix you want to update. The cost ranges and price change information for the selected matrix appears. |
| 3. | For each existing range that needs to be updated, do the following as needed: |
Change one or more cost amounts.
Change the pricing method to Percent or Amount.
Change the percentage or fixed dollar amount.
| 4. | Add a new range if needed, define the cost amounts, the pricing method, and the percentage or dollar amounts. |
| 5. | To remove a range from the matrix, clear its check box. |

| 6. | Click Save Matrix. |
If many of the settings for an existing price matrix are similar to those you want to assign to a new matrix, make a copy of the existing matrix and then make the needed changes.
To copy a price matrix
| 1. | Select Inventory > Price Matrix. The Price Matrix screen opens. |
| 2. | Select the name of the matrix you want to copy. |

| 3. | Change the matrix name to the name of the new matrix you’re creating. |

| 4. | Change the settings for one or more matrix ranges, add ranges, or remove ranges. For more information, see Update a Price Matrix . |
| 5. | Click Save Matrix. The name of the new matrix is added to the list. |
When you no longer use a price matrix, you can delete it. When a matrix is deleted, it is also removed from the items it was assigned to.
To delete a price matrix
| 1. | Select Inventory > Price Matrix. The Price Matrix screen opens. |
| 2. | Select the name of the matrix you want to delete. |
| 3. | Click Remove Matrix. A confirmation message appears. |
| 4. | Click Yes. The matrix is removed from the database. |
A matrix can be assigned to individual items or a group of items.
If a price matrix needs to be assigned to a single item or a just few items, you can define the matrix in the price and quantity settings.
To assign a matrix to a single item
| 1. | Search for the item to which you want to assign a matrix. For more information, see Inventory Searches. |
| 2. | On the Inventory Maintenance screen, click the Qty/Pricing tab. |
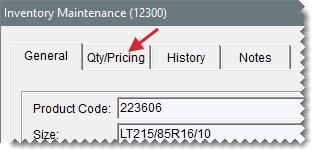
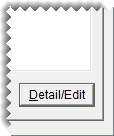
| 3. | Click Detail/Edit. The Site Prices and Quantity screen opens. |
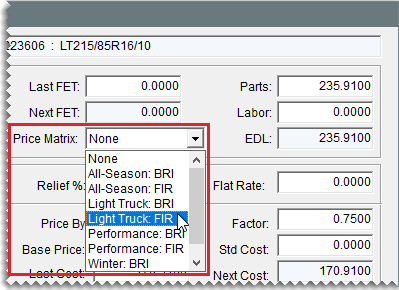
| 4. | Select the matrix you want to assign from the Price Matrix drop-down. |
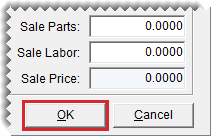
| 5. | Click OK to save your changes. The screen closes and the item’s part price is updated based on the calculation set up in the assigned matrix. |
If assigning price matrices to individual items is not practical, you can assign a matrix to a group of items with the Pricing Wizard.
To assign a matrix to a group of items
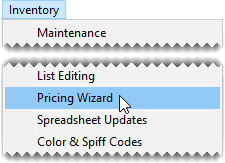
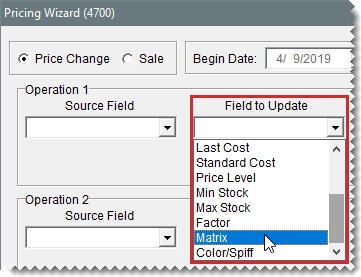
| 1. | Select Inventory > Pricing Wizard. The Pricing Wizard opens. |
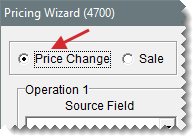
| 2. | Make sure Price Change is selected. |
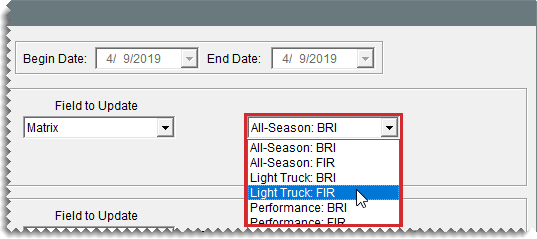
| 3. | Select Matrix from the Field to Update drop‑down for the operation you're using to update matrices. A second drop-down with a matrix list appears. |
| 4. | Select the matrix you want to assign from the second drop-down. |
| 5. | Define the items to which you’ll assign the matrix. |
| a. | Click Inventory. TireMaster prompts you to search for items. |
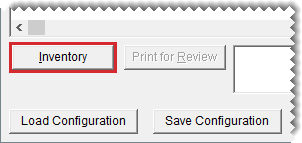
| b. | Look up the items. For more information, see Inventory Searches. |
| 6. | Implement the matrix assignments. |
| a. | Click Apply. A confirmation message appears. |
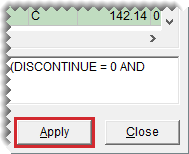
| b. | Click Yes. The update notification message appears. |
| c. | Click OK. The parts prices for the selected items update based on the calculations set up in the assigned matrix. |
| 7. | Close the Pricing Wizard, or repeat steps 3 through 6 to assign a matrix to other items. |
When a matrix is assigned to items, price updates occur automatically or you can implement the changes.
In the following scenarios, prices update automatically:
When you assign a price matrix to an individual item. For more information, see Assign a Matrix to a Single Item.
When you assign a matrix to a group of items. For more information, see Assign a Matrix to a Group of Items.
When you update your cost for items that you’re receiving into inventory (In this scenario, price matrices were previously assigned to the items.)
To update prices manually, apply the changes you make to a price matrix.
| 1. | Select Inventory > Price Matrix. |
| 2. | Select the matrix you want to work with. |
| 3. | Update the ranges, and click Save Matrix. |
| 4. | Select the newly-updated matrix from the list, and click Load/Apply. A confirmation message appears. |
| 5. | Click Yes to apply the changes. |
| 6. | Close the matrix screen. |
To confirm price changes made with a matrix, you can:
Look at an item's parts price for a single item in Inventory Maintenance (Qty/Pricing tab).
Look at the entries in the Best column on the Inventory List.
Look at the entries in the Parts column on the Inventory List Editing screen.
Print an Inventory Master list and look at the parts prices.