Customer Balance Adjustments
This help topic is applicable to the following TireMaster applications:
When you need to adjust a customer’s balance, make an AR journal entry. Two examples of when you'd make an AR journal entry include writing off a customer's bad debt and penalizing a customer for writing a nonsufficient funds check.
To adjust a customer’s AR balance
|
1.
|
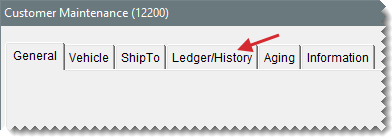
Look up the customer whose balance you want to adjust. For more information, see Customer Searches. |
|
4.
|
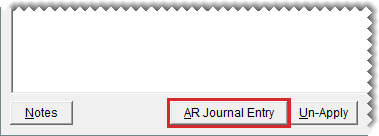
Click AR Journal Entry. The Customer Balance Adjustment screen opens. |
|
5.
|
Add the following information: |
Select the date on which the adjustment should be applied, along with the discount date and payment due date from the pop-up calendars.
Type a reference for the adjustment if needed.
|
6.
|
Create the offset entry: |
|
a.
|
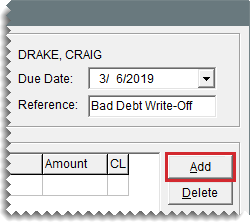
Click Add. A journal entry line appears under Offsets. |
|
b.
|
If you use the customer department method, click the Dept# column, press  , and select the appropriate department (in TireMaster Plus and TireMaster Corporate). , and select the appropriate department (in TireMaster Plus and TireMaster Corporate). |
|
c.
|
To define the GL account, do one of the following: |
For TireMaster Plus and TireMaster Corporate, click the Major column, press  , and select an account from the list.
For TireMaster Point of Sale, click the Major column, press  , and select the preset account for accounts receivable.
|
d.
|
Type a description for the entry. |
|
e.
|
Type the amount of the adjustment. |
Note: A positive amount increases the customer’s balance. A negative amount reduces the customer’s balance. You can disregard entering a value in the Disc $ field.
|
7.
|
To finish the adjustment, click OK. A confirmation message appears. |
You can apply the adjustment to an invoice or another document right away or later. For more information, see Apply an ROA.


 , and select the appropriate department (in TireMaster Plus and TireMaster Corporate).
 , and select an account from the list.
 , and select the preset account for accounts receivable.