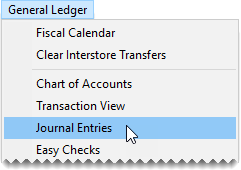
Journal Entries
This help topic is applicable to the following TireMaster applications:
Journal entries are used to record transactional activity in the general ledger. Journal entries are made up of two or more lines and must have equal totals for debits and credits.
TireMaster makes some journal entries automatically when you perform various transactions (for example, completing an invoice or closing the day). In these instances, the settings for inventory items, vendors, and customers determine which general ledger accounts transactions post to.
For some journal entries, you need to define which accounts some or all of the lines should post to. For example, when you perform a paidout, TireMaster credits the GL account assigned to your till but you need to define which expense account to debit. For manual journal entries, you need to define all of the GL accounts to debit and credit. Manual journal entries are entered on the Journal Entries screen.
Note: Entries that need to post to
both a bank account and the general ledger must be entered on the Check Reconciliation Add screen. For more information, see
Manage Bank Activity.
 Make a Manual Journal Entry
You need to make manual journal entries for transactions that do not post to the general ledger automatically. The credits and debits in a manual journal entry must equal each other before you can post it to the general ledger.
Note: Multiple users can make journal entries at the same time. Each user who makes journal entries needs to log in to TireMaster with a unique ID and password. If one user saves a journal entry, only that user can view and complete the journal entry at a later time.
To make a manual journal entry
|
2.
|
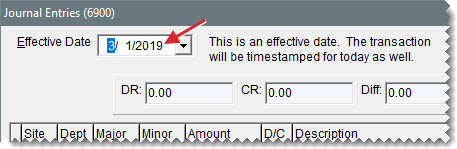
If you need to backdate the entry, select a different date from the Effective Date drop-down. |
|
3.
|
Add a line for the journal entry. |
|
a.
|
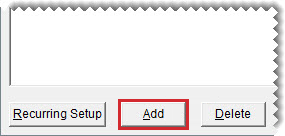
Click Add. A journal-entry line appears. |
|
b.
|
If you need to change the site, click the Site field and press  . Then select the site you want the entry to post to.
If you’re running TireMaster Plus, disregard this step. . Then select the site you want the entry to post to.
If you’re running TireMaster Plus, disregard this step.
|
|
c.
|
If you use departments, click the Dept field and press . Then select the department you want to entry to post to. |
|
d.
|
Click the Major or Minor field and press . Then select the general ledger account you want the entry to post to. |
|
e.
|
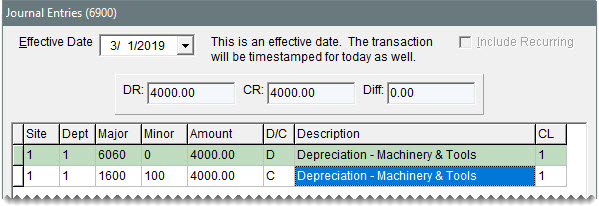
Type the amount for the entry. |
|
f.
|
In the D/C field, type D for a debit or C for a credit. |
|
g.
|
Type a description for the entry. |
Tip: Using the same description for all the lines of a journal entry can make researching manual entries easier.
|
h.
|
If you need to change the GL class, click the CL field and press . Then select the GL class that you want the entry to post to. |
|
4.
|
To add the remaining lines of the journal entry, repeat step 3. |
Tip: Check the Diff field to verify that the debits and the credits for the entry are in balance.
|
5.
|
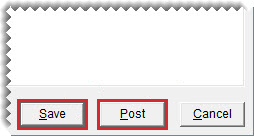
To post the entries to the general ledger immediately, click Post and answer the questions when prompted. If you want to post the entries later, click Save instead. |
Recurring Journal Entries
You can set up a series of journal entries to record transactions that occur on a regular basis, such as depreciation and prepaid expenses. When it’s time to post one or more recurring entries, you can load the preset information into the Journal Entries screen, make any needed changes, and post to the general ledger.
Set Up a Recurring Entry
Recurring entries are set up on the Recurring Journal Entry Setup screen. If an entry is for a fixed amount, you can specify it at this time.
To set up a recurring entry
|
2.
|
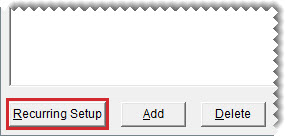
Click Recurring Setup. The Recurring Journal Entry Setup screen opens. |
|
3.
|
Click Add. A journal-entry line appears. |
|
4.
|
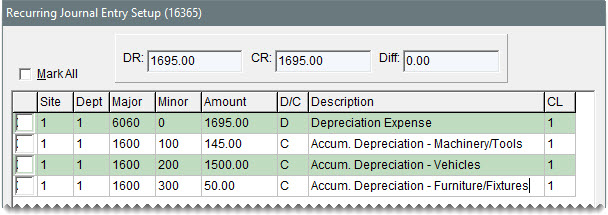
Enter the following information for the journal entry line as needed: |
Site number (in TireMaster Corporate systems)
Department number (if you use multiple departments)
Major and minor account numbers
D for debit or C for credit
A description of the entry
GL class number
Note: To enter the site, department, account, and GL class, press
and make a selection from the list that appears.
|
5.
|
To add the remaining lines of the recurring entry, repeat steps 3 and 4. |
|
6.
|
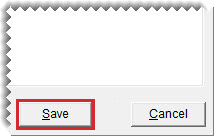
When you’re finished setting up the entries, click Save. The Recurring Journal Entry Setup screen closes. |
Note: The debit and credit amounts must match for the entries to be saved.
Post a Recurring Entry
When you’re ready to post one or more recurring entries, you can import the preset information for those entries into the Journal Entries screen.
To post a recurring entry
|
2.
|
Click Recurring Setup. The Recurring Journal Entries Setup screen opens. |
|
3.
|
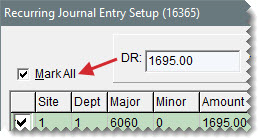
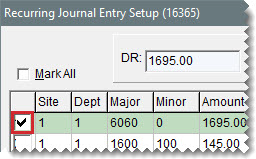
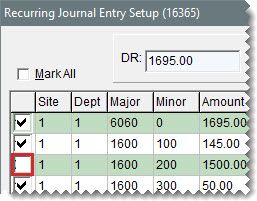
Select the entries you want to post: |
For all entries, select the Mark All check box.
For a single entry, select the check box for its line.
To exclude an entry, clear the check box for its line.
|
4.
|
Click Save. The Journal Entries screen opens. |
|
5.
|
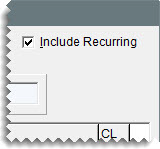
Select the Include Recurring check box. The recurring entries that you selected are added to the Journal Entries screen. |
|
6.
|
Change the amounts of the recurring entries if needed. |
|
8.
|
To post the entries to the general ledger, click Post and answer the questions when prompted. If you want to post the entries later, click Save instead. |
Reverse a Journal Entry
In some cases, you might need to cancel a transaction after it posted to the general ledger. You can reverse a journal entry to negate the effects of the original transaction.
Note: When you reverse an entry that posted to an inactive general ledger account, you need to make the account active before you can post the reversal. Once you’ve completed the reversing entry, you can make the account inactive again.
To reverse a journal entry
|
1.
|
Look up the journal entry for the original transaction on the GL Transaction View screen, and print a copy of the GL Transaction View List. For more information, see Search for General Ledger Entries. |
|
3.
|
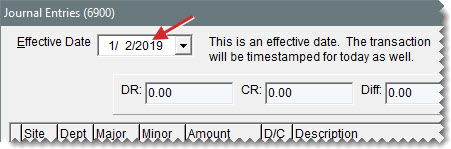
Type the date of the original journal entry in the Effective Date field. |
Note: If the fiscal period for the original journal entry date has been locked, unlock it. For more information, see
Unlock a Fiscal Period.
|
4.
|
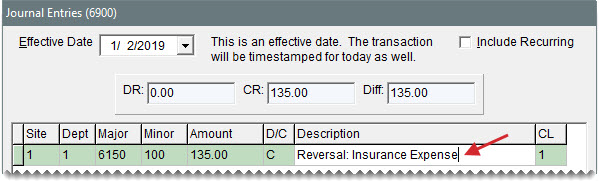
For each line of the original transaction that resulted in a debit, do the following. |
|
b.
|
In the Site, Dept, Major, Minor, and Amount fields, type the same values as the line in the original transaction. |
|
c.
|
In the D/C column, type C (the opposite of the original transaction) to credit the account. |
|
d.
|
Type a description for each reversing line. |
Tip: To simplify research, type REVERSAL: and the description from the original transaction. For example, if the description of the original transaction was Postage, type REVERSAL: Postage.
|
5.
|
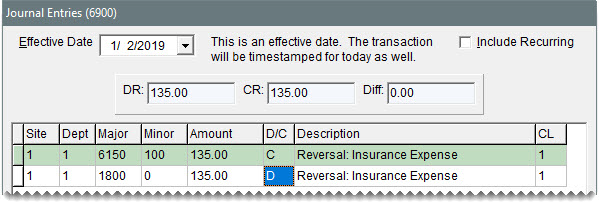
For each line of the original transaction that resulted in a credit, do the following: |
|
a.
|
In the Site, Dept, Major, Minor, and Amount fields, type the same values as the line in the original transaction. |
|
b.
|
In the D/C column, type D (the opposite of the original transaction) to debit the account. |
|
c.
|
Type a description for each reversing line. |
|
6.
|
When you are finished adding lines and the debits equal the credits, click Post and answer the questions when prompted. If you want to post the entries later, click Save instead. |