Manage Bank Activity
This help topic is applicable to the following TireMaster applications:
|
TireMaster Point of Sale |
TireMaster Plus |
TireMaster Corporate |
|---|---|---|

|

|
You can perform various transactions and track the activity of your bank accounts with TireMaster.
With TireMaster, you can generate checks and record electronic payments (debit card, online bill pay, and ACH). If you’ve set up customer or vendor records for payees, you can post payments to both customer or vendor subledger accounts and the general ledger. When there are no customer or vendor records for payees, payments post to the general ledger only.
To make a payment
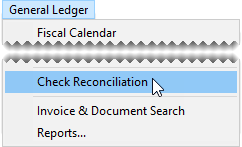
| 1. | Select General Ledger > Check Reconciliation. The Check Reconciliation screen opens. |
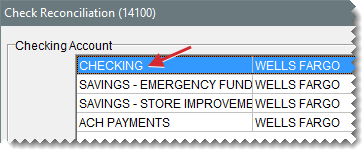
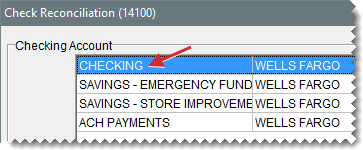
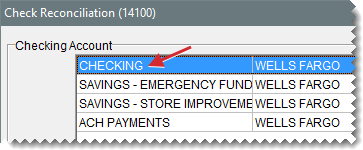
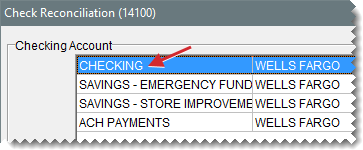
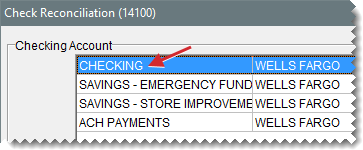
| 2. | Select the bank account from which the payment is being made. |
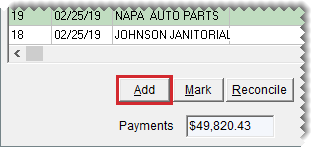
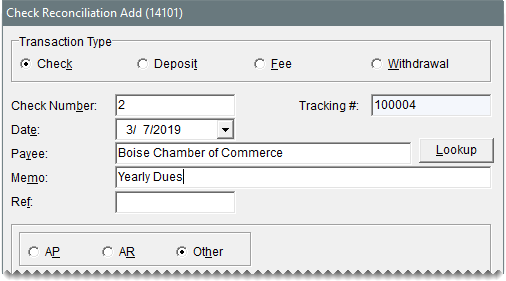
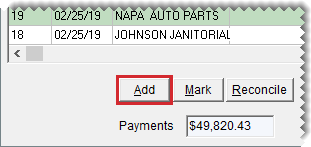
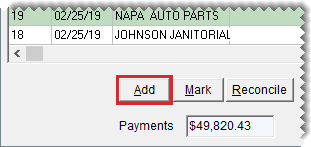
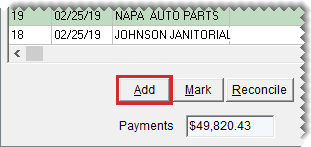
| 3. | Click Add. The Check Reconciliation Add screen opens. |
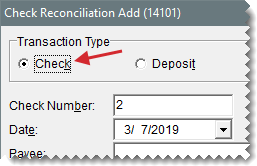
| 4. | For the transaction type, make sure Check is selected. |
| 5. | To backdate or postdate the payment, change the entry in the Date field. |
| 6. | Define how the payment should be handled: |
To post the payment to a vendor’s subledger account, select AP and look up the vendor when prompted. For more information, see Vendor Searches.
To post the payment to a customer’s subledger account, select AR and look up the customer when prompted. For more information, see Customer Searches.
For a payment that should not post to a vendor or customer subledger account, select Other. Then type the name of the payee.
| 7. | Type a memo, reference (such as a document number), or both if needed. |
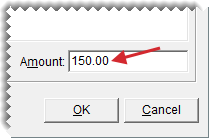
| 8. | Enter the payment amount: |
If you’re posting the payment to a customer or vendor subledger, type the amount in the lower-right corner of the screen.
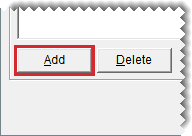
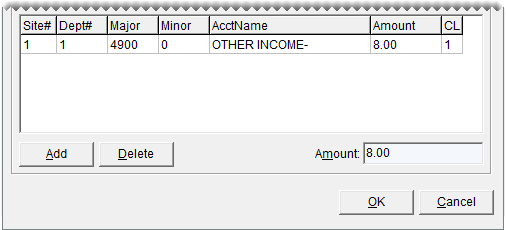
If check is not posting to a customer or vendor subledger, click Add. Then enter the GL account number and amount for the offsetting entry.
 in the appropriate field and make a selection from the list that appears.
| 9. | Indicate whether to produce a check. |
To print a check, make sure the Print Checks check box is selected.
If the payment will be or was already processed electronically (with a debit card, online bill pay, or ACH), clear the Print Checks check box.
| 10. | Click OK. TireMaster prompts you to complete the payment. |
| 11. | Click Yes. One of the following occurs: |
If you printed a check, TireMaster prompts you to verify the check printed okay. If it did, click Yes and generate a check detail report (if needed). If you need to reprint the check, click No and follow the on‑screen instructions.
If you didn’t print a check, generate the check detail report if needed.
An entry for the payment is added to the Check Reconciliation screen.
When you make a deposit into one or your bank accounts, you can record it in TireMaster.
To make a deposit
| 1. | Select General Ledger > Check Reconciliation. The Check Reconciliation screen opens. |
| 2. | Select the bank account into which the deposit was made. |
| 3. | Click Add. The Check Reconciliation Add screen opens. |
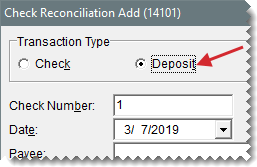
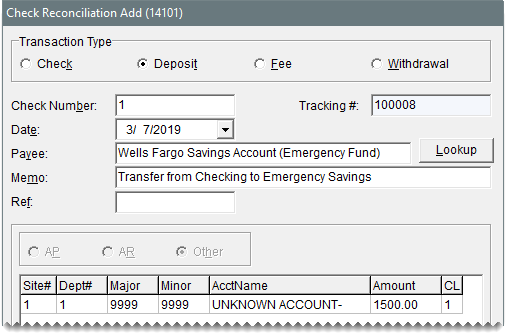
| 4. | For the transaction type, select Deposit. |
| 5. | To backdate or postdate the deposit, change the entry in the Date field. |
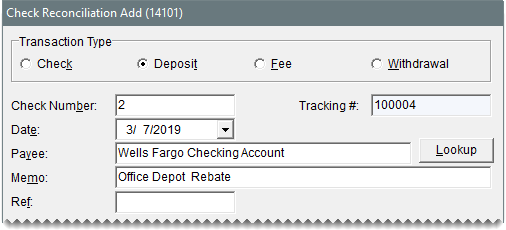
| 6. | Enter the following information. |
| a. | Type the name of the payee. |
| b. | Type a memo, reference (such as a document number), or both if needed. |
| 7. | Create an offsetting entry. |
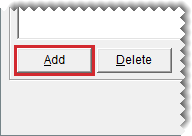
| a. | Click Add. A journal entry line appears. |
| b. | Enter the account number and the amount of the offsetting entry. |
 in the appropriate field and make a selection from the list that appears.
| c. | To make additional entries for this deposit, repeat steps 7a and 7b. TireMaster calculates the total amount of the deposit. |
| 8. | Click OK. TireMaster prompts you to complete the transaction. |
| 9. | Click Yes. The Report Window opens and displays the JE Edit Report. |
| 10. | Print the report and close the Report Window. |
If your bank charges fees for various services, you can track them with the Check Reconciliation Add screen.
To record a bank fee
| 1. | Select General Ledger > Check Reconciliation. The Check Reconciliation screen opens. |
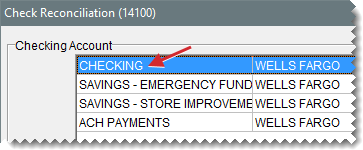
| 2. | Select the bank account from which the fee will be withdrawn. |
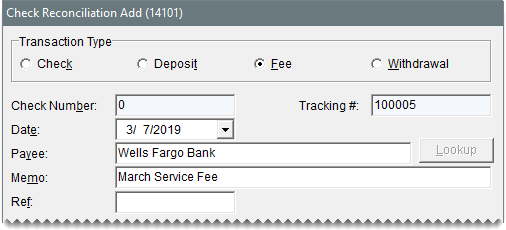
| 3. | Click Add. The Check Reconciliation Add screen appears. |
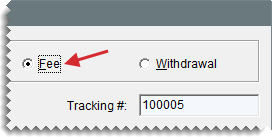
| 4. | For the transaction type, select Fee. |
| 5. | To backdate or postdate the fee, change the entry in the Date field. |
| 6. | Enter the following information: |
| a. | Type the name of the payee. |
| b. | Type a memo, reference (such as a document number), or both if needed. |
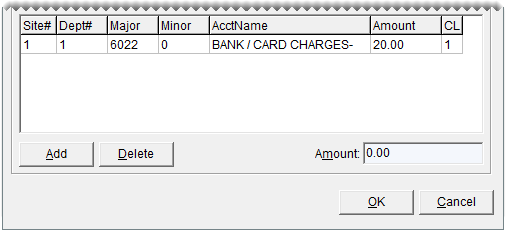
| 7. | Create an offsetting entry for the fee: |
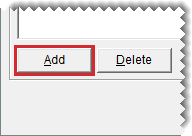
| a. | Click Add. A journal-entry line appears. |
| b. | Enter the account number, account name (description), and amount for the offsetting entry. |
| c. | To make additional entries for the fee, repeat steps 7a and 7b. TireMaster calculates the total amount of the fee. |
| 8. | Click OK. TireMaster prompts you to complete the transaction. |
| 9. | Click Yes. The Report Window opens and displays the JE Edit Report. |
| 10. | Print the report and close the Report Window. |
You can record transactions such as ATM cash withdrawals in TireMaster Corporate by making withdrawals from a bank account. When you enter a withdrawal in TireMaster, you can post it to a vendor’s subledger account, a customer’s subledger account, or neither.
To withdraw money from a bank account
| 1. | Select General Ledger > Check Reconciliation. The Check Reconciliation screen opens. |
| 2. | Select the bank account from which you want to make a withdrawal. |
| 3. | Click Add. The Check Reconciliation Add screen appears. |
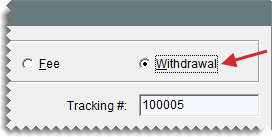
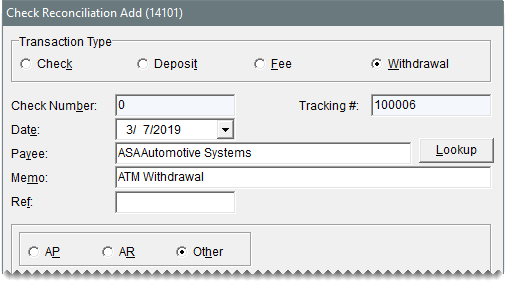
| 4. | For the transaction type, select Withdrawal. |
| 5. | To backdate or postdate the withdrawal, change the entry in the Date field. |
| 6. | Define how the withdrawal should be handled: |
To post the withdrawal to a vendor’s subledger account, select AP and look up the vendor when prompted.
To post the withdrawal to a customer’s subledger account, select AR and look up the customer when prompted.
For a withdrawal that should not post to a vendor or customer subledger, select Other. Then type the name of the payee.
| 7. | Type a memo, reference (such as a document number), or both if needed. |
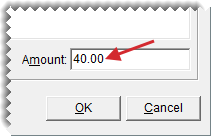
| 8. | Enter the amount of the withdrawal: |
If you’re posting the withdrawal to a vendor or customer subledger, type the amount in the lower-right corner of the screen.
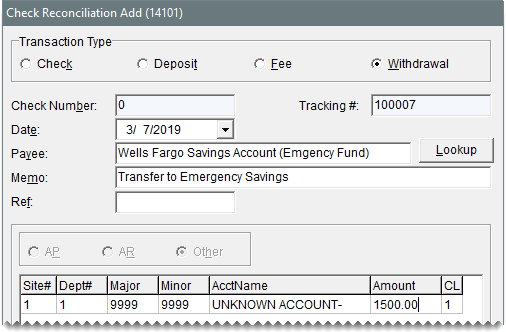
If the withdrawal should not post to a vendor or customer subledger, click Add. Then enter the account number, account name (description), and amount of the offsetting entry.
| 9. | Click OK. TireMaster prompts you to complete the transaction. |
| 10. | Click Yes. The Report Window opens and displays the JE Edit Report. |
| 11. | Print the report and close the Report Window. |
To transfer money from one bank account to another, you need to do the following:
Make a withdrawal from the account that the money is being transferred from
Make a deposit into the account that the money is being transferred to
When you transfer money from one account to another, you need to make sure the transfer is recorded in the check registers for both accounts. To do this, use the unknown expense account to offset the entries for each part of the transfer.
To transfer money to another bank account
| 1. | Make a withdrawal from the bank account that the money is being transferred from: |
| a. | Select General Ledger > Check Reconciliation. The Check Reconciliation screen opens. |
| b. | Select the payment account that the money is being transferred from. Then click Add. |
| c. | For the transaction type, select Withdrawal. |
| d. | Type the name of the payee for the withdrawal. |
| e. | Type a memo, reference (such as a document number), or both if needed. |
| f. | Click Add, and make an offsetting entry to the unknown expense account. For more information, see Make a Withdrawal. |
| g. | Click OK, and follow the on-screen instructions to complete the withdrawal. When you’re finished, leave the Check Reconciliation screen open. |
| 2. | Make a deposit into the account that the money is being transferred to. |
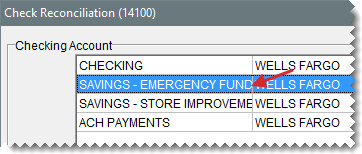
| a. | On the Check Reconciliation screen, select the payment account that the money is being transferred to. Then click Add. |
| b. | For the transaction type, select Deposit. |
| c. | Enter the payee. |
| d. | Type a memo, reference (such as a document number), or both if needed. |
| e. | Click Add. Then make an offsetting entry for the same amount as the withdrawal performed in step 1, posting it to the unknown expense account. |
| f. | Click OK, and follow the on-screen instructions to complete the deposit. |
If you need to remove a check, electronic payment, deposit, fee, or withdrawal from the check register, mark it as a pending void. When you reconcile a bank account, entries marked as pending voids are removed from the Check Reconciliation screen.
To mark a pending void
| 1. | Select General Ledger > Check Reconciliation. The Check Reconciliation screen opens. |
| 2. | Select the payment account with the item you want to make as a pending void. |
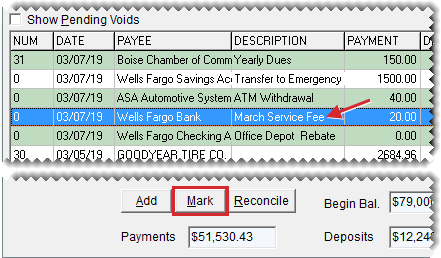
| 3. | Select the check, deposit, fee, or withdrawal that you want to mark as a pending void, and click Mark. |
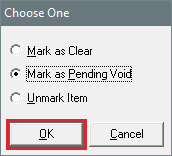
| 4. | Select Mark as Pending Void, and click OK. |
The letter P is displayed in the C column for items that have been marked as pending voids. If you cannot see any items marked with a P, select the Show Pending Voids check box.
By reconciling a bank account, you can verify that the balance you’ve calculated for the account matches the balance calculated by the bank.
To reconcile a bank account
| 1. | Select General Ledger > Check Reconciliation. The Check Reconciliation screen opens. |
| 2. | Compare the check register and general ledger balances: |
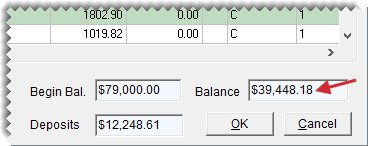
| a. | Write down the amount in the Balance field. |
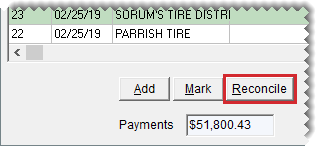
| b. | Click Reconcile. |
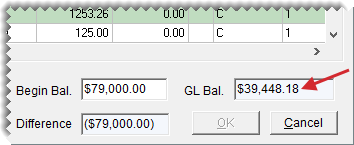
| c. | Write down the amount in the GL Bal field. If the two balances differ, make adjusting journal entries or check register entries as needed. Keep in mind that pending voids affect this amount. |
| d. | Click Cancel to exit reconcile mode. |
| 3. | Mark each check, deposit, fee, and withdrawal on the bank statement as cleared on the Check Reconciliation screen. To mark an item as cleared, double-click its row. The letter C is displayed in the C column for items that have been marked as cleared. |
| 4. | If the bank statement shows any payments, deposits, or withdrawals that are missing from the Check Reconciliation screen, add them and mark them as cleared. |
| 5. | Click Reconcile. The Check Reconciliation screen goes into reconcile mode. |
| 6. | Type the bank statement’s ending balance in the End Bal field. The amount in the Difference field should be $0. If it isn’t, make sure the beginning balance is correct and that the appropriate items have been marked as cleared. |
| 7. | Verify that the difference is $0.00, and click OK. One of the following occurs: |
If any items are marked as pending voids, the Report Window appears. Print the Check Reconciliation - Voids Report and close the Report Window. Then finish the reconciliation.
If no items are marked as pending voids, TireMaster prompts you to finish the reconciliation.
