Customer Payment Terms
This help topic is applicable to the following TireMaster applications:
|
TireMaster Point of Sale |
TireMaster Plus |
TireMaster Corporate |
|---|---|---|

|

|

|
If you offer in-store charge accounts, you need to assign payment terms to your customers. Payment terms include due dates, discounts for early payments, and the number of installments.
Default payment terms are those terms which you extend to the majority of your customers who have in-store charge accounts. To define your default payment terms, you need to set a variety of system controls.
To set default customer payment terms
| 1. | Select Setup > System Controls. The System Controls screen opens. |
| 2. | Click the Customer tab. |
| 3. | In TireMaster Corporate, make sure Corporate Controls is selected. Otherwise, disregard this step. |
| 4. | Set the requirements for the default due date: |
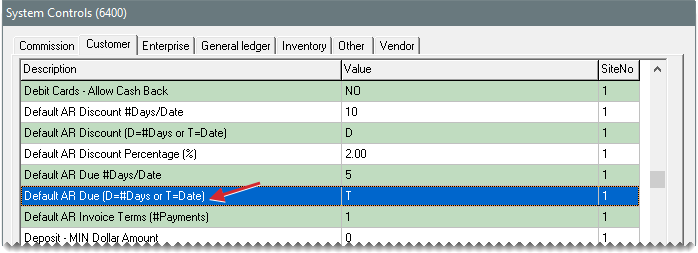
| a. | Select Default AR Due (D=#Days or T=Date) and press Enter. |
| b. | If the payment is due by a specific number of days after the purchase, select Days. If the payment is due by a specific day of the month instead, select Th. Then click OK. |
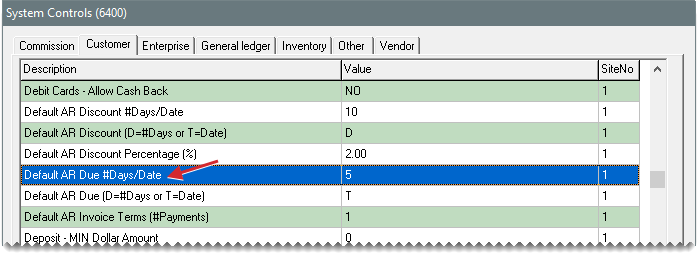
| c. | Select Default AR Due #Days/Date and press Enter. |
| d. | Type the number that represents the number of days after the purchase or the day of the month. Then click OK. |
| 5. | Set the default number of payments for an invoice: |
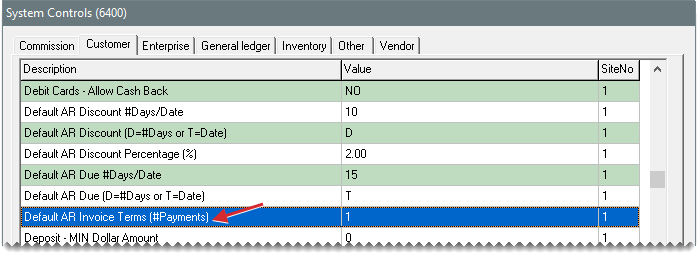
| a. | Select Default AR Terms (#Payments) and press Enter. |
| b. | Type the number of installments and click OK. |
| 6. | Set the default early pay discount percentage: |
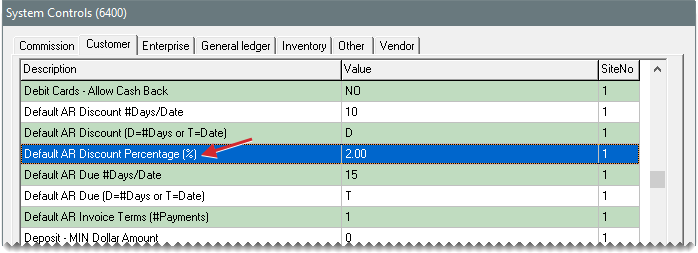
| a. | Select Default AR Discount Percentage (%) and press Enter. |
| b. | Type the percentage amount and click OK. |
| 7. | Set the requirements for receiving the early pay discount: |
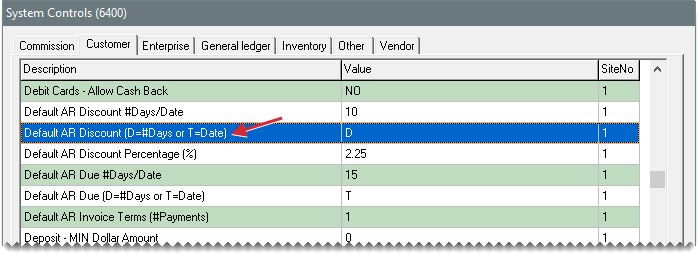
| a. | Select Default AR Discount (D=#Days or T=Date) and press Enter. |
| b. | If you need to receive the payment by a specific number of days after the purchase, select Days. If you need to receive the payment by a specific day of the month instead, select Th. Then click OK. |
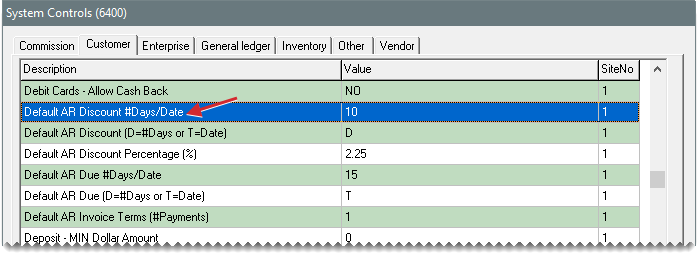
| c. | Select Default AR Discount #Days/Date and press Enter. |
| d. | Type the number that represents the number of days after the purchase or the day of the month. Then click OK. |
| 8. | Close the System Controls screen. |
When you add a customer, the default payment terms are assigned automatically. If you want to offer different terms to a customer instead, you can set custom payment terms for that client.
To set custom payment terms
| 1. | Look up the customer for whom you want to set custom terms. For more information, see Customer Searches. |
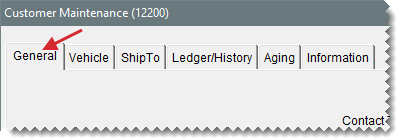
| 2. | On the Customer Maintenance screen, make sure the General tab is selected. |
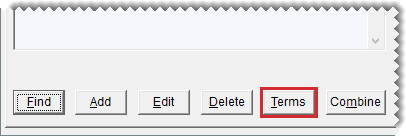
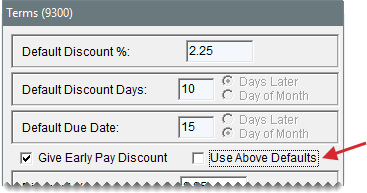
| 3. | Click Terms. The Terms screen opens. |
| 4. | To enable early pay discounts, select the Give Early Pay Discounts check box. |
| 5. | To set a unique early pay discount, due date, or both, clear the Use Above Defaults check box. TireMaster disables the default terms. |
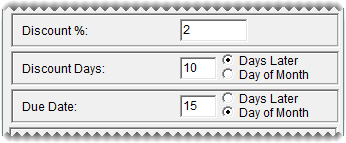
| 6. | If you selected the Give Early Pay Discount check box in step 4, do the following: |
| a. | Type the discount percentage in the Discount % field. |
| b. | If the payment must be received a specific number of days after the purchase to give the discount, type the number of days in the Discount Days field and select Days Later. If the payment must be received by a specific day of the month instead, type the day of the month and select Day of Month. |
| 7. | If the payment is due a specific number of days after the purchase, type the number of days in the Due Date field and select Days Later. If the payment is due by a specific day of the month instead, type the day of the month and select Day of Month. |
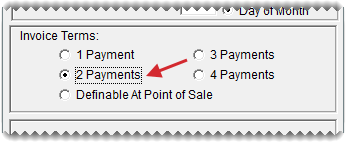
| 8. | Under Invoice Terms, select the maximum number of payments the customer can make on an invoice. |
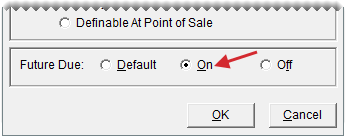
| 9. | Under Future Due, define whether to include future due invoices and balance adjustments on the customer’s statements. |
To use the future due setting defined on the Statement Setup screen, select Default. For more information, see Define Statement Print Options.
To always include future due items on the customer’s statements, select On.
To always exclude future due items from the customer’s statement, select Off.
| 10. | To save your changes, click OK. |
