Noninventoriable Costing Methods
This help topic is applicable to the following TireMaster applications:
|
TireMaster Point of Sale |
TireMaster Plus |
TireMaster Corporate |
|---|---|---|

|

|

|
With noninventoriable costing methods, you define the amount to use as an item’s cost. The costing method for noninventoriable items is defined in the inventory records for those items. Three noninventoriable costing methods are available, and you can use one, two, or all of them.
The expense method is often used for low cost items and labor items.
To set up an expense method item
| 1. | Add the item to the inventory. For more information, see Add an Inventory Item. |
| 2. | On the Inventory Maintenance screen, do the following. |
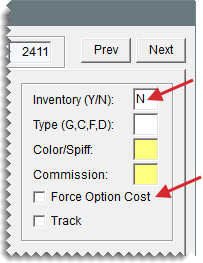
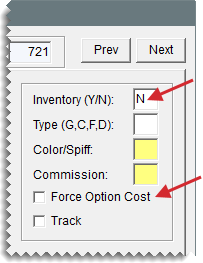
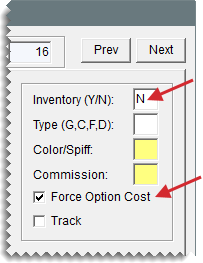
| a. | Type the letter N in the Inventory(Y/N) field. |
| b. | Make sure the Force Option Cost check box is clear. |
| c. | If you want to track the item, select the Track check box. Otherwise, leave it alone. For more information, see Item Tracking. |
| 3. | Open the pricing screen. |
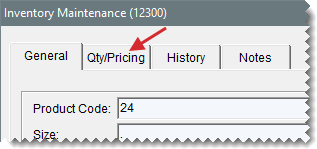
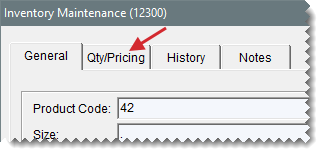
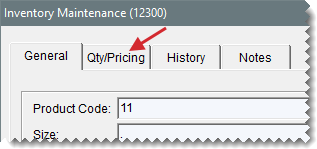
| a. | Click the Qty/Pricing tab. |
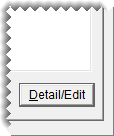
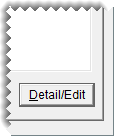
| b. | Click Detail/Edit. |
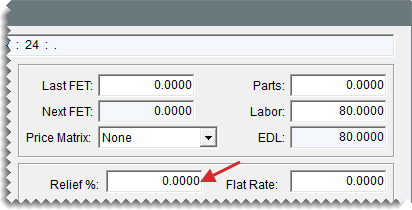
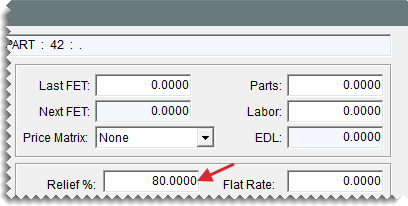
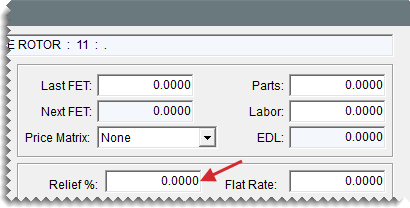
| 4. | Make sure the entry in the Relief % field is set to 0.00. |
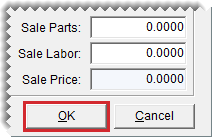
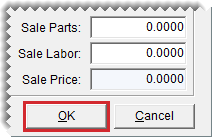
| 5. | To save your changes, click OK. |
| 6. | Close the open screens. |
With the relief percent method, TireMaster calculates an estimated cost using the following formula: Estimated Cost = Parts Price x Relief Percent. The relief percent method is often used to handle the cost of small parts that you usually keep in stock but for which you don’t track quantities.
To set up a relief percent item
| 1. | Add the item to the inventory. For more information, see Add an Inventory Item. |
| 2. | On the Inventory Maintenance screen, do the following. |
| a. | Type the letter N in the Inventory(Y/N) field. |
| b. | Make sure the Force Option Cost check box is clear. |
| c. | If you want to track the item, select the Track check box. Otherwise, leave it alone. For more information, see Item Tracking. |
| 3. | Open the pricing screen. |
| a. | Click the Qty/Pricing tab. |
| b. | Click Detail/Edit. |
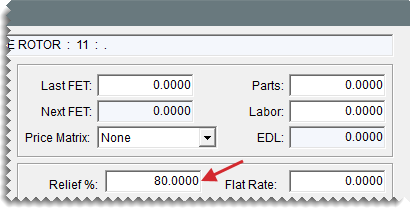
| 4. | Type the percentage of the parts price that you want to use as the item’s cost in the Relief % field. |
| 5. | To save your changes, click OK. |
| 6. | Close the open screens. |
With the option cost method, you enter an item’s actual cost, including federal excise tax, at point of sale. The option cost method should be used when you perform outside purchases. That is, when you buy items you normally don’t stock, such as service parts and special order tires.
To set up an option cost item
| 1. | Add the item to the inventory. For more information, see Add an Inventory Item. |
| 2. | On the Inventory Maintenance screen, do the following. |
| a. | Type the letter N in the Inventory(Y/N) field. |
| b. | Select the Force Option Cost check box. |
| c. | If you want to track the item, select the Track check box. Otherwise, leave it alone. For more information, see Item Tracking. |
| 3. | Open the pricing screen. |
| a. | Click the Qty/Pricing tab. |
| b. | Click Detail/Edit. |
| 4. | Do one of the following: |
Leave the Relief % set to 0.0000.
Type a relief percent for the item. This value will be used to calculate the item’s cost when its cost is not entered at point of sale.
With a system control, you can force users to enter the cost of items for outside purchases at point of sale.
To set the Force Option Cost control
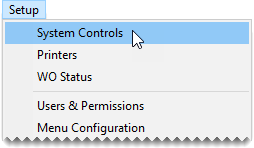
| 1. | Select Setup > System Controls. The System Controls screen opens. |
| 2. | Click the Other tab. |
| 3. | Select Force Option Cost Required and press Enter. |
| 4. | Select one of the following: |
To require users to enter an item’s cost at point of sale, select Yes. This setting prevents users from entering a cost of $0.00.
To allow users complete an invoice without entering an item’s cost, select No. With this setting, users will receive a reminder about entering the item’s cost.
| 5. | Close the System Controls screen. |
If an item is assigned the option cost costing method, you need to enter its cost, including federal excise tax, at point of sale. The option cost method is typically assigned to service parts and special order tires obtained through outside purchases.
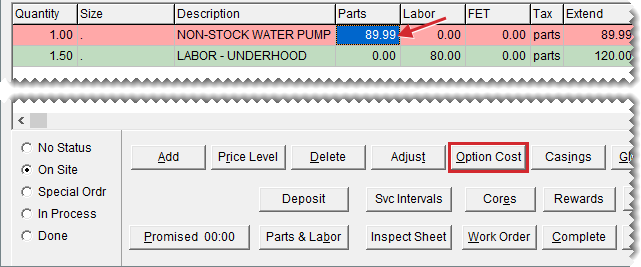
When you add an option cost item to a work order, TireMaster prompts you for the cost by turning the item’s line pink. To enter the cost, select the item and click Option Cost .
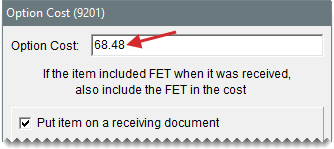
When the Option Cost screen opens, type the item’s cost or its corresponding cost replacement code in the Option Cost field. If entering the item's cost is required, the amount must be greater than $0.00. For more information, see and Force Option Cost Control .
Once the item’s cost is entered, you can put the item on a receiving document. For items with tracking enabled, putting the item on a receiving document is required. For more information, see Perform Outside Purchases and Outside Purchases for Tracked Items.
A cost replacement code lets you print a noninventoriable item’s cost on an invoice without revealing the cost to the customer. If the customer returns the item, the code makes it easy for you to record the item’s actual cost. Cost replacement codes can be used for items assigned the option cost and relief percent costing methods. For option cost items, you enter the cost replacement code at point of sale.
A cost replacement code is comprised of a series of ten letters that represent numbers. Each letter in the code must be unique.
Set Up a Cost Replacement Code
The cost replacement code is configured in System Controls. First, create the code. Then define whether to print it on invoices and display it on the Option Cost screen at point of sale.
To set up a cost replacement code
| 1. | Select Setup > System Controls. The System Controls screen opens. |
| 2. | Click the Inventory tab. |
| 3. | Define the cost replacement code. |
| a. | Select Cost Replacement Code and press Enter. |
| b. | Type a ten letter code. Each letter in the code must be unique. (Example: HEAVYSTOCK.) |
| c. | Click OK. |
| 4. | Define whether to print the code on invoices. |
| a. | Select Cost Replacement Code - Show on Invoices and press Enter. |
| b. | Select Yes or No, and click OK. |
| 5. | Close the System Controls screen. |
