Transfers
This help topic is applicable to the following TireMaster applications:
|
TireMaster Point of Sale |
TireMaster Plus |
TireMaster Corporate |
|---|---|---|

|

|

|
Stores that are part of a chain or work with buying groups often need to transfer inventory from one location to another. In TireMaster, transfers are handled as sales. In a transfer, you sell items at cost instead of the regular selling price.
Before you can create transfer invoices, you need to complete various settings.
The startup database that ships with new TireMaster systems includes type T, which is a customer type for transfer customers. You can use this setting or add your own customer type to handle transfer customers. For more information, see Add a Customer Type.
Before you add transfer customers and perform any transfer sales, you need to define the default customer type for transfer customers. If you're running TireMaster Plus or TireMaster Corporate, you also need to define the GL class for transfers.
To set the transfer sale controls
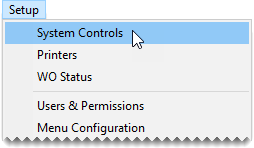
| 1. | Select Setup > System Controls. The System Controls screen opens. |
| 2. | Set the customer type control. |
| a. | Click the Customer tab. |
| b. | Select Customer - Transfer Type. By default, the control is set to type T. |
| c. | If you do not want to use type T as the default transfer customer type, press Enter and select a different type from the list. Otherwise, leave it alone. |
| 3. | Set the transfer GL class control. If you're running TireMaster Point of Sale, disregard this step. |
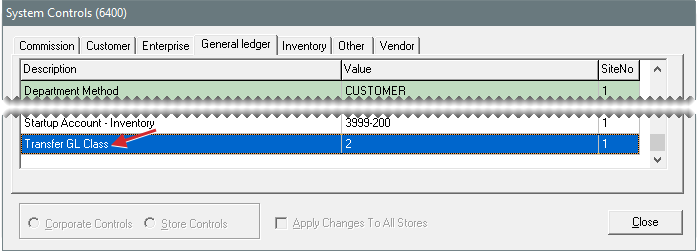
| a. | Click the General Ledger tab. |
| b. | Select Transfer GL Class. By default, the control is set to class 2. |
| c. | If you do not want to use class 2 as the default class for transfer sales, press Enter. Then type the number for the class you want to use. Otherwise, leave it alone. |
| 4. | Close the System Controls screen. |
A transfer customer is usually a buying group or another store in a multistore chain.
To add a transfer customer
| 1. | Look up an existing AR customer, or add a customer record for the transfer customer. For more information, see Customer Searches or Add an AR Customer. |
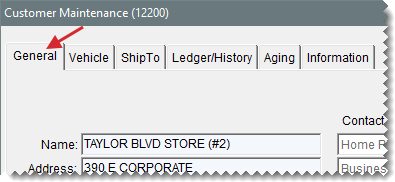
| 2. | On the Customer Maintenance screen, make sure the General tab is selected. |
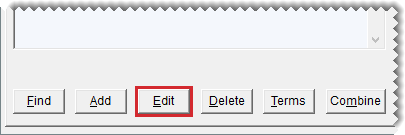
| 3. | Click Edit (unless you just added the customer). |
| 4. | Do the following: |
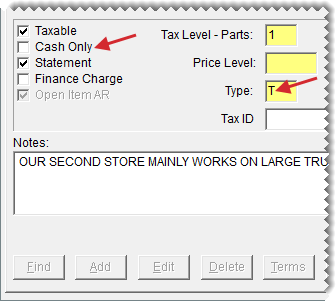
| a. | To assign the transfer customer type, click the Type field and press  . Then select the type for transfer customers from the list. . Then select the type for transfer customers from the list. |
| b. | Clear the Cash Only check box. |
| 5. | Add additional information to the transfer customer’s record if needed. |
| 6. | To save the transfer customer, click OK. |
To transfer inventory from one store to another, start a work order as usual, looking up a transfer customer when prompted. When you add items to the work order, they’re priced at your cost and don’t include add-ons. Once you’ve added all of the items you need to transfer, you can complete the work order. For more information, see Create a Regular Work Order and Complete an Invoice.
When you receive transferred inventory, create a work order and treat it like a trade-in. TireMaster prices trade‑ins from transfer customers at your last cost.
To receive a transferred inventory
| 1. | Start a work order for the transfer customer who sold you the items. For more information, see Create a Regular Work Order. |
| 2. | On the Invoice Entry screen, click Add and look up transferred item. |
| 3. | In the Quantity column, type - followed by the quantity of transfer items being received. (For example, to receive 2 tires, type -2.) The Customer Sales History screen opens. |
| 4. | Click Trade-In. The item is added to the work order at your cost and includes federal excise tax, if any. |
| 5. | Complete the invoice as usual. For more information, see Complete an Invoice. |
