Add and Manage Customers
This help topic is applicable to the following TireMaster applications:
|
TireMaster Point of Sale |
TireMaster Plus |
TireMaster Corporate |
|---|---|---|

|

|

|
Adding new customers and managing existing customer records are two of the most commonly performed tasks in TireMaster. For information about adding and managing vendor accounts, see Add and Manage Vendors.
In TireMaster, cash customer is a classification for those clients who are required to pay upon completion of a sale. Clients classified as cash customers can pay with cash, check, or payment cards. Cash customers are typically those clients who walk into your store to inquire about products and services.
To add a cash customer
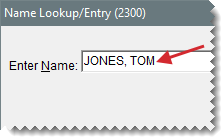
| 1. | Start a work order or a quote. TireMaster prompts you for the customer's name. For more information, see Create a Regular Work Order or Basic Tire Quotes. |
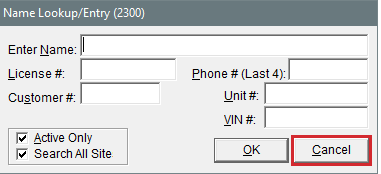
| 2. | To close the Name Lookup/Entry screen, click Cancel . |
| 3. | On the Customer Maintenance screen, click Add. TireMaster prompts you for the new customer’s name. |
| 4. | Type the new customer’s last name or the customer’s business name and click OK. One of the following occurs: |
The Customer Maintenance screen opens, with the customer's last name filled in.
If a customer with the same last name already exists, TireMaster asks if you want to continue. To add the customer, click Yes . To see if the customer already exists in the database, click No. The customer record will open for editing, or you'll be prompted to select the name from the customer list.
| 5. | After the new customer’s last name, type a comma, a space, and the customer’s first name. (For example. CARLSON, STUART.) |
| 6. | Type the new customer’s street or mailing address. |
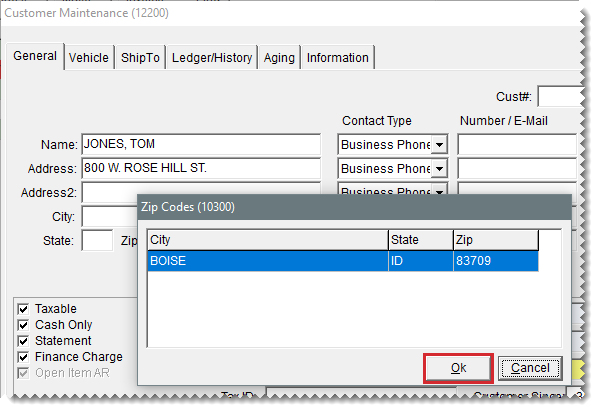
| 7. | Type the customer’s zip code. If the zip code has already been used, the Zip Codes screen appears. |
| 8. | Click OK. The city and state are added to the customer’s contact information. |
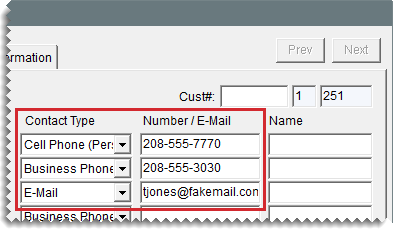
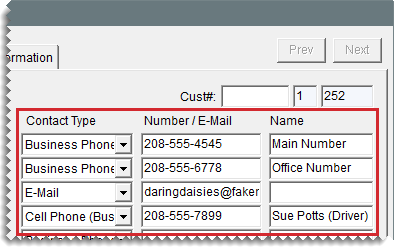
| 9. | Add the phone numbers and e-mail address you want to have on record for the customer. For more information, see Add Phone Numbers and Email Addresses. |
| 10. | To accept the remaining default settings for the customer, click OK. For more information, see General Tab. |
When management agrees to extend in-store charges privileges to a business or individual, create a customer record for the client that includes the credit limit and payment terms.
To add an AR customer
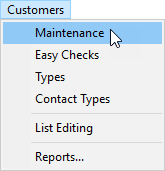
| 1. | Select Customers > Maintenance. TireMaster prompts you for the customer's name. |
| 2. | To close the Name Lookup/Entry screen, click Cancel . |
| 3. | On the Customer Maintenance screen, click Add. TireMaster prompts you for the new customer’s name. |
| 4. | Type the new customer’s name, using the following guidelines, and click OK: |
For individuals, type the last name, a comma, a space, and the first name. (For example, CARLSON, STUART.)
For businesses, disregard the comma before the abbreviation Inc. Otherwise, Inc. will be treated as a last name (Inc., My Company).
| 5. | Add the customer's address and contact information: |
| a. | Type the new customer’s street or mailing address. |
| b. | Type the customer’s zip code. If the zip code has already been used in TireMaster, the Zip Codes screen appears. |
| c. | Click OK. The city and state are added to the customer’s contact information. |
| d. | Add the phone numbers and e-mail address you want to have on record for the customer. For more information, see . Add Phone Numbers and Email Addresses. |
| 6. | To classify the customer as an AR account, do the following: |
Clear the Cash Only check box.
Select or clear the Statement and Finance Charge check boxes as needed.
Type the credit limit. For unlimited credit, type 0.00.
| 7. | Update the remaining costumer settings (such as tax level, price level, customer type) as needed. For more information about customer account settings, see General Tab. |
| 8. | Click OK to save your changes. |
| 9. | Set the customer's payment terms. For more information, see Set a Customer's Payment Terms. |
Occasionally you need to update customer information, such as address, phone number, or tax level. You can modify the information for a single customer or you can update a range of customer records.
Most of the time, you’ll need to make changes to one customer record at a time. You can make these changes on the Customer Maintenance screen.
To update a customer record
| 1. | Look up the customer whose settings you need to update. The Customer Maintenance screen appears. For more information, see Customer Searches. |
| 2. | Make sure the General tab is selected, and do one of the following: |
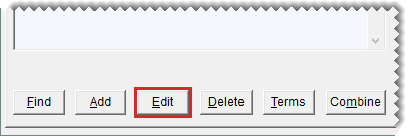
If you have permission to update the entire customer record, click Edit.
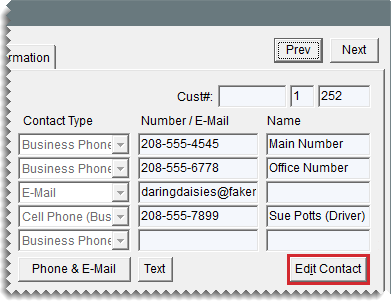
If you’re allowed to update the contact information and notes only, click Edit Contact.
| 3. | Make the needed changes. For information about the settings on this screen, see Customer Maintenance Screen. |
| 4. | To save your changes, click OK. |
You can update the information for a range of customer records with Customer List Editing. If you need to update a range of vendor records instead, see Update Multiple Vendor Records.
To update multiple customer records
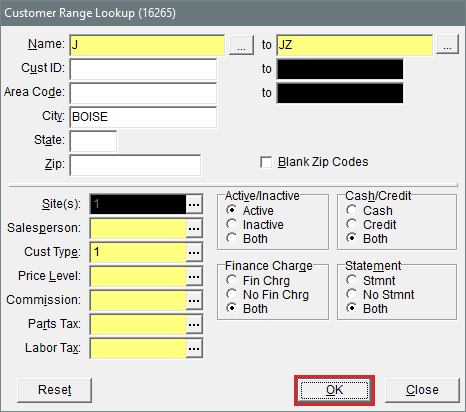
| 1. | Select Customers > List Editing. The Customer Range Lookup screen opens. |
| 2. | To search for a range of records to edit, use one or more of the following: |
Starting and ending name
Customer ID (starting and ending)
Area code (starting and ending), city, state, or zip code
Blank zip codes
Site (for the corporate site of TireMaster Corporate systems only)
Salesperson, customer type, price level, commission type, or tax level
Active, inactive, or both
Cash, credit, or both
Customers who are assessed finance charges, those who aren’t, or both
Customers who receive statements, those who don’t, or both
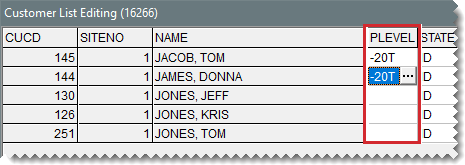
| 3. | Click OK. The Customer List Editing screen opens. |
| 4. | Select a column and update the records as needed. You can type your changes or make a selection from a list. To select a setting from a list, click or press  . . |
| 5. | When you’re finished updating the records, click Close. |
TireMaster lets you store additional shipping or billing addresses for each customer. When you create new work orders, you can select one of the addresses.
To add a separate shipping address
| 1. | Search for the customer whose shipping address you’re going to add. For more information, see Customer Searches. |
| 2. | On the Customer Maintenance screen, click the ShipTo tab. |
| 3. | Click Add. The Ship-To Maintenance screen appears. |
| 4. | Type a unique name for the address and the address information. |
| 5. | To save the new address, click OK. |
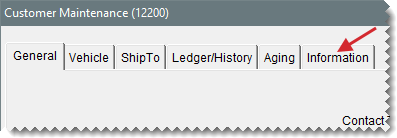
If you need to store additional information in a customer’s record, you can add it to the Information tab. Types of information that can be added to the tab include additional contact names and billing instructions. This functionality is available in TireMaster 9.4.0 and newer.
To add content to the Information tab
| 1. | Search for the customer for whose information you want to add. For more information, see Customer Searches. |
| 2. | Click the Information tab. |
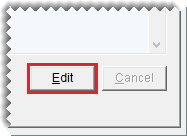
| 3. | Click Edit. |
| 4. | Type the new information, and click Save. |
In some cases, such as duplicate entries or marriage, you might need to combine two or more customer records. When you combine customers, TireMaster makes one or more customer records inactive and adds that information to an existing customer record which is maintained. This functionality is available in TireMaster 9.4.0 and newer.
To combine customers
| 1. | Search for and select the customer whose record you want to keep. This customer will be referred to as the master customer. For more information, see Customer Searches. |
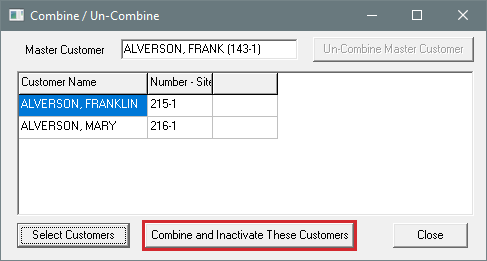
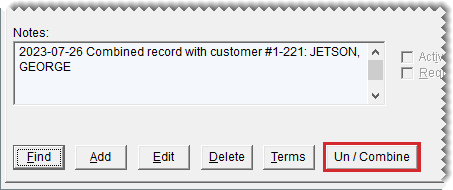
| 2. | On the Customer Maintenance screen, make sure the General tab is selected and click Un/Combine. The Combine/Uncombine screen opens. |
| 3. | Click Select Customers. TireMaster prompts you for a name. |
| 4. | Type all or part of the name of the customer whose record you want to combine with the master customer you selected in step 1 and click OK. The Customer List opens. |
| 5. | Select the customer’s name, and click OK. The selected customer is added to the list on the Combine/Uncombine screen. |
| 6. | To combine additional customers with the master customer, repeat steps 3 through 5 as often as needed. |
| 7. | Click Combine and Inactivate These Customers. |
A message similar to the following appears:
“You are about to remove/combine these customers with the Master Customer ALVERSON, FRANK (143-1). Continue?”
| 8. | Click Yes. TireMaster inactivates the selected customer or customers and adds that customer information to the record you selected in step 1. A note is also added to newly inactive customer records, providing a paper trail for research purposes. |
| 9. | Close the open screens. |
| 10. | Update the customer record that you kept as needed. |
If customer records are combined in error or you need to separate customer records for another reason, you can uncombine them from the master customer. This functionality is available in TireMaster 9.4.0 and newer.
To uncombine customers
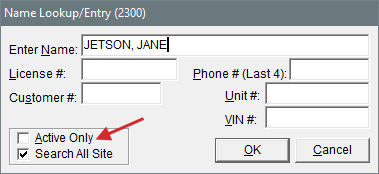
| 1. | Search for the customer you want to remove from the master customer record, making sure to clear the Active Only check box on the name lookup screen. For more information, see Customer Searches. |
| 2. | On the Customer Maintenance screen, make sure the General tab is selected and click Un/Combine. The Combine/Uncombine screen opens. |
| 3. | Click Uncombine Master Customer. A confirmation message appears. |
| 4. | Click OK. |
| 5. | Close the Combine/Uncombine screen. |
| 6. | Click OK to save your changes. A note is also added to newly uncombined customer record, providing a paper trail for research purposes. |
| 7. | Close the Customer Maintenance screen. |
If a customer is no longer doing business at your store, you can inactivate corresponding the customer record. Inactive customer records can be excluded from customer searches.
To make a customer inactive
| 1. | Search for the customer whose record you want to make inactive, making sure to clear the Active Only check box on the name lookup screen. For more information, see Customer Searches. |
| 2. | On the Customer Maintenance screen, make sure the General tab is selected and click Edit. |
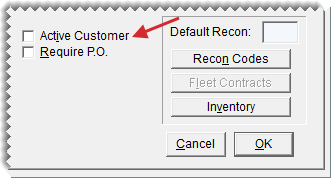
| 3. | Clear the Active Customer check box. |
| 4. | Click OK to save your changes, and close the Customer Maintenance screen. |
Customer records that have never been used can be deleted from the TireMaster database.
To delete a customer record
| 1. | Search for the customer whose record you want to delete. For more information, see Customer Searches. |
| 2. | On the Customer Maintenance screen, make sure the General tab is selected and click Delete. A confirmation messages appears. |
| 3. | Click Yes. The customer is removed from the database. |


