Appointment Scheduler
This help topic is applicable to the following TireMaster applications:
|
TireMaster Point of Sale |
TireMaster Plus |
TireMaster Corporate |
|---|---|---|

|

|

|
With TireMaster’s Appointment Scheduler, you can collect information about upcoming jobs and allocate resources needed to complete the work.
Before you can use the Scheduler, you need to define which of your employees are mechanics, set up a list of service bays (or a list of job types), and define how long expired appointments will be displayed on the calendar.
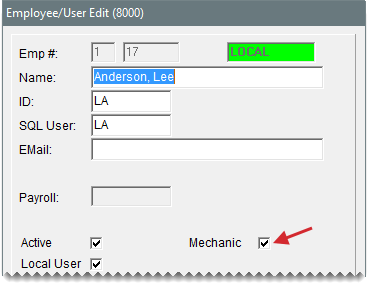
To ensure that the names of your mechanics are available on the Appointment Calendar, you need to define which of your employees are service technicians. To do this, make sure the Mechanic check box is selected on the Employee/User List. When the check box is selected for an employee, the Appointment Calendar will include a column for that individual. FoFor more information, see Add User Accounts .
You can schedule appointments based on mechanic availability, job type, or workspace availability. Therefore, you need to create a list of bays or job typess.
In TireMaster, you can schedule appointments based on the availability of workspace or the kind of work performed. Before you begin scheduling appointments, create a list of the bays in your shop or the types of jobs performed.
When you set up your bay or job type list, you can assign a limit which prevents you from scheduling too many appointments for the same bay or job type on the same date and time. Each store needs to set up its own bay or job type list.
To set up a bay or job type list
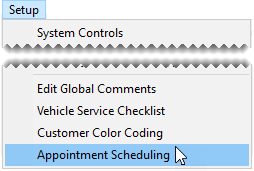
| 1. | Select Setup > Appointment Scheduling. The Bay/Job Type Maintenance screen opens. |
| 2. | For each bay or job type you want to set up, do the following: |
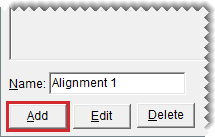
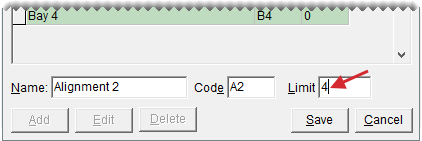
| a. | Click Add. The Code and Limit fields appear. |
| b. | Type a name for the bay or job type. |
| c. | Type a code for the bay or job type. |
| d. | In the Limit field, define the maximum number of appointments that can be scheduled for the bay or job type on the same date and time. |
| e. | Click Save. |
| 3. | Close the Bay/Job Type Maintenance screen. |
You can update the settings for a bay or a job type by renaming it or changing the code or the limit.
To modify a bay or job type
| 1. | Select Setup > Customer Scheduling. The Bay/Job Type Maintenance screen opens. |
| 2. | Select the bay or job type you want to modify, and click Edit. The settings for the bay or job type appear near the bottom of the screen. |
| 3. | Change the name, code, or limit. |
| 4. | Click Save. |
| 5. | Close the Bay/Job Type Maintenance screen. |
If you add a bay or job type in error, you can remove it.
To delete a bay or job type
| 1. | Select Setup > Customer Scheduling. The Bay/Job Type Maintenance screen opens. |
| 2. | Then select the bay or job type you want to remove, and click Delete. A confirmation message appears. |
| 3. | Click Yes. The bay or job type is deleted. |
If you want expired appointments to automatically disappear from the Scheduler, you can manage when they will be deleted. TireMaster includes two system controls for defining the number of days expired appointments remain on the Appointment List and the Appointment Calendar before they're deleted.
Scheduler - Delete After # Days - Nightly Process - When this control is set, a nightly process checks the Scheduler for expired appointments and then deletes any that are expired. Because this deletion method is triggered by an automated nightly process, expired appointments are deleted every day.
To see how this control works, watch the video.
Scheduler - Delete After # Days - When Opened - When this control is set, expired appointments are deleted when the Scheduler is opened. Because this deletion method is triggered by opening the Scheduler, user interaction must occur for appointments to be deleted.
Setting one or both of the controls to a number greater than 0, enables expired appointments to be deleted. When both controls are set to 0, expired appointments are not automatically deleted.
To set the expired appointment controls
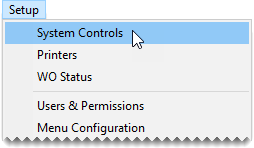
| 1. | From the Setup menu, select System Controls. |
| 2. | Click the Other tab. |
| 3. | Define when appointments will be deleted. You can set one or both controls. |
To set Scheduler - Delete After # Days - Nightly Process, select it and press Enter. Type the number of days to display expired appointments, and click OK.
To set Scheduler - Delete After # Days - When Opened, select it and press Enter. Type the number of days to display expired appointments, and click OK.
| 4. | Close the System Controls screen. |
Scheduling an appointment in TireMaster includes stating the purpose for the upcoming visit, setting a date and time, assigning a mechanic, and allocating a bay or defining the job type. You can also define which items are needed to complete the recommended maintenance or repairs. Appointments can be scheduled at stores only.
To schedule an appointment
| 1. | If the Open Work Order List isn’t open, click Invoicing. |
| 2. | Click Schedule. The Appointment List opens. |
| 3. | Click Calendar. The Appointment Calendar opens. |
| 4. | Type the date of the appointment or select it from the pop-up calendar. |
| 5. | Change the view if needed. |
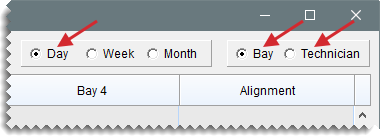
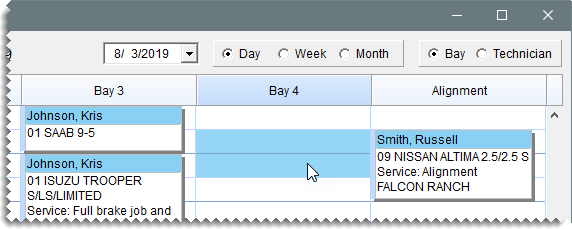
To see appointments for a particular day, along with mechanic or service bay availability, select Day. Then select Bay or Technician.
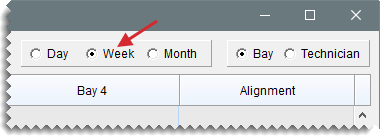
To see the appointments that have been scheduled during the week of the appointment date, select Week.
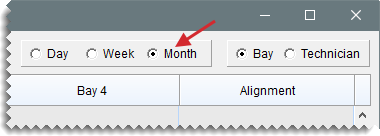
To see the appointments that have been scheduled during the month of the appointment date, select Month.
 . To see appointments for the next day, week, or month instead, click
  .
.| 6. | Define the time (day and week views only) for the appointment. |
In day view, click the starting time in the column for an available bay or technician and drag to the time you want the appointment to end.
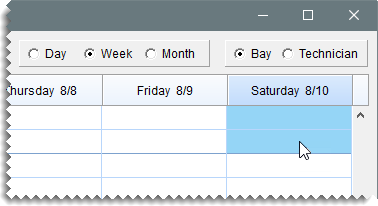
In week view, click the starting time for the appointment and drag to the time when you want the appointment to end.
The Appointment Maintenance screen opens.
| 7. | Identify which customer and vehicle the appointment is for. |
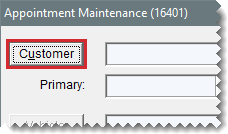
| a. | Click Customer, and look up the customer. For more information, see Customer Searches. |
| b. | When prompted, select the customer’s vehicle, and click OK. |
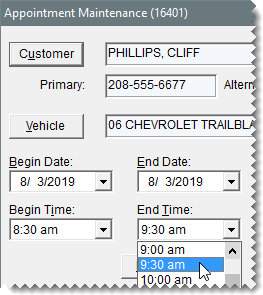
| c. | Click OK. The customer’s name and vehicle are added to the Appointment Maintenance screen. |
| 8. | To define whether you want to send the customer a text message with an appointment reminder, select or clear Do not send Text check box. |
| 9. | If you haven’t already set the appointment’s starting and ending times, select them from the drop‑downs. |
| 10. | To set a promised time for completing the scheduled job, click Promised and select a date and time from the drop-down calendar and list. Otherwise, leave the promised time alone. |
| 11. | Type a reason for the appointment and comments about any vehicle problems reported by the customer in the Notes field. |
| 12. | Assign resources to the appointment. |
| a. | Click Bay/Job, and select a bay or job type. If the bay/job type was already defined for the appointment, disregard this step. |
| b. | Click Mechanic, and select the name of the technician who will perform the work. If the technician was already defined, disregard this step. |
| 13. | Set aside any items needed for the appointment: |
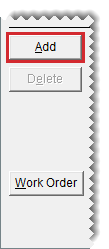
| a. | Click Add, and look up the items that you want to set aside. For more information, see Inventory Searches. |
| b. | Type the quantity for each item. |
| 14. | Click Save, and close the Appointment Maintenance screen. The new appointment is added to the Appointment List. |
When customers need to reschedule appointments, you can change the dates, times, and resources, by dragging appointments to different spots on the calendar.
To reschedule an appointment
| 1. | Open the appointment calendar. |
| a. | If the Open Work Order List isn’t already open, click Invoicing. |
| b. | Click Schedule. The Appointment List opens. |
| c. | Click Calendar. The Appointment Calendar opens. |
| 2. | Type the original date for the appointment in the date field or select the original appointment date from the pop-up calendar. |
| 3. | To reschedule an appointment on the sameday, do one of the following: |
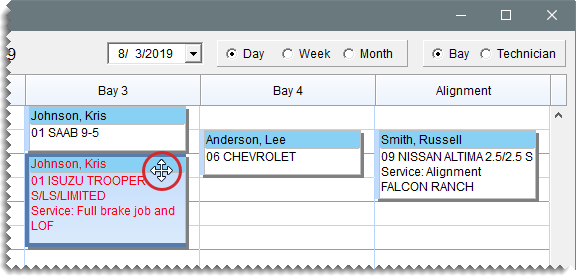
In day view (select Day), and move the pointer to the appointment heading. When  appears, click and drag the appointment to a new time only, a new time and mechanic, or a new time and bay.
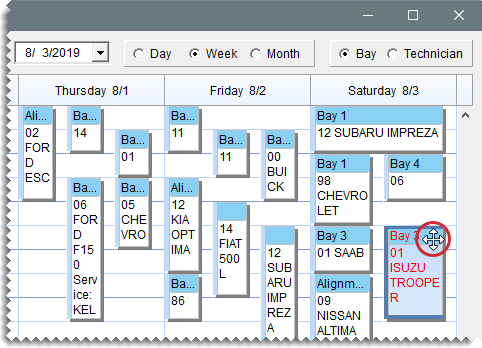
In week view (select Week), and move the pointer to the appointment heading. When  appears, click and drag the appointment to a new time during the same day.
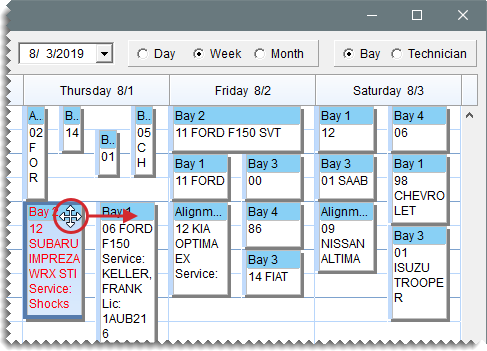
| 4. | To reschedule an appointment earlier or later during the same week, make sure Week is selected. Then move the pointer to the appointment heading. When  appears, click the appointment and drag it to a different day (and a different time on that day, if needed). appears, click the appointment and drag it to a different day (and a different time on that day, if needed). |
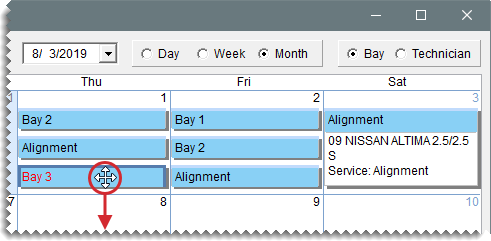
| 5. | To reschedule the appointment earlier or later in the same month, select Month. Then click the appointment heading. When  appears, click and drag the appointment to a different day. appears, click and drag the appointment to a different day. |
| 6. | Close the Appointment Calendar. |
If a mechanic is no longer available at the time when you’ve scheduled an appointment, you can assign a different mechanic to the job.
To reschedule a mechanic
| 1. | Open the appointment calendar. |
| a. | If the Open Work Order List isn’t already open, click Invoicing. |
| b. | Click Schedule. The Appointment List appears. |
| c. | Click Calendar. The Appointment Calendar opens. |
| 2. | Type the date of the appointment in the date field or select it from the pop-up calendar. |
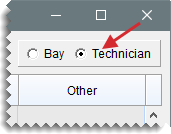
| 3. | Make sure Technician is selected. |
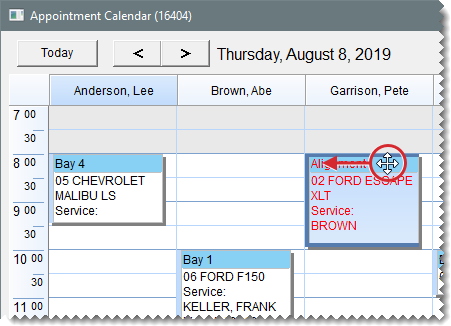
| 4. | Move the pointer to the heading of the appointment that needs to be assigned to another mechanic. When  appears, click and drag the appointment to the column for a different employee. appears, click and drag the appointment to the column for a different employee. |
| 5. | Close the Appointment Calendar. |
If a service bay is no longer available at the time when you’ve schedule an appointment, you can assign a different bay to the job.
To schedule a different bay
| 1. | Open the appointment calendar. |
| a. | If the Open Work Order List isn’t already open, click Invoicing. |
| b. | Click Schedule. The Appointment List appears. |
| c. | Click Calendar. The Appointment Calendar opens. |
| 2. | Type the date of the appointment in the date field or select it from the pop-up calendar. |
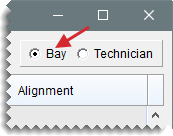
| 3. | Make sure Bay is selected. |
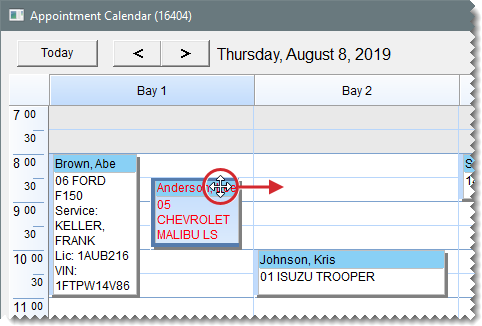
| 4. | Move the pointer to the heading of the appointment that needs to be assigned to another bay. When  appears, click and drag the appointment to the column for a different bay. appears, click and drag the appointment to the column for a different bay. |
| 5. | Close the Appointment Calendar. |
If you need to make changes to an appointment such as selecting a different vehicle or updating the notes, you can do so on the Appointment Maintenance screen.
To update an appointment
| 1. | If the Open Work Order List isn’t open, click Invoicing. |
| 2. | Click Schedule. The Appointment List opens. |
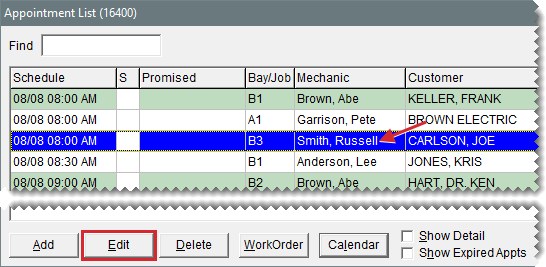
| 3. | Select the appointment you want to update, and click Edit. The Appointment Maintenance screen opens. |
| 4. | Change the following as needed: |
To change the customer, click Customer. Then look up a different customer.
To change the vehicle, click Vehicle. Then select a different vehicle or click Add and look up a new vehicle. For more information, see .
To reschedule the appointment, select a new date, time, or both.
To update the promised time, click Promised. Then select a different date, time, or both.
To update the notes, type additional information or delete unnecessary information.
To change the bay or job type, click Bay/Job and select a different bay or job type.
To assign the job to a different technician, click Mechanic and select an employee name.
| 5. | To change which items are needed for the appointment, do the following as needed. |
| a. | For additional items, click Add and look up the items you want to set aside. Then enter the quantities For more information, see Inventory Searches. |
| b. | To remove an item, select the item you no longer need and click Delete. |
| 6. | Save your changes. |
If a customer cancels an appointment, you can delete it from the Appointment List.
To delete an appointment
| 1. | If the Open Work Order List isn’t open, click Invoicing. |
| 2. | Click Schedule. The Appointment List appears. |
| 3. | Select the appointment that has been canceled and click Delete. A confirmation message appears. |
| 4. | Click Yes. |
| 5. | Close the Appointment List. |
You can print a list of appointments to post around the shop. The Appointment Report can include all appointments or you can limit it to only those for a particular mechanic or bay (or job type).
To print an Appointment Report
| 1. | If the Appointment List isn’t already open, click Schedule on the Open Work Order List. |
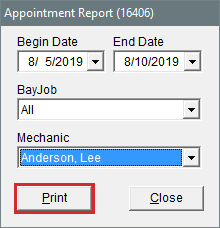
| 2. | Click Report. The Appointment Report screen opens. |
| 3. | Select the beginning and ending dates for the appointments from the drop‑downs. |
| 4. | To limit the report to a single bay or job type, select a bay or job type from the BayJob drop-downs. By default, all bays or job types are included on the report. |
| 5. | To limit the report to a single technician, select a name from the Mechanic drop-down. By default, all technicians are included on the report. |
| 6. | Click Print. The Report Window opens and displays the Appointment Report. |
| 7. | Print the report and close the Report Window. |
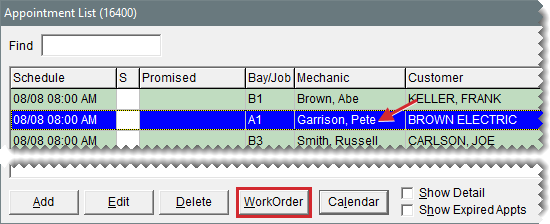
You can use appointment information to automatically create a work order before a customer’s scheduled visit or when the customer arrives.
To turn an appointment into a work order
| 1. | If the Open Work Order List isn’t open, click Invoicing. |
| 2. | Click Schedule. The Appointment List appears. |
| 3. | Select the customer’s appointment, and click Work Order. The new work order is added to the Open Work Order List. |
