Factor Based Price Calculations
This help topic is applicable to the following TireMaster applications:
|
TireMaster Point of Sale |
TireMaster Plus |
TireMaster Corporate |
|---|---|---|

|

|

|
You can calculate an item's parts price with a markup or a margin. For these types of price calculations, you need to specify a factor, which is the number that’s used to compute the markup or margin. Depending on the pricing method, the factor is either multiplied or divided by an item’s base price or last cost. Once a factor and an operator have been assigned to an item or a group of items, you need to recalculate the parts price.
A markup is an amount that’s added to your cost for an item. To calculate an item’s price with a markup, TireMaster uses the following formula: Item Cost x Factor = Parts Price.
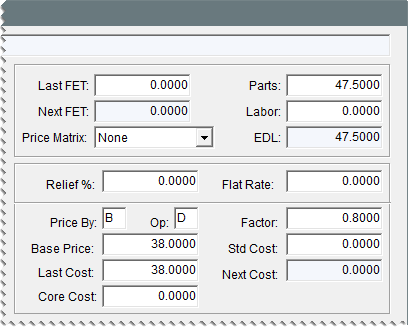
For markups, enter the following in the item's price configuration on the Site Prices and Quantity screen:
In the Op (operator) field, type the letter M.
In the Factor field, type the factor as a decimal.
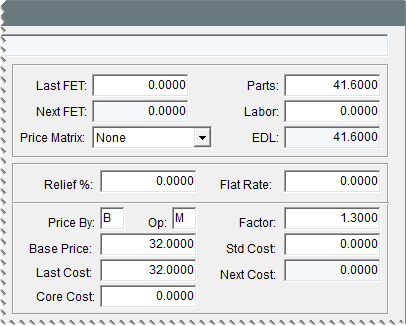
To determine which number to type in the Factor field for markups, add 100% to the markup percent you want to use. The sum is the factor.
|
Markup |
Amount to type in the Factor field |
|
10% |
1.10 |
|
15% |
1.15 |
|
20% |
1.20 |
|
25% |
1.25 |
|
30% |
1.30 |
Once you have defined the operator and factor in an item's price settings, recalculate the item’s parts price. For more information, see Recalculate Factor Based Prices.
A margin is the difference between your cost for an item and its selling price. In other words, it's the profit you want to make. To calculate an item’s parts price with a margin, TireMaster uses the following formula: Item Cost ÷ Factor = Parts Price.
For margins, enter the following in the item's price configuration on the Site Prices and Quantity screen:
In the Op (operator) field, type D.
In the Factor field, type the factor as a decimal.
|
Margin |
Amount to type in the Factor field |
|
10% |
.90 |
|
15% |
.85 |
|
20% |
.80 |
|
25% |
.75 |
|
30% |
.70 |
Once you have defined the operator and factor, recalculate the item’s parts price. For more information, see Recalculate Factor Based Prices.
If you want to assign the same factor to a group of items, you can reduce the amount of time this task requires by using the Pricing Wizard.
To assign a factor to a group of items
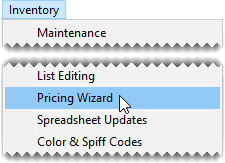
| 1. | Select Inventory > Pricing Wizard. |
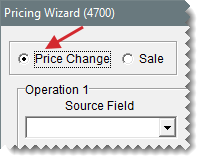
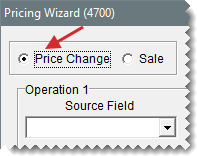
| 2. | When the Pricing Wizard opens, make sure Price Change is selected. |
| 3. | Leave the Source Field field alone for the operation being used to update factors. |
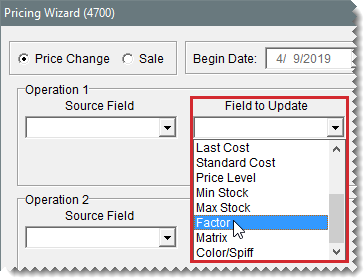
| 4. | From the Field to Update drop-down, select Factor. The Value field appears and replaces the price change fields. |
| 5. | Type the factor you want to assign in the Value field. (Example: For a 30% margin, type 70.) |
| 6. | If you want to recalculate the selling price now, select the Item Factor check box for the next operation. Otherwise, disregard this step. For more information, see Recalculate Prices for a Group of Items. |
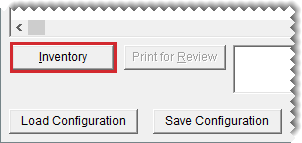
| 7. | Click Inventory, and search for the item or items to which you want to assign the factor. For more information, see Inventory Searches. |
| 8. | Review the pending changes. |
| a. | Click Print for Review. The Report Window opens and displays the Pricing Wizard Report. |
| b. | Verify that the changes you want will be made. |
| c. | Print the report if needed, and close the Report Window. |
| d. | Make adjustments to the update criteria and the selected items if needed, and print the report again. |
| 9. | Click Apply. A confirmation message appears. |
| 10. | Click Yes. A second message verifies the update has been completed. |
| 11. | Click OK. |
To view the factor for a single item, look at the Factor field on the Site Prices and Quantity screen. For multiple items, select Inventory > List Editing, and look up the same items you just updated. The factor is listed in the lower-right half of the Inventory List Editing screen. If you can’t see it, scroll to the right.
Once an item’s factor is assigned or updated, you need to recalculate the item’s price. You can recalculate factor based prices for an individual item or a group of items.
When the factor for a single item is changed, you can recalculate its selling price right away.
To recalculate an item’s factor based price
| 1. | Search for the item whose price you want to update. For more information, see Inventory Searches. |
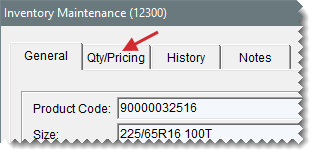
| 2. | On the Inventory Maintenance screen, click the Qty/Pricing tab. |
| 3. | Click Detail/Edit. The Site Prices and Quantity screen opens. |
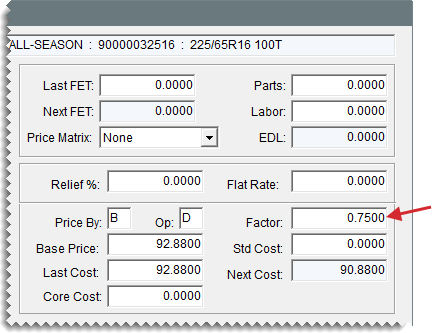
| 4. | Change the base price, last cost, price by method, and operator if needed. For more information, see Site Prices and Quantity Screen. |
| 5. | Change the item’s factor. |
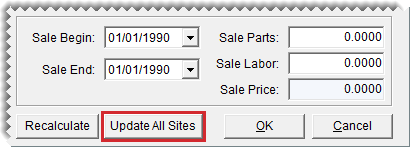
| 6. | Click Recalculate. Depending on a system control setting, a confirmation message appears or the item’s parts price updates immediately. For more information, see Show Recalculate/Update EDL Message. |
| 7. | To save your changes, click OK . |
| 8. | If you want to implement the changes at all of the other sites, click Update All Sites (in TireMaster Corporate). The changes will take effect at the stores after a replication cycle occurs |
| 9. | Close the Inventory Maintenance screen. |
Once the factors have been updated for a group of items, you can use the Pricing Wizard to recalculate the parts prices for the items in that group.
To recalculate factor based prices for a group of items
| 1. | If you haven’t already done so, define the operator, factor, or both for the items. For more information, see Site Prices and Quantity Screen |
| 2. | Select Inventory > Pricing Wizard. |
| 3. | When the Pricing Wizard opens, make sure Price Change is selected. |
| 4. | Select the Item factor check box for the operation being used to recalculate prices. |
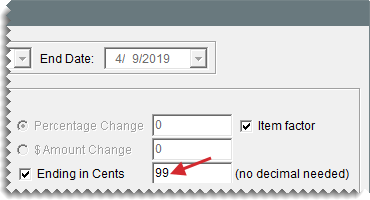
| 5. | If you want to end the prices for all updated items with the same amount after the decimal, select the Ending in Cents check box. Then type the cents amount as a whole number. For example, if you type 99, the prices of all updated items would end in 99 cents ($5.99, $34.99, and $199.99). |
| 6. | Click Inventory. TireMaster prompts you to search for items. |
| 7. | Look up the items whose factor based prices you want to recalculate. For more information, see Inventory Searches. |
| 8. | Review the pending changes. |
| a. | Click Print for Review. The Report Window opens and displays the Pricing Wizard Report. |
| b. | Verify that the changes you want will be made. |
| c. | Print the report if needed, and close the Report Window. |
| 9. | To change the prices, click Apply. A confirmation message appears. |
| 10. | Click Yes. A second message verifies the update has been completed. |
| 11. | Click OK. |
You can view the updated prices on the Inventory List or by printing an Inventory Master List.
