Pricing Wizard
This help topic is applicable to the following TireMaster applications:
|
TireMaster Point of Sale |
TireMaster Plus |
TireMaster Corporate |
|---|---|---|

|

|

|
With the Pricing Wizard, you can update price and cost information for a single item or a group of items. The types of changes you can make include updating selling prices and vendor prices (your cost), assigning factors for calculating margins and markups, recalculating factor based prices, and putting items on sale.
In addition to price changes, the Pricing Wizard can be used to assign price matrices, set stocking levels, and assign color/spiff codes.
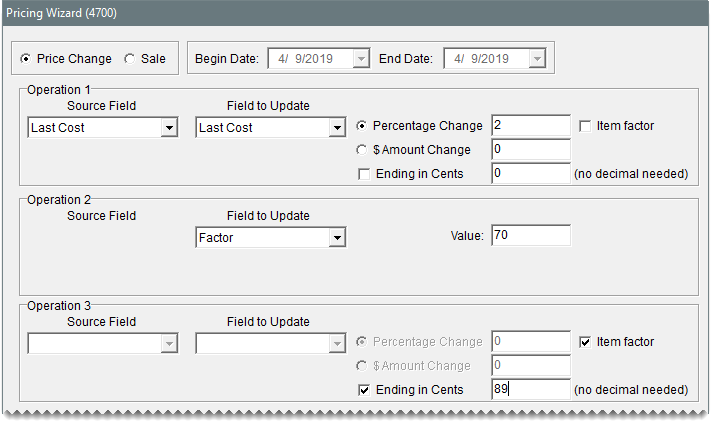
The Pricing Wizard allows you to make up to three changes, known as operations, at one time. For example, you could update cost information, assign a factor, and recalculate the selling prices for a group of items.
When you need to update selling prices, costs, or A–E price levels for a group of items, you can make the changes with the Pricing Wizard.
To make price changes to a group of items
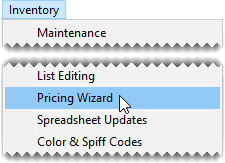
| 1. | Select Inventory > Pricing Wizard. |
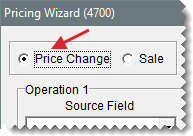
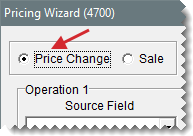
| 2. | When the Pricing Wizard screen opens, make sure Price Change is selected. |
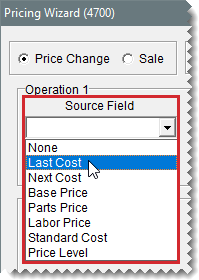
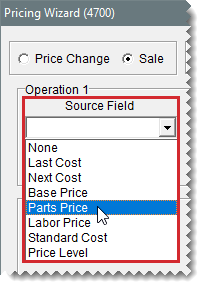
| 3. | From the Source Field drop-down for the first operation, select the field that the changes will be based on. |
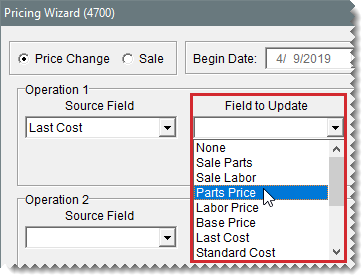
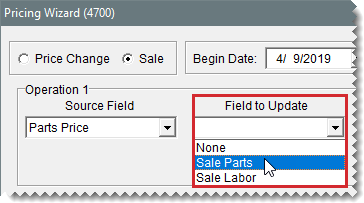
| 4. | From the Field to Update drop-down, select the field that will be updated. |
| 5. | Define whether the change will be a percentage or a fixed dollar amount: |
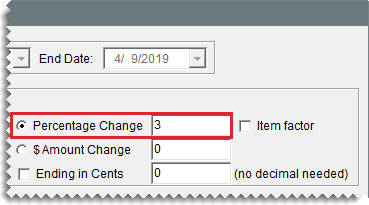
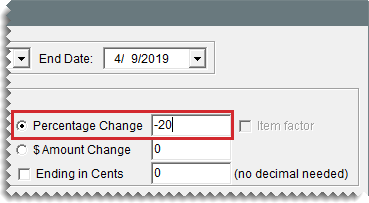
For a percentage, select Percentage Change and type the percentage (with no decimals).
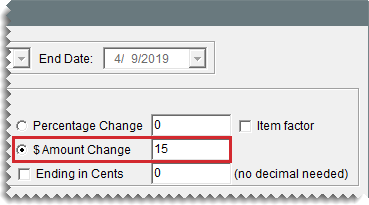
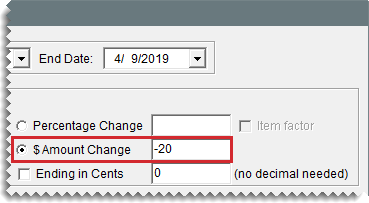
For a fixed dollar amount, select $ Amount Change and type the amount.
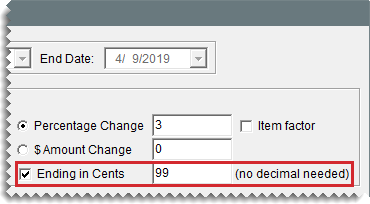
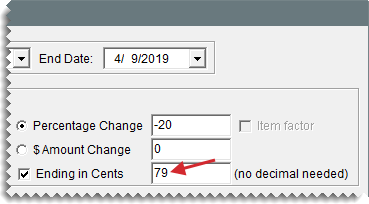
| 6. | To end the prices of all updated items with the same amount after the decimal, select the Ending in Cents check box. Then type the cents amount as a whole number. |
Example: By typing 99, the prices of all updated items would end in 99 cents ($5.99, $34.99, and $199.99).
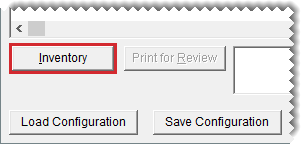
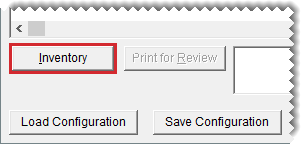
| 7. | Click Inventory, and look up the item or items you want to update. For more information, see Inventory Searches. |
| 8. | Review the pending changes. |
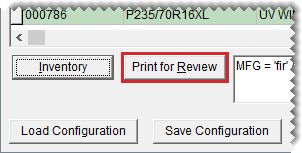
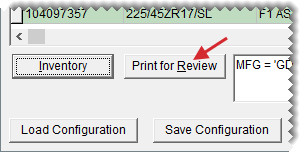
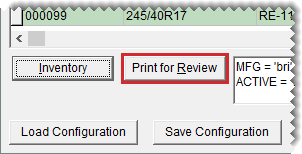
| a. | Click Print for Review. The Report Window opens and displays the Pricing Wizard Report. |
| b. | Verify that the changes you want will be made. |
| c. | Print the report if needed, and close the Report Window. |
| d. | Make changes to the update criteria and look up different items if needed. Then print the report again. |
| 9. | Implement the update. |
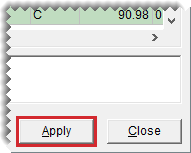
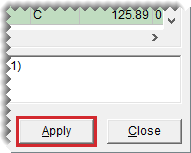
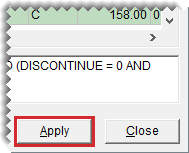
| a. | Click Apply. A confirmation message appears. |
| b. | Click Yes. A second message verifies the update has been completed. |
| c. | Click OK. |
You can view the new prices on the Inventory List or by printing an Inventory Master List.
With the Pricing Wizard, you can make up to three changes to a group of items. Each change is called an operation. Because TireMaster processes operations sequentially, define them in a logical order.
To make multiple changes to a group of items
| 1. | Select Inventory > Pricing Wizard. |
| 2. | Make sure Price Change is selected. |
| 3. | Define the criteria for two or three operations. Depending on the types of changes you want to make, refer to the following: |
Change Prices for a Group of Items
Factor Based Price Calculations
Update Stocking Levels for a Group of Items
Update the Color/Spiff Code for a Group of Items
| 4. | Click Inventory and look up the items you want to update. For more information, see Inventory Searches. |
| 5. | Review the pending changes. |
| a. | Click Print for Review. The Report Window opens and displays the Pricing Wizard Report. |
| b. | Verify that the changes you want will be made. |
| c. | Print the report if needed, and close the Report Window. |
| d. | Make adjustments to the update criteria and the selected items if needed, and print the report again. |
| 6. | Implement the changes. |
| a. | Click Apply. A confirmation message appears. |
| b. | Click Yes. A second message verifies the update has been completed. |
| c. | Click OK. |
The Pricing Wizard can be used to assign a factor (for a margin or markup) to a group of items and recalculate the selling prices of those items. For more information, see Assign a Factor to a Group of Items and Recalculate Prices for a Group of Items.
The Pricing Wizard can be used to assign a price matrix to a group of items. For more information, see Price Matrices.
The Pricing Wizard can be used to set minimum stocking levels, maximum stocking levels, or both for a group of items. For more information, see Assign Stocking Levels to a Group of Items.
The Pricing Wizard can be used to assign a color/spiff code to a group of items. For more information, see Assign the Same Color/Spiff Code to a Group of Items.
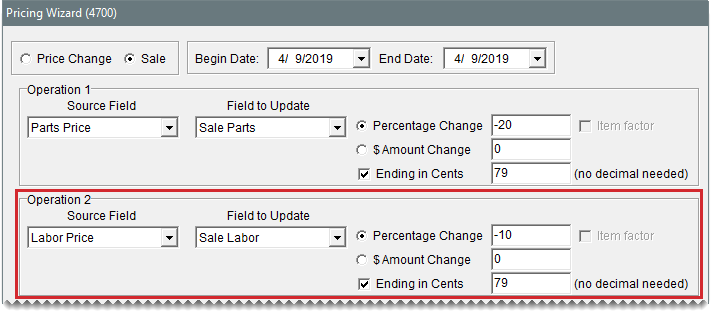
You can use the Pricing Wizard to set temporary selling prices for a group of items.
To set up a sale with the Pricing Wizard
| 1. | Select Inventory > Pricing Wizard. |
| 2. | When the Pricing Wizard opens, select Sale. The Begin Date and End Date fields become active. |
| 3. | Enter the dates when the sale will start and end. |
| 4. | From the Source Field drop-down for the first operation, select the field that the sale prices will be based on. |
| 5. | From the Field to Update drop-down, select Sale Parts or Sale Labor. |
| 6. | Define whether the sale price will be calculated with a percentage or a fixed dollar amount: |
For a percentage, select Percentage Change and type the percentage (with no decimals).
For a fixed dollar amount, select $ Amount Change and type the amount.
| 8. | If you’re putting both parts and labor on sale, repeat steps 4 through 7 for the second operation. |
| 9. | Click Inventory and look up the item or items you want to put on sale. For more information, see Inventory Searches. |
| 10. | Review the pending sale prices. |
| a. | Click Print for Review. The Report Window opens and displays the Pricing Wizard Report. |
| b. | Verify that the changes you want will be made. |
| c. | Print the report if needed, and close the Report Window. |
| d. | Make adjustments to the sale criteria and the selected items if needed, and print the report again. |
| 11. | Implement the sale prices. |
| a. | Click Apply. A confirmation message appears. |
| b. | Click Yes. A second message verifies the update has been completed. |
| c. | Click OK. |
When the sale goes into effect, the sale items will be highlighted in cyan on the Inventory List and they’ll be included on the Items on Sale Report.
If you frequently use the same parameters to update a group of items, you can simplify future Pricing Wizard updates by saving and reusing the settings selected for the current update.
When you define the criteria for updating items with the Pricing Wizard, you can save those settings and the list of items updated by those settings for future use.
To save Pricing Wizard configurations
| 1. | On the Pricing Wizard screen, define the parameters you want to use and the items you want to update. |
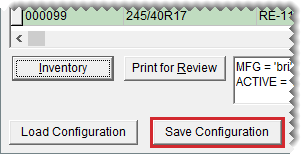
| 2. | Click Save Configuration. TireMaster The Save/Load Configuration screen opens. |
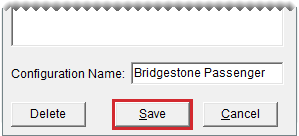
| 3. | Type a name for the configuration. |
| 4. | Click Save. The Save/Load Configuration screen closes. |
| 5. | Finish updating the items as usual. The saved configuration is available for future updates. |
When you save Pricing Wizard configurations, you can easily retrieve and reuse them for updates that are the same or similar to past updates.
To reuse pricing wizard configurations
| 1. | If the Pricing Wizard isn’t already open, select Inventory > Pricing Wizard. |
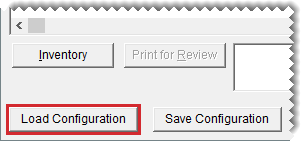
| 2. | Click Load Configuration. The Save/Load Configuration screen opens. |
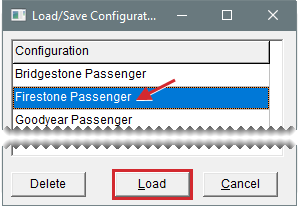
| 3. | Select the configuration you want to reuse, and click Load. The Pricing Wizard is populated with the settings from the saved configuration. |
| 4. | Make adjustments to the update criteria or items if needed. |
| 5. | To review the pending changes, click Print for Review and look at the report that’s generated. |
| 6. | Click Apply and finish updating the items as usual. |
If you no longer need a Pricing Wizard configuration, you can delete it.
To delete a pricing wizard configuration
| 1. | If the Pricing Wizard isn’t already open, select Inventory > Pricing Wizard. |
| 2. | Click Load Configuration. The Save/Load Configuration screen opens. |
| 3. | Select the configuration you want to remove, and click Delete. A confirmation message appears. |
| 4. | Click Yes. The configuration is deleted. |
| 5. | Close the Save/Load Configuration screen. |
