Inventory Receipts
This help topic is applicable to the following TireMaster applications:
|
TireMaster Point of Sale |
TireMaster Plus |
TireMaster Corporate |
|---|---|---|

|

|

|
When an order is delivered, you need to receive the items in TireMaster's PO System. Deliveries typically have a corresponding purchase order. Sometimes, however, you might need to receive items that were not put on a purchase order. In that scenario, you can create a receiving document.
When you receive an order, TireMaster creates a receiving document that duplicates the items and quantities on the original PO. You can create a receiving document regardless of whether the order was delivered with a packing slip or a vendor invoice.
To receive items on a purchase order
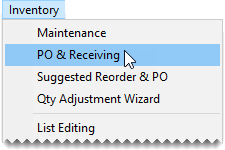
| 1. | Select Inventory > PO & Receiving. The PO System opens. |
| 2. | Make sure the Purchase Orders tab is selected. |
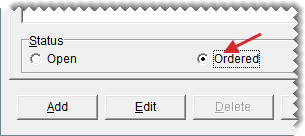
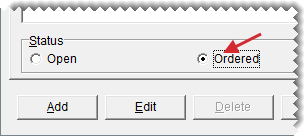
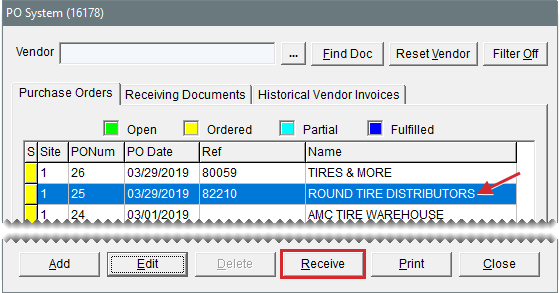
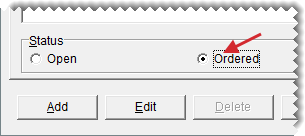
| 3. | Select the status Ordered. TireMaster displays the purchase orders for items that have not been received. |
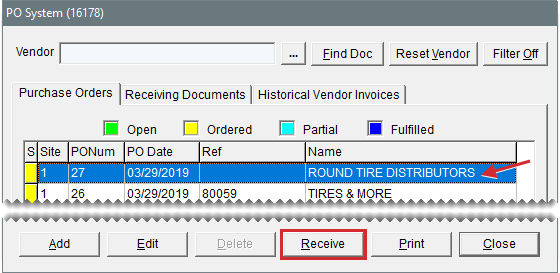
| 4. | Select the PO with the items you want to receive and click Receive. The Receiving Document screen opens. |
| 5. | Update the reference number and the shipping and contact information if needed. |
| 6. | Update the quantities, cost, and federal excise tax for the items if needed. |
| 7. | If you want to receive items (from the selected vendor) that are on a different purchase order, click Add PO. Then select the purchase order that includes those items and click OK. |
| 8. | Enter shipping charges if needed, using one of the following methods: |
If there is shipping charge for individual items, type the amount in the Freight column for each line item. The value entered here is included in the item’s cost when it posts to the general ledger.
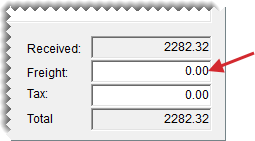
If there is a shipping charge for the entire order, type the amount in the Freight field (lower-right corner of the screen). The value entered here posts to the general ledger’s freight account). You can select the freight vendor when you enter the vendor invoice.
| 9. | Click Receive. The following message appears: Do you want to price this RD now?” |
| 10. | Do one of the following: |
If you have an invoice from the vendor, click Yes to price the items. For further instructions, see Price Items on a Receiving Document.
If the shipment included a packing slip but no vendor invoice, click No. When the receiving document appears in the Report Window, print a copy of it. The items that you just received will not be added to the inventory until you price them.
When a vendor sends you an invoice, you can enter the prices (your cost) for the items on a receiving document. This process, referred to as pricing items, updates the last cost and next cost tracked by TireMaster. Items should be priced before you sell them.
To price items on a receiving document
| 1. | Select Inventory > PO & Receiving. The PO System opens. |
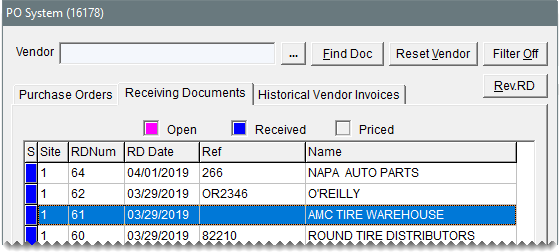
| 2. | Select the Receiving Documents tab. |
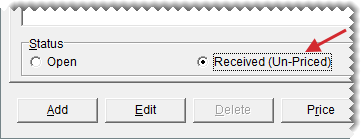
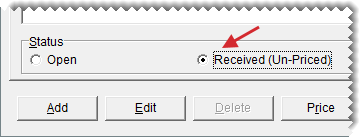
| 3. | Select the status Received (Un‑Priced). TireMaster displays the receiving documents with items that have not been priced. |
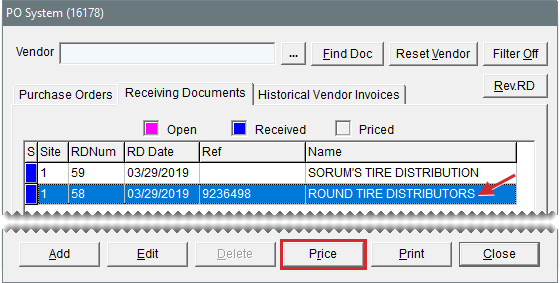
| 4. | Select the receiving document for the items you want to price and click Price. The Vendor Invoice screen appears. |
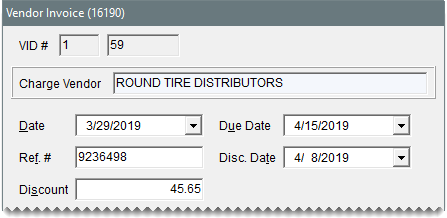
| 5. | Update the receiving date, default due date, discount date, discount amount, and reference number if needed. |
| 7. | Define the payment method: |
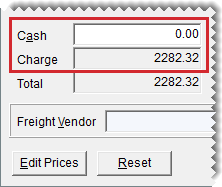
To pay with cash, type the amount of the cash payment in the Cash field. TireMaster recalculates the amount in the Charge field.
To charge the total amount of the vendor invoice, leave the amount in the Charge field alone and disregard any system-calculated discounts.
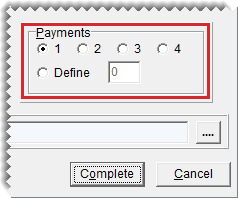
| 8. | If you need to change the number of payments, select 1, 2, 3, 4, or select Define and type the number of payments. |
| 9. | If you entered a shipping charge when receiving the items, click  and look up the freight vendor. For more information, see Vendor Searches. and look up the freight vendor. For more information, see Vendor Searches. |
| 10. | Click Complete. |
One of the following happens:
If you must pay the entire amount at one time, the vendor invoice document (VID) appears in the Report Window.
If you'll make multiple payments, the Vendor Payment Schedule screen opens. Change the payment amounts and dates if needed and click OK.The vendor invoice document (VID) appears in the Report Window.
| 11. | Print the vendor invoice document (VID). TireMaster adds the VID to the Historical Vendor Invoices tab, and the receiving document's status color changes to gray (S column of the Receiving Documents tab) to indicate the items have been priced. |
When the number of items delivered doesn’t match the number of items ordered, you can receive the portion of the order that was shipped and place the unreceived quantities on back order.
When you receive a partial order, you can receive the quantities that were delivered and place the remaining quantities on back order.
To put partial quantities on back order
| 1. | Select Inventory > PO & Receiving. The PO System opens. |
| 2. | Select the Purchase Orders tab. |
| 3. | Select the status Ordered. |
| 4. | Select the purchase order with the back ordered items and click Receive. The Receiving Document screen opens. |
| 5. | For each item that you need to put on back order, enter the quantity that was actually received. |
| 6. | Click Receive. TireMaster prompts you to price the receiving document. |
| 7. | Do one of the following: |
If you have an invoice from the vendor, click Yes. The Vendor Invoice screen opens, and you can price the items. For more information, see Price Items on a Receiving Document.
If you only have a packing slip, click No and print the receiving document. When TireMaster prompts you to cancel the remaining quantities, click No to back order (instead of canceling) the items.
| 8. | Close the PO System screen. |
When one of the items on a purchase order is not delivered, you can place all quantities of that item on back order.
To place all quantities of an item on back order
| 1. | Select Inventory > PO & Receiving. The PO System opens. |
| 2. | Select the Purchase Orders tab. |
| 3. | Select the status Ordered. |
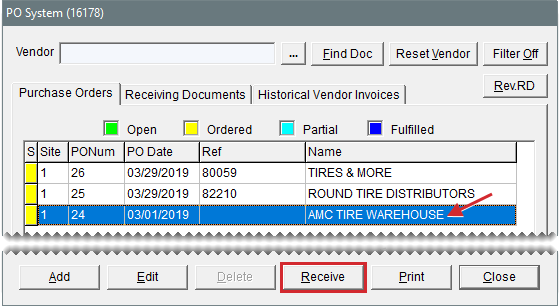
| 4. | Select a purchase order and click Receive. The Receiving Document screen appears. |
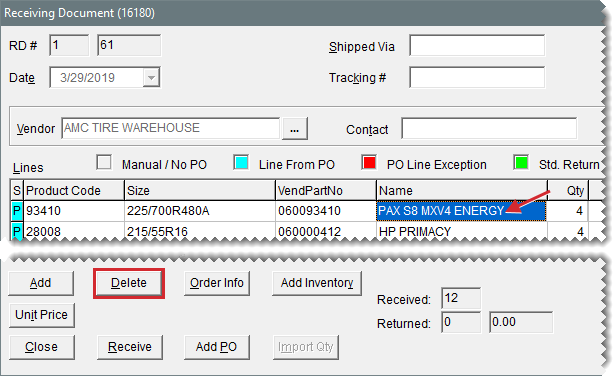
| 5. | Select the item you need to put on back order and click Delete. A confirmation message appears. |
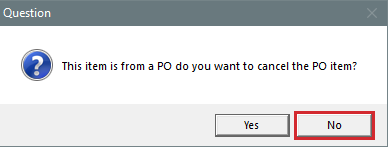
| 6. | Click Yes. TireMaster prompts you to cancel the item. |
| 7. | To place the item on back order (instead of canceling it), click No. The item is removed from the receiving document. |
| 8. | To receive the remaining items on the receiving document, click Receive. TireMaster prompts you to price the receiving document. |
| 9. | Do one of the following: |
If you have an invoice from the vendor, click Yes. The Vendor Invoice screen opens, and you can price the items. For more information, see Price Items on a Receiving Document.
If you only have a packing slip, click No and print the receiving document. The receiving document is added to the Receiving Documents tab.
When a delivery is comprised of items you didn't order, you can skip the ordering stage and create a receiving document from scratch.
To create a receiving document
| 1. | Select Inventory > PO & Receiving. The PO System opens. |
| 2. | Select the Receiving Documents tab. |
| 3. | Click Add. TireMaster prompts you to search for a vendor. |
| 4. | Look up the vendor who sent you the shipment. The Receiving Document screen opens. For more information, see Vendor Searches. |
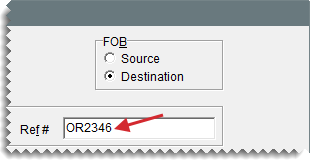
| 5. | If it's available, type the reference number for the delivery. |
| 6. | For each item delivered, click Add and search for the item or scan its bar code. For more information, see Inventory Searches or Enter Bar Codes on Purchase Orders and Receiving Documents . |
| 7. | For each item added to the receiving document, do the following: |
Update the description (noninventoriable items)
Type the quantity.
Update the price (your cost)
Update the federal excise tax (FET)
| 8. | Complete the following shipping and handling information: |
| a. | Under FOB, select Source if you will pay for freight or Destination if the vendor will pay for freight. |
| b. | If it's available, type the contact person’s name. |
| 9. | Click Receive. TireMaster prompts you to price the receiving document. |
| 10. | Do one of the following: |
If you have an invoice from the vendor click Yes. The Vendor Invoice screen appears, and you can price the items. For more information, see Price Items on a Receiving Document.
If you only have a packing slip, click No and print the receiving document. The receiving document is added to the Receiving Documents tab.
| 11. | Close the PO System screen. |
The Receiving Document screen includes additional information for receiving documents created at point of sale. The Invoice field toward the upper-right corner lists invoices on which outside purchase items such as parts or special order tires were sold to customers. The invoice information can help you match inventory receipts and sale invoices when you're getting ready to pay your vendors.
If you need to receive an item that isn’t in your inventory, you can add it to TireMaster and an open receiving document at the same time.
To add items while creating a receiving document
| 1. | Create a receiving document for the vendor if one hasn’t already been created. For more information, see Receive Items on a Purchase Order or Create a Receiving Document. |
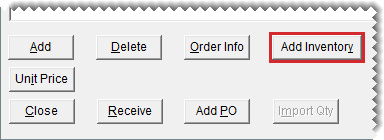
| 2. | Click Add Inventory. TireMaster prompts you to search for items. |
| 3. | Do one of the following: |
Look up an item with settings similar to the item you need to add. For more information, see Inventory Searches.
Click Cancel, and then click Add on the Inventory Maintenance screen.
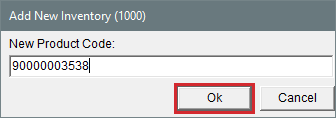
| 4. | Type the product code for the new item and click OK. |
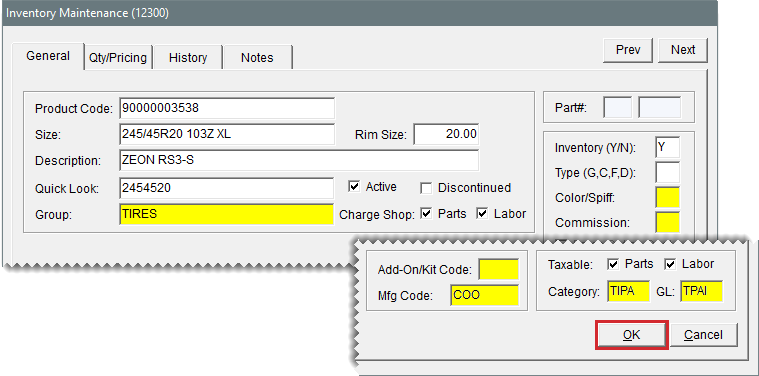
| 5. | On the Inventory Maintenance screen, complete the settings for the new item. Then click OK. TireMaster prompts you to view and edit the prices for the new item. For more information, see Add an Inventory Item. |
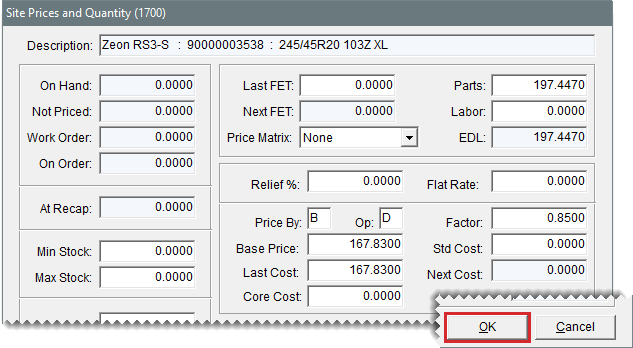
| 6. | Click Yes. The Site Prices and Quantity screen opens. |
| 7. | Complete the price settings for the item. Then click OK. For more information, see Fixed Prices or Factor Based Price Calculations. |
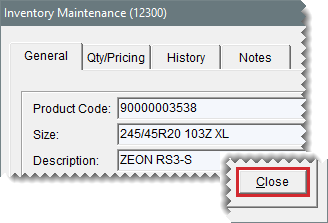
| 8. | To exit the Inventory Maintenance screen, click the General tab. Then click Close. The new item is added to the receiving document. |
| 9. | Type the quantity for the new item. |
| 10. | Update items previously added to the receiving document, along with the shipping and handling information, if needed. |
| 11. | Receive the items and price the receiving document. For more information, see Receive Items on a Purchase Order and Price Items on a Receiving Document. |
If a shipment was incorrectly received, you can reverse the receiving document for it as long as the items have not been priced.
To reverse a receiving document
| 1. | Select Inventory > PO & Receiving. The PO System opens. |
| 2. | Click the Receiving Documents tab. |
| 3. | To display receiving documents that haven’t been priced, select Received (Un-priced). The Rev. RD button appears in the upper-right corner of the screen. |
| 4. | Select the receiving document you want to reverse and click Rev. RD. A confirmation message appears. |
| 5. | Click Yes. |
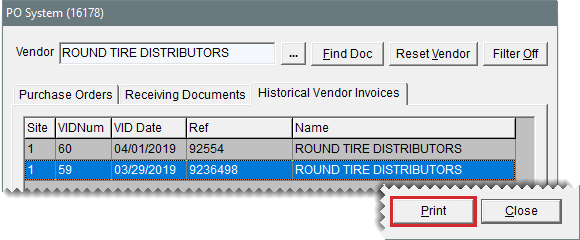
If you want to research your purchase history, you can view all historical invoices on the Historical Vendor Invoices tab. You can search for invoices by vendor name, reference number, or document number.
To look up a historical vendor invoice
| 1. | Select Inventory > PO & Receiving. The PO System opens. |
| 2. | Click the Historical Vendor Invoices tab. |
| 3. | To look up the document by vendor, do the following. |
| a. | Click  and look up the vendor. For more information, see Vendor Searches. and look up the vendor. For more information, see Vendor Searches. |
| b. | Select the vendor invoice that you want to view and click Print. The Report Window opens. |
| c. | Print a copy of the vendor invoice document, if needed, and close the Report Window. |
| 4. | To look up a document by document number or reference number, do the following. |
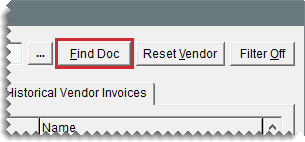
| a. | Click Find Doc. |
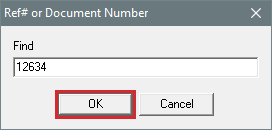
| b. | Type the document number or a reference number when prompted for that information, and click OK. |
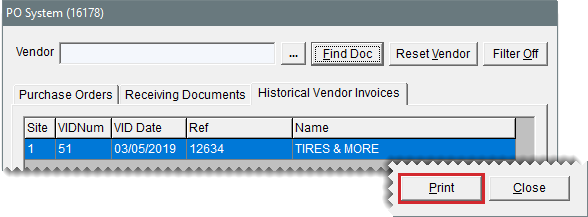
| c. | Click Print. The Report Window opens. |
| d. | Print a copy of the vendor invoice, if needed, and close the Report Window. |
| 5. | To display historical invoices for all vendors again, click Reset Vendor. |
