Void Payments
This help topic is applicable to the following TireMaster applications:
|
TireMaster Point of Sale |
TireMaster Plus |
TireMaster Corporate |
|---|---|---|

|

|
If you make a mistake when processing, you can clear it out of TireMaster. The process for voiding payments differs, depending on how they were processed.
To void a payment generated from the AP Payments screen, you need to unapply the payment in the vendor’s subledger. In addition to voiding the payment, this process also removes the entry from the check register (Check Reconciliation module) and adds the voided amounts back to the AP Payments module.
To void an AP Payment
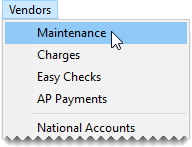
| 1. | Select Vendors > Maintenance. TireMaster prompts you for the vendor's name. |
| 2. | Look up the vendor whose payment you want to void. For more information, see Vendor Searches. |
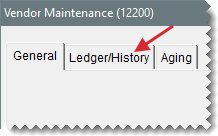
| 3. | On the Vendor Maintenance screen, click the Ledger/History tab. |
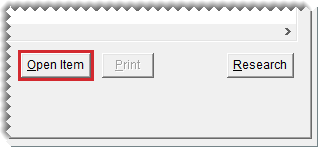
| 4. | Click Open Item. The Payment Editing screen opens. |
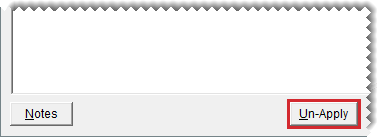
| 5. | Click Un-apply. The ROA Unapply screen opens. |
| 6. | Select a row for the payment you want to unapply. |
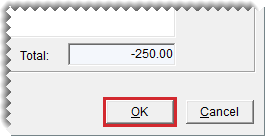
| 7. | Click OK. A confirmation message appears. |
| 8. | Click Yes. The voided entry is added back to the Payment Editing screen (the vendor's open item ledger). |
| 9. | Click OK. TireMaster prompts you to save your changes. |
| 10. | Click Yes. TireMaster prompts you to apply the items. |
| 11. | If you want to apply items at this time, click Yes. Otherwise, click No. |
The check is no longer listed on the Check Reconciliation screen, the payment is unapplied in the vendor's subledger, and the voided amounts are added back onto the AP Payments screen.
TireMaster classifies payments originating from the check register (Check Reconciliation Add screen) as easy checks, so they’re assigned the document type code EC. Therefore, payments generated in the check register can be voided in the same manner as AP, AR, and miscellaneous easy checks. For more information, see one of the following:
To void an AP easy check (or an electronic payment processed as an easy check), you need to create a vendor charge to reverse the payment in the vendor’s subledger. You also need to mark the payment as a pending void on the Check Reconciliation screen.
To void an AP easy check
| 1. | Select Vendors > Charges. The Vendor Charges screen opens. |
| 2. | Click New. TireMaster prompts you for the vendor's name. |
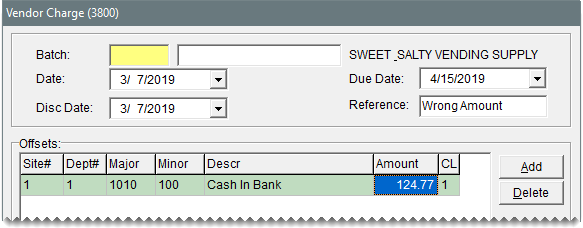
| 3. | Look up the vendor whose easy check you want to void. The Vendor Charge screen opens. For more information, see Vendor Searches. |
| 4. | Enter the following information: |
| a. | Enter the date when the payment was originally made in the Date field. |
| b. | Type a reference number or a reason for voiding the payment. |
| 5. | Create an offsetting entry. |
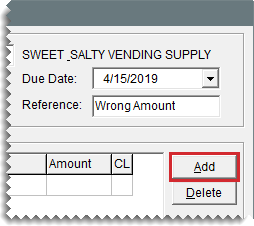
| a. | Click Add. A journal entry line appears under Offsets. |
| b. | Enter the GL account number associated with the bank account that was originally used for the payment. |
| c. | Type the GL account name (description) and amount of the payment being voided. |
| d. | Change the site number, department, and GL class if needed. |
 . Then make a selection from the list that appears.
| 6. | Click OK. TireMaster prompts you to save the charge. |
| 7. | Click Yes. |
| 8. | On the Vendor Charges screen, click OK. TireMaster prompts you to print a Charge Edit Report. |
| 9. | Click Yes. The Report Window opens. |
| 10. | Print the report and close the Report Window. TireMaster prompts you to complete the charges. |
| 11. | Click Yes. |
| 12. | Open the Check Reconciliation screen and mark the easy check as a pending void. For more information, see Mark a Pending Void. |
To void an AR easy check, you need to create a negative AR journal entry to reverse the check in the customer’s subledger. Then you need to open the Check Reconciliation screen and mark the check as a pending void.
To void an AR easy check
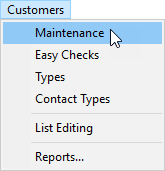
| 1. | Select Customers > Maintenance. TireMaster prompts you for the customer's name. |
| 2. | Look up the customer whose easy check you want to void. For more information, see Customer Searches. |
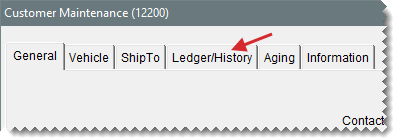
| 3. | On the Customer Maintenance screen, click the Ledger/History tab. |
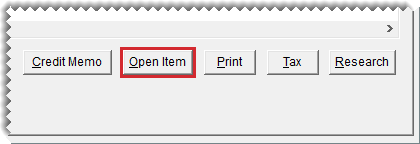
| 4. | Click Open Item. The Open Item Ledger screen opens. |
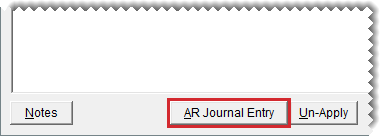
| 5. | Click AR Journal Entry. The Customer Balance Adjustment screen opens. |
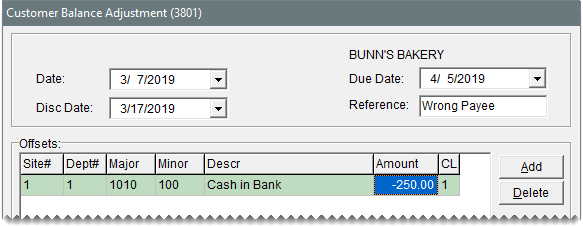
| 6. | Enter the following information. |
| a. | Enter the date when the check was originally written in the Date field. |
| b. | Type a reference number or a reason for voiding the check. |
| 7. | Create an offsetting entry. |
| a. | Click Add. A journal-entry line appears under Offsets. |
| b. | Enter the GL account number associated with the bank account that was originally used to write the check. |
| c. | Type the GL account name (description). |
| d. | Type the amount of the check that’s being voided as a negative number. For example, if you’re voiding an AR easy check for $15.00, type ‑15.00. |
| e. | Change the site number, department, and GL class if needed. |
 . Then make a selection from the list that appears.
| 8. | Click OK. A confirmation message appears. |
| 9. | Click Yes. The Open Item Ledger screen opens. |
| 10. | Close the Open Item Ledger and the Customer Maintenance screens. |
| 11. | Open the Check Reconciliation screen and mark the easy check as a pending void. For more information, see Mark a Pending Void. |
To void a miscellaneous easy check, you need to create a manual journal entry to reverse the check in the general ledger. Then you need to mark the check as a pending void in the Check Reconciliation module.
To void a miscellaneous easy check
| 1. | Select General Ledger > Journal Entries. The Journal Entries screen opens. |
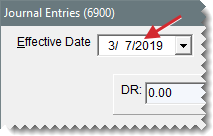
| 2. | Type the date the check was originally written in the Effective Date field. |
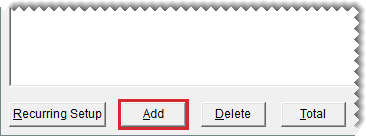
| 3. | Click Add to add a second journal entry line. |
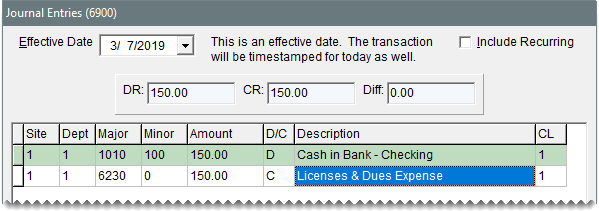
| 4. | For the first line, debit the GL account associated with the payment account used to write the easy check. |
| a. | Enter the account number and the amount of the payment being voided. |
| b. | Make sure the letter D is in the D/C field. |
| c. | Type the account name (description). |
| d. | Change the site number, department, and GL class, if needed. |
 . Then make a selection from the list that appears.
 | 5. | For the second line, credit the GL account used for the offset entry when the payment was created. |
| a. | Enter the account number and the amount of the check being voided. |
| b. | Make sure the letter C is in the D/C field. |
| c. | Type description for the entry. |
| d. | Change the site number, department, and GL class, if needed. |
| 6. | Click Post. A confirmation message appears. |
| 7. | Click Yes. TireMaster prompts you to print a detail report. |
| 8. | Click Yes. The Report Window opens. |
| 9. | Print the JE Edit Report and close the Report Window. |
| 10. | Open the Check Reconciliation screen and mark the easy check as a pending void. For more information, see Mark a Pending Void. |
